
Installation Instructions for the RX Single Flow 2 to 3 in

Effective: November 1, 2023

Introduction

Read all of the instructions before proceeding.

Refer to Kadant Johnson assembly drawing for part identification and to drawing A37640 for torque specifications. For easy identification, parts used in individual steps are often accompanied with their position in the assembly drawing [e.g. gasket (8B)]. Tighten all fasteners in a star pattern. Certified drawings are available upon request. Dimensions are for reference only and subject to change.

Safety

warning symbol

This safety symbol alerts you to risk of death or injury if the instructions are not followed. In all steps, death or injury may result if the machine is not de-energized, depressurized, cooled, and stopped. Death or injury may occur if the product is operated with a fluid type or at a pressure, temperature, or speed that do not meet its specifications. Death or injury may occur if heavy parts and pinch hazards are not handled properly. Follow your company’s safety procedures.

Step 1

Remove the existing equipment. If installing a new journal flange, remove the exsisting and clean all sealing surfaces.

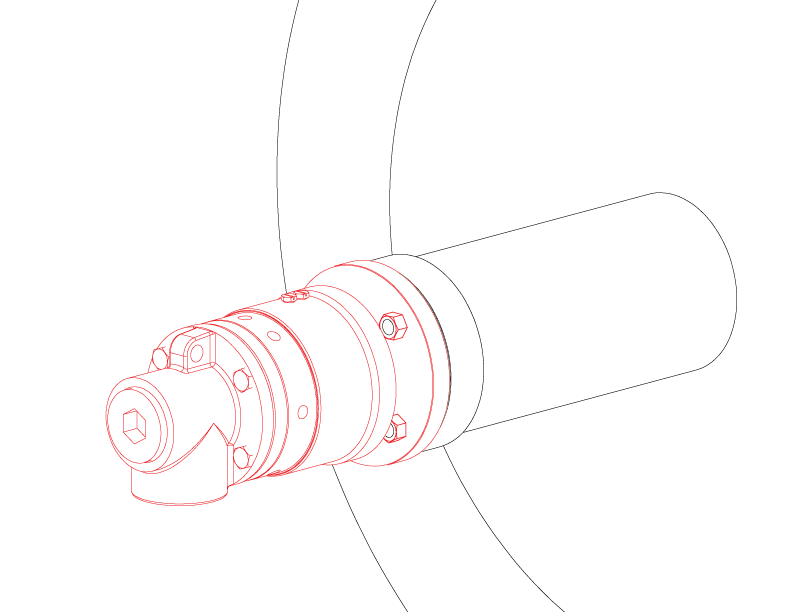
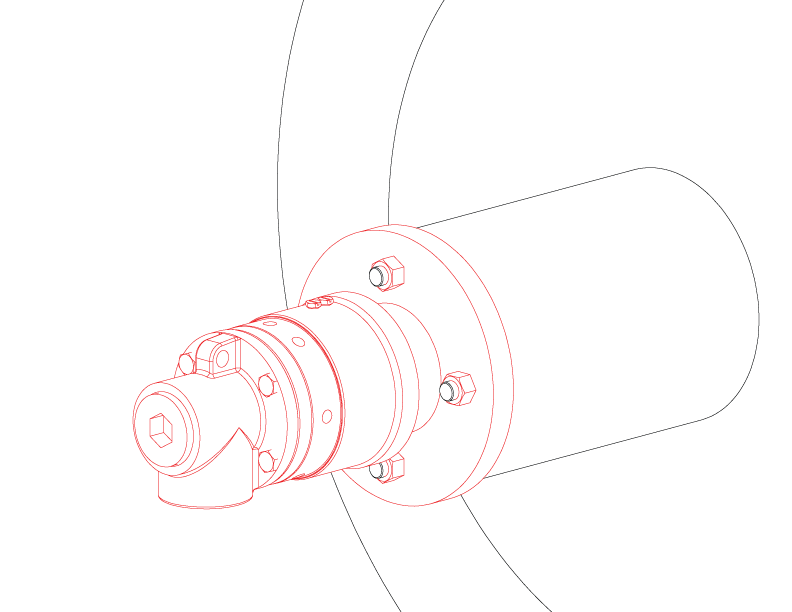
NOTE: There are three different ways to attach the rotary joint to the roll. For a threaded nipple proceed to Step 2, quick release Step 3, and integral flanged Step 4.

symbol

Equipment must be cooled and free of pressure.

STEP 2, THREADED NIPPLE

Using the required sealant for your threaded nipple, thread the nipple (4) into the journal and tighten: Pipe sealant for tapered threads; gasket for straight threads.

STEP 3A, QUICK RELEASE NIPPLE

Slide the nipple flange over the rotary joint nipple with the taper facing out. Place the split wedges into the recess of the nipple. Slide the nipple flange over the wedges.

STEP 3B

Place metal gasket (8Q) into the journal flange. Lift the rotary joint up and into the journal flange. Secure to studs with nuts. An even gap of 1/8" to 3/16" (3 to 5 mm) should remain in between the journal flange and nipple flange.

Step 4, INTEGRAL FLANGED NIPPLE

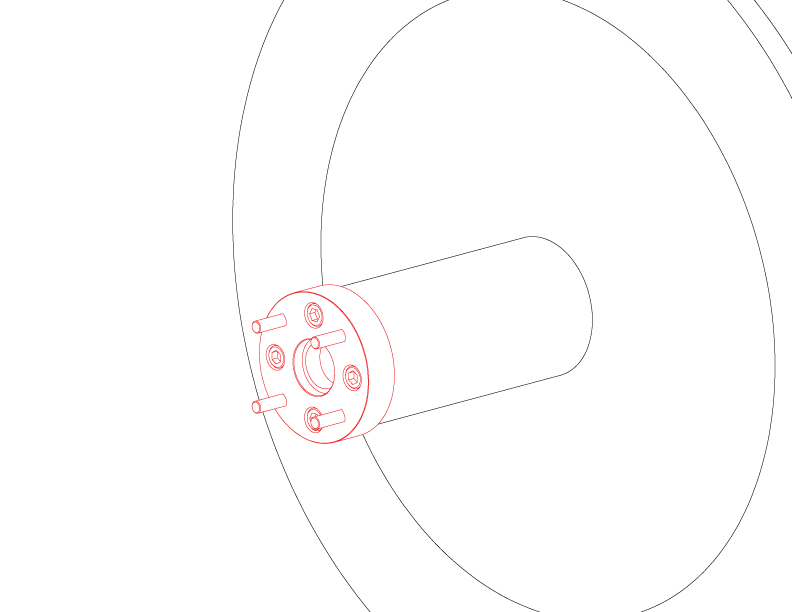
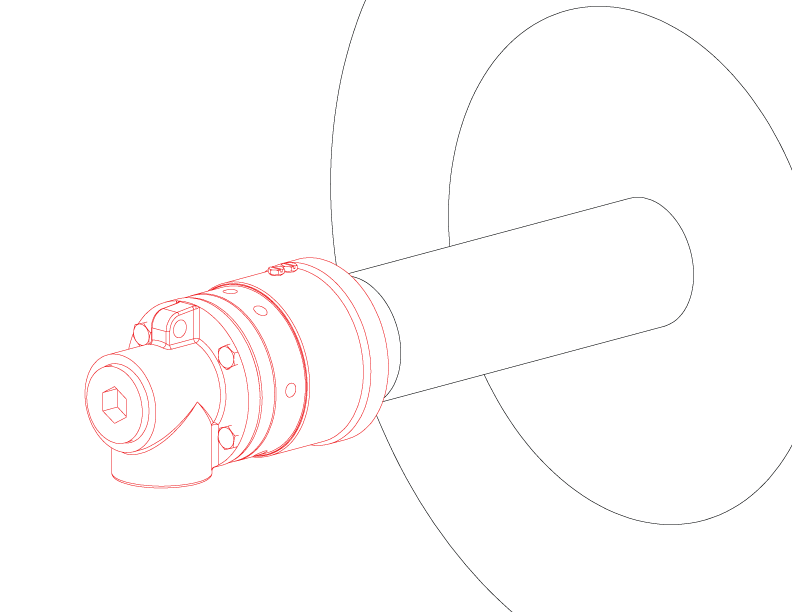
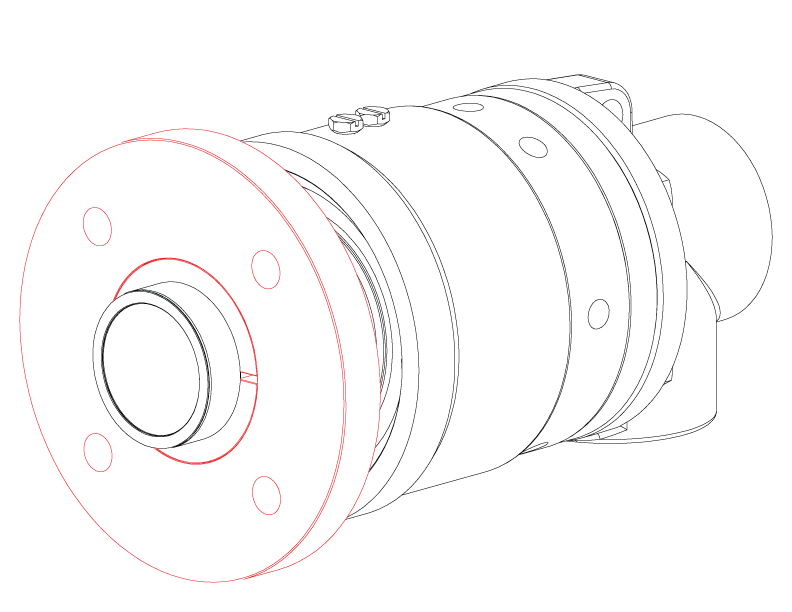
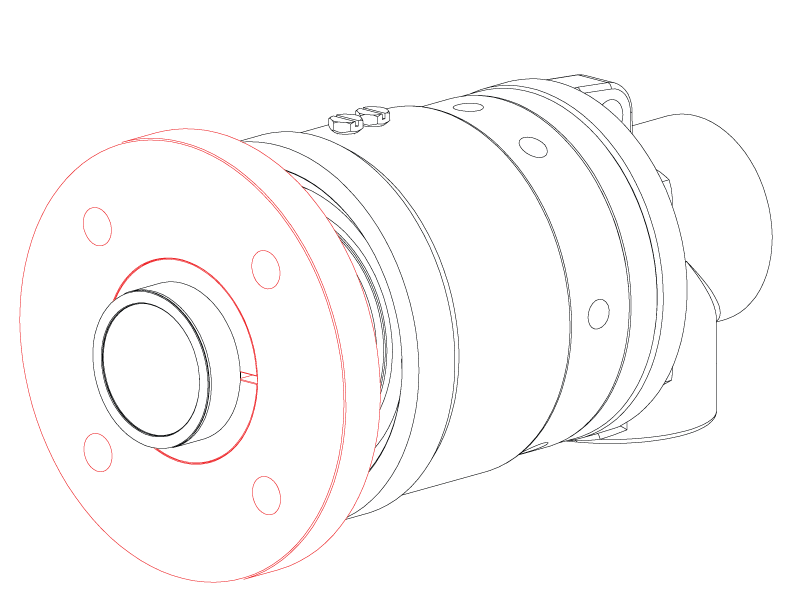
Place gasket on nipple flange and slide over the studs on the journal. Secure with hex nuts.

Step 5

Pay special attention to concentricity. At high-speeds the bearing will yield longer, trouble-free service if runout is kept to a minimum.
RX Rotary Union Speed and Runout Allowances
Size 2", 2-1/2", 3"
Maximum Speed For Mounting Configuration (rpm)
Integral Flange 1000
Tapered Pipe Threads 750
"Q" Nipple 750
Dual Flow With Rotating Supply Pipe (rpm)
750
Maximum Runout
0.012" (0.30 mm)

Step 6

Connect the piping to rotary joint using rubber hose or Kadant Johnson flexible metal hose. Hose ratings must be able to sustain the media flow.
Recommended Minimum Hose Lengths
Hose Size Minimum Length
3/4" 12" (305 mm)
1" 15" (380 mm)
1-1/4" 18" (455 mm)
1-1/2' 18" (455 mm)
2" 21" (530 mm)
2-1/2" 22" (560 mm)
3" 24" (610 mm)

Step 7

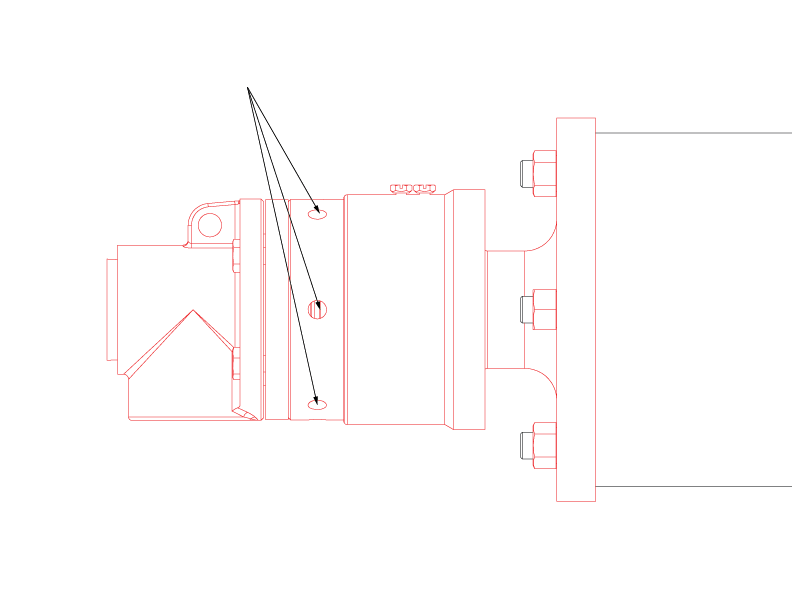
There are eight vent holes located on the body (1). They provide an escape path in case the seal package leaks and also prevent fluid from flooding the bearing cavity. Ensure that one hole is positioned down and plug the other seven. A flexible drain line may be attached if needed.

NOTE: 4200 and 4250 RX rotary joints require 1/4 NPT or BSPT pipe plug.

4300 RX rotary joints require a 3/8 NPT or BSPT pipe plug.


IS RX Single Flow 2" to 3"

The Kadant Johnson Warranty
Kadant Johnson products are built to a high standard of quality. Performance is what you desire: that is what we provide. Kadant Johnson products are warranted against defects in materials and workmanship for a period of one year after the date of shipment. It is expressly understood and agreed that the limit of Kadant Johnson’s liability shall, at Kadant Johnson’s sole option, be the repair or resupply of a like quantity of non-defective product.

Kadant Johnson rotary joints and accessories could be subject to European Pressure Equipment Directive 2014/68/EU (PED). Modifications or changes to rotary joints and/or accessories are only permitted upon approval of Kadant Johnson. Only genuine Kadant parts and original accessories will ensure the safety of these assemblies. The use of other than original parts voids the warranty and will lead to forfeiture of the declaration of conformity and will invalidate any liability for damages cause thereby.