Read all of the instructions before proceeding.
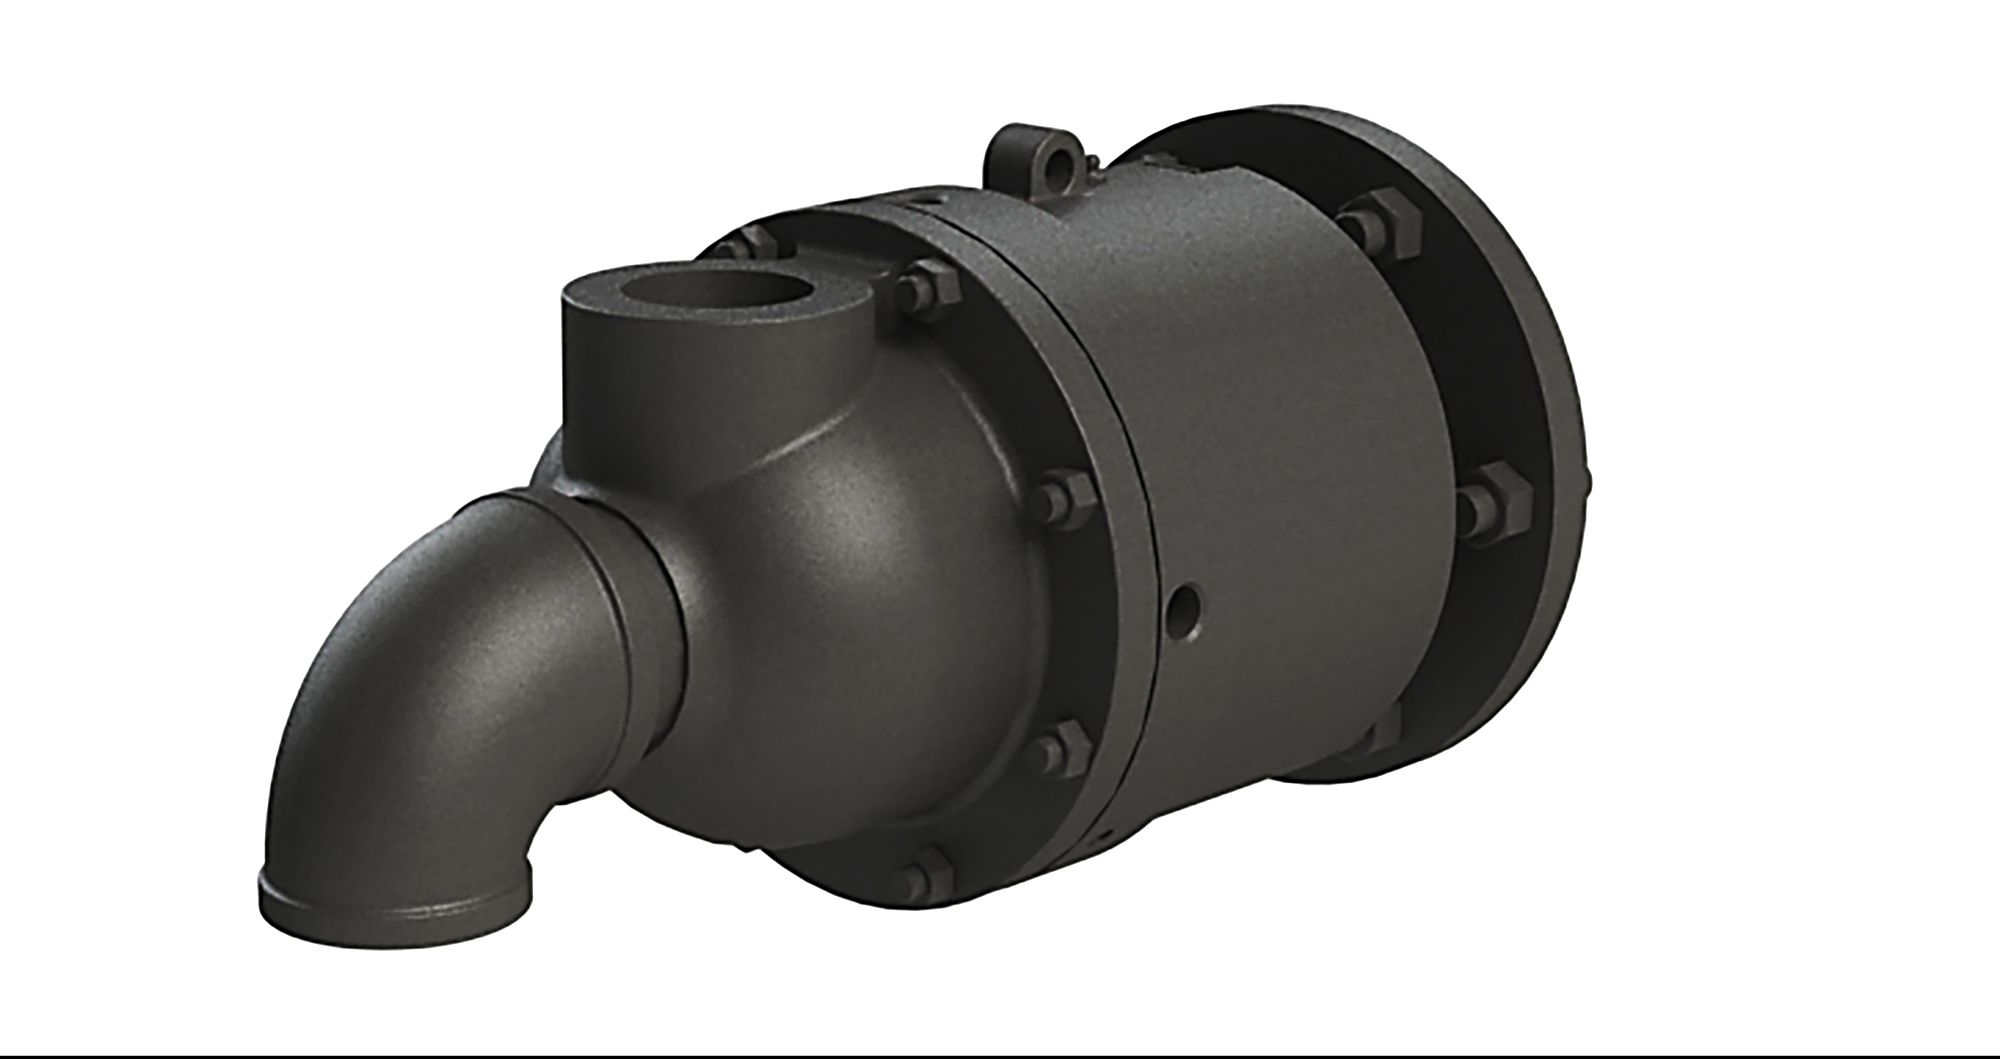
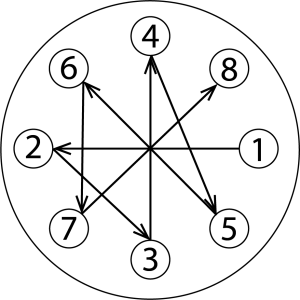
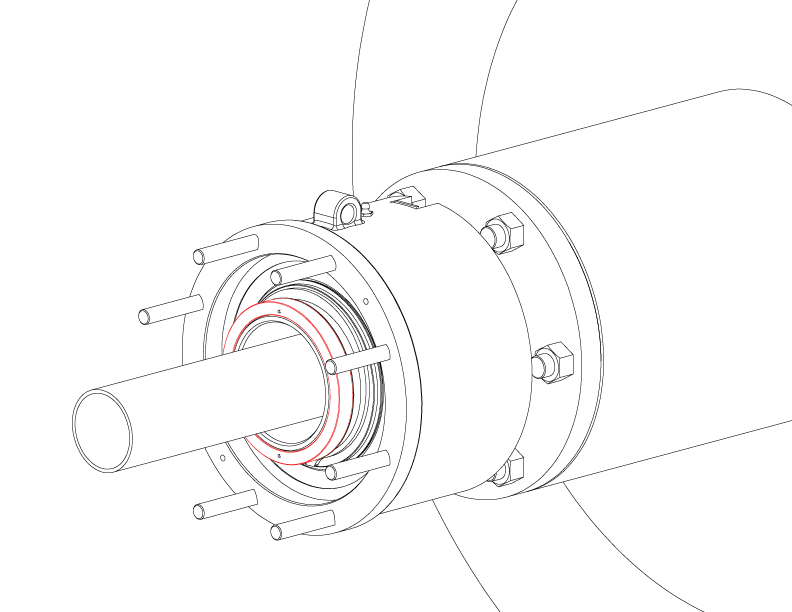
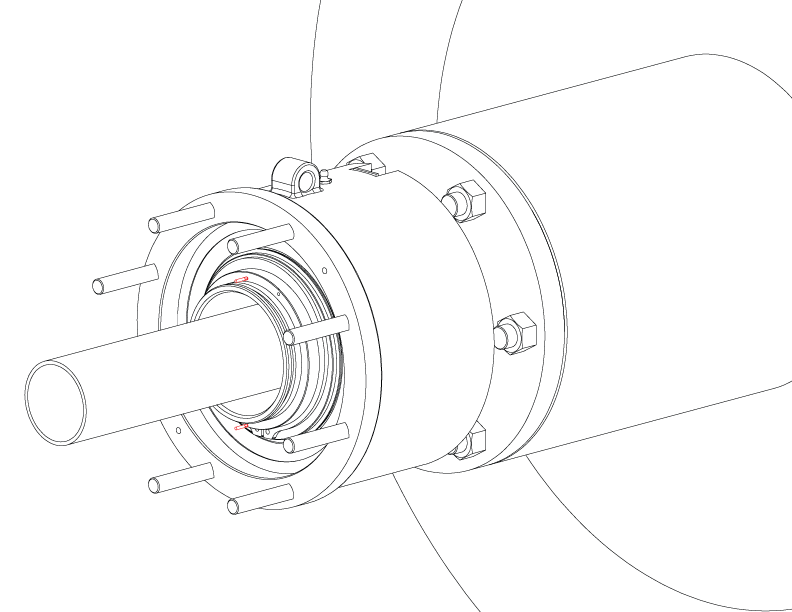
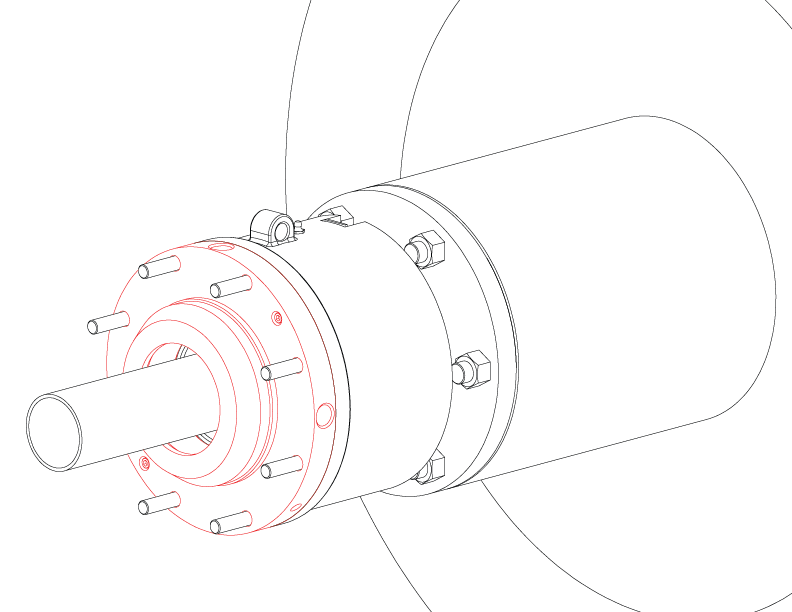
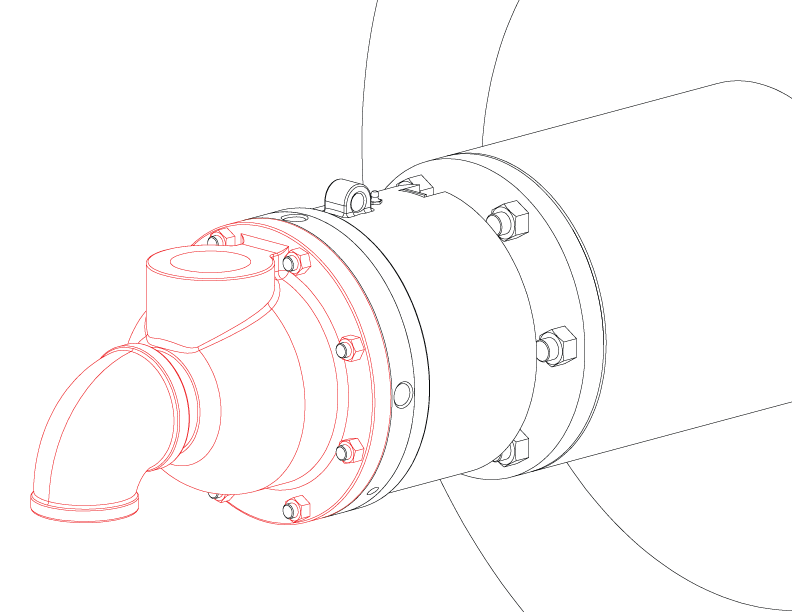
Refer to Kadant Johnson assembly drawing for part identification and to drawing A37640 for torque specifications. For easy identification, parts used in individual steps are often accompanied with their position in the assembly drawing [e.g. gasket (8B)]. Tighten all fasteners in a star pattern. Certified drawings are available upon request. Dimensions are for reference only and subject to change.

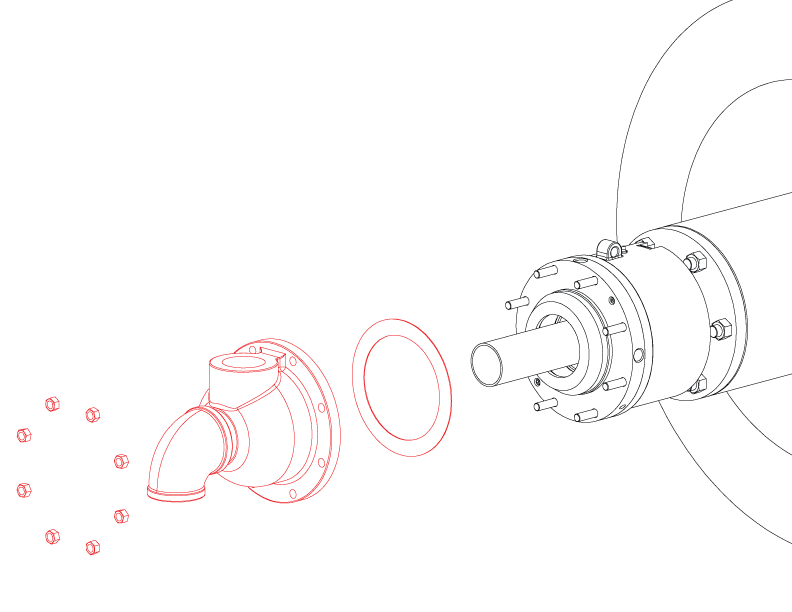
Remove the head (2).
NOTE: Seal ring replacement may be done on or off the machine.


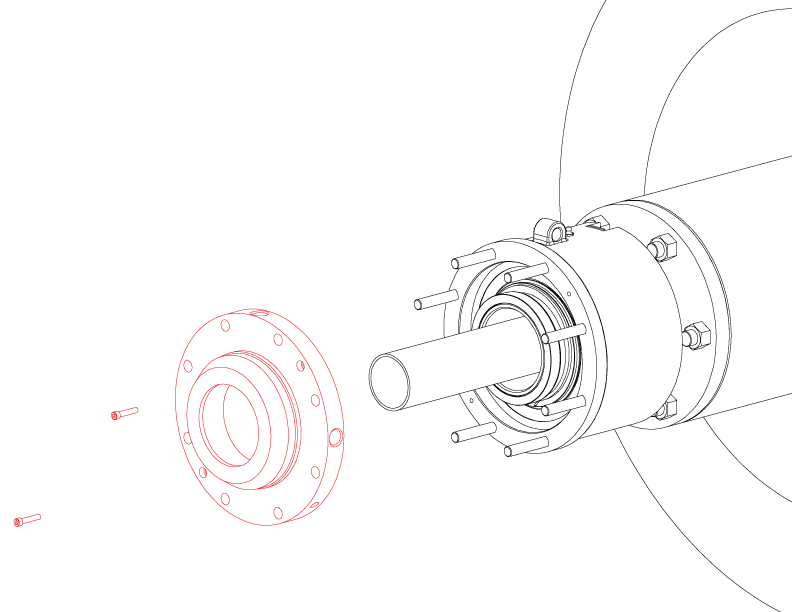
Remove the assembly plate (31).

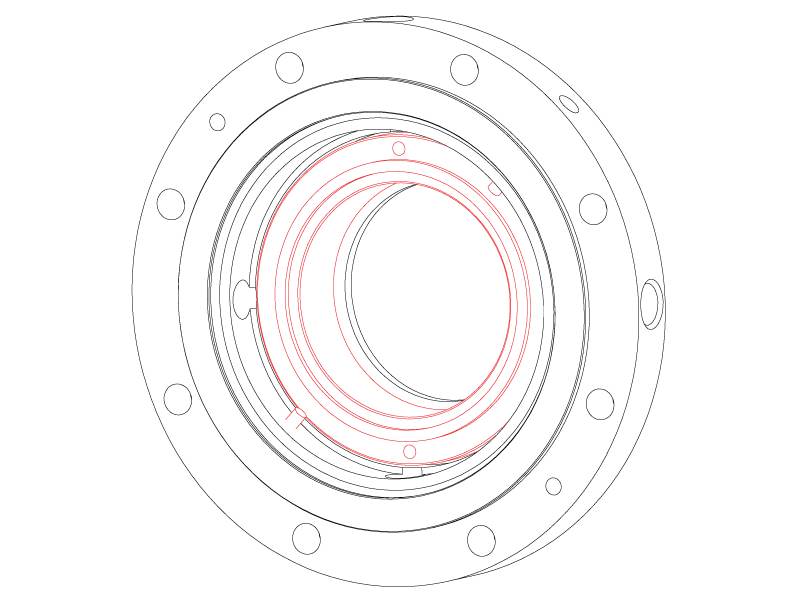
Remove the cap screws (9A) located on the outer diameter of the assembly plate.Remove and discard the seal ring (5), springs (7), and O-ring (12A).
IMPORTANT: The cap screws are holding the seal ring in compression. Use caution when removing. Do not discard the cap screws and save for later use.
NOTE: The 5" and 6" inch unions have an extra O-ring (10A), remove and discard.
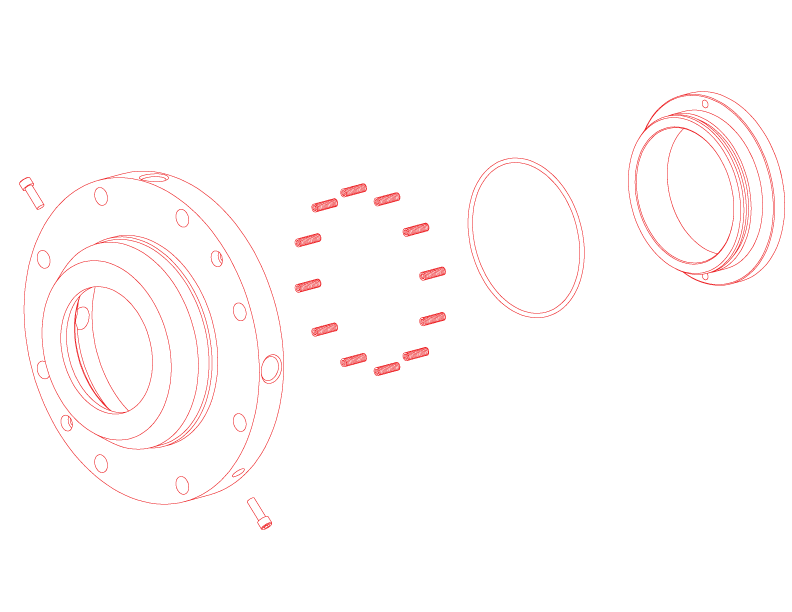
Remove the counterseat insert (6), O-ring (12), and gasket (38) from the nipple (4).
Discard the counterseat, seal ring, gaskets, and O-rings. Inspect the pins (6A) on the end of the nipple. Inspect and clean all gaskets, O-ring, and sealing surfaces. Replace any damaged parts.
IMPORTANT: Do not scratch or damage the counter seat sealing surface.

Install a new O-ring onto the new seal ring. Install new springs into the assembly plate. Align the holes on the seal ring with the pins on the assembly plate and gently install the seal ring. Secure with cap screws.
IMPORTANT: Use a clean soft cloth when compressing the seal ring. Do not scratch or damage seal ring.

Install a new counter seat gasket and O-ring onto the nipple. Install the counterseat aligning the holes with the pins.
IMPORTANT: Clean the sealing surface of the seal ring and counterseat with acetone and a clean cloth before proceeding.
Install the assembly plate onto the body.
NOTE: For 5" and 6" unions, install the extra O-ring before installing the assembly plate.

Install the head using a new gasket.
NOTE: Reinstall the union to the roll if it was removed for repair.

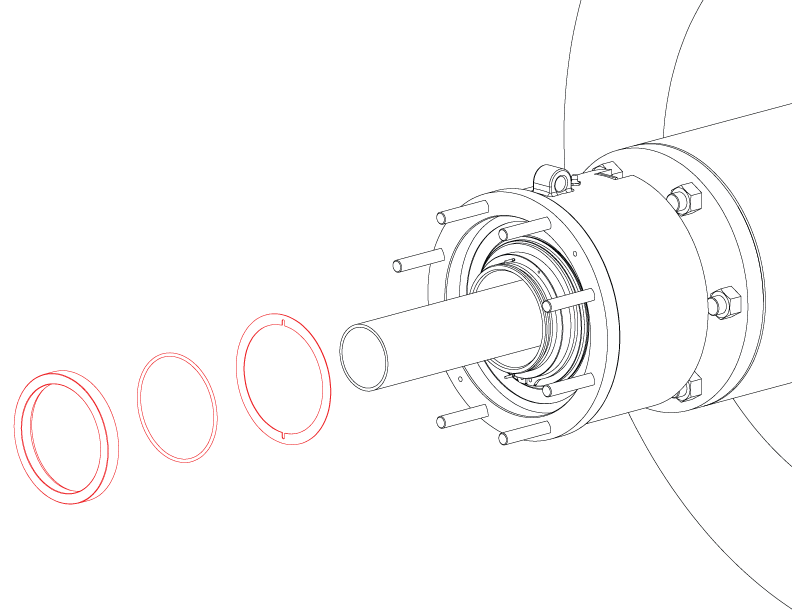
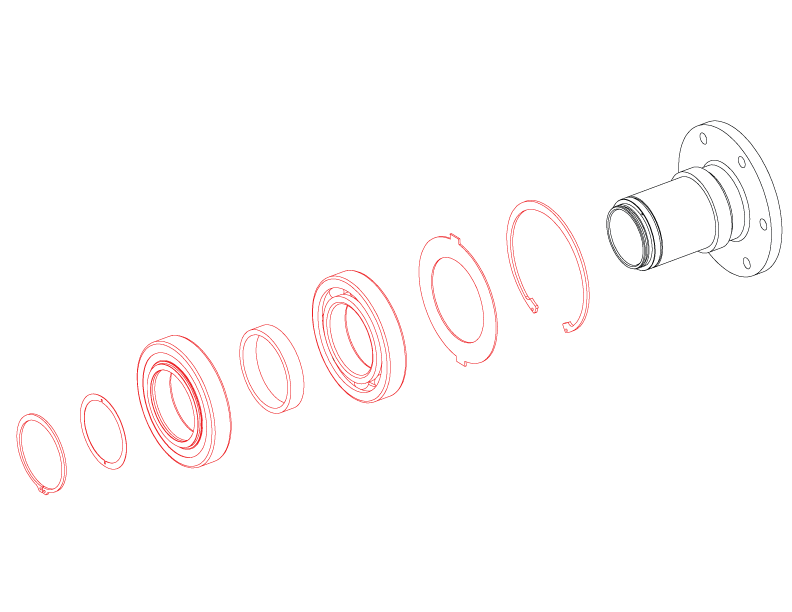
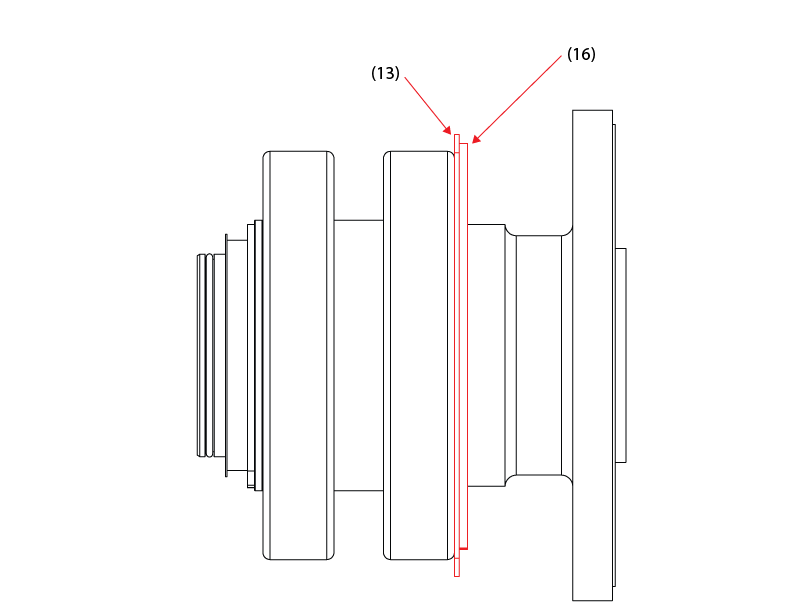
The rotary union must be removed from the roll. Remove the retaining ring (16) and tab washer (13). Slide the body (1) off the bearings.
NOTE: For 5" unions, remove the retaining plate from the body.

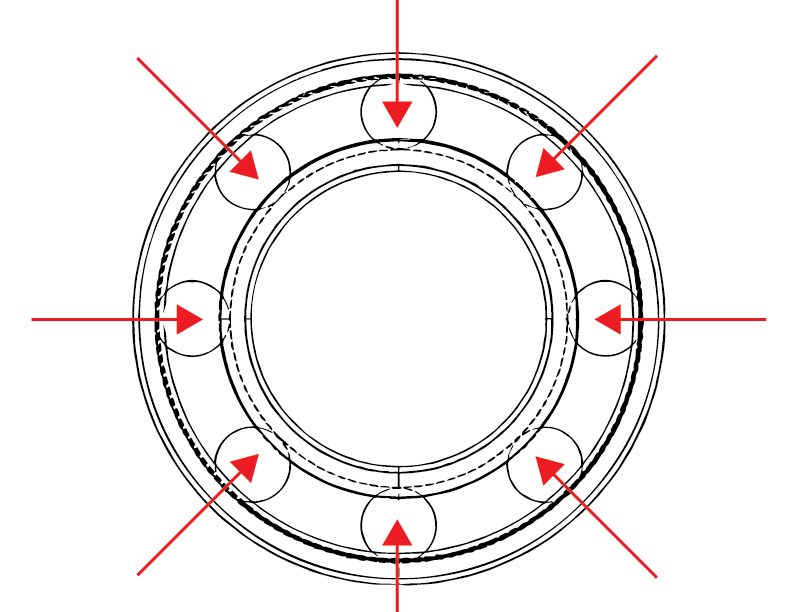
Remove the retaining ring (9) and thrust washer (8) from the nipple. Using a press remove the bearings (3) and bearing spacer (11). Slide the retaining ring (16) and tab washer off of the nipple. Clean and inspect the nipple, replace if damaged.
Grease the new bearings by filling the cavity between each ball with the appropriate grease.
IMPORTANT: Refer to the Kadant Johnson drawing for grease specifications.

Slide the retaining ring followed by the tab washer over the nipple. Using a press fixture, press a bearing onto the nipple until it rests against the shoulder. Install the bearing spacer followed by the second bearing. Install the thrust washer followed by the retaining ring.
NOTE: For 5" unions, slide the retaining plate over the nipple before installing the bearings.
IMPORTANT: Only apply pressure to the inner race of the bearing.
NOTE: If the bearings are heated to 275⁰F (135⁰C) in an oven, a press is not needed.

Clean out the body and dry. Slide over the bearings and install the tab washer and retaining ring.
NOTE: For 5" unions, install the retaining plate using cap screws.

R-4-6-INCH-RX

