
Repair Instructions for the RX 2 to 3 in

Effective: November 7, 2023

Introduction

Read all of the instructions before proceeding.

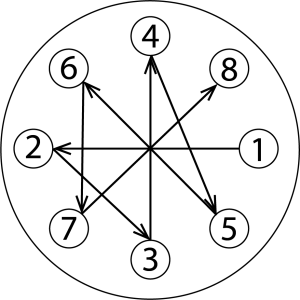
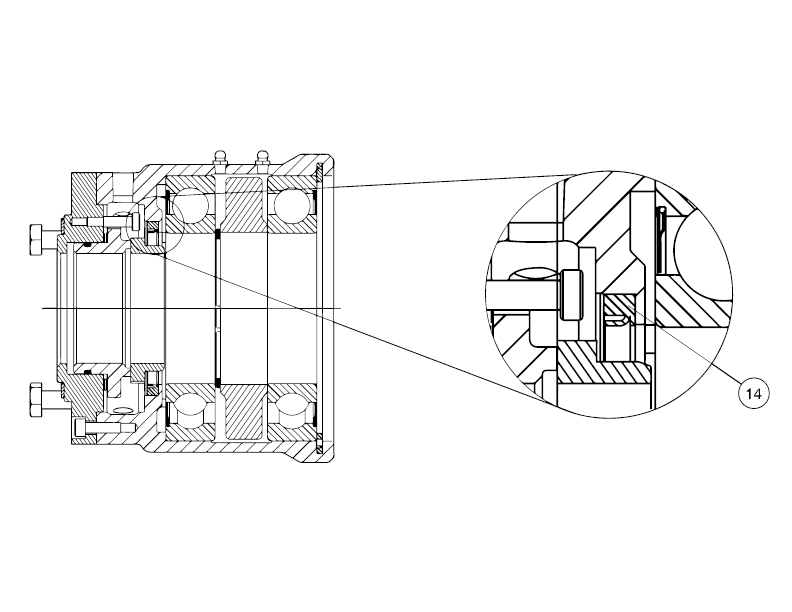
Refer to Kadant Johnson assembly drawing for part identification and to drawing A37640 for torque specifications. For easy identification, parts used in individual steps are often accompanied with their position in the assembly drawing [e.g. gasket (8B)]. Tighten all fasteners in a star pattern. Certified drawings are available upon request. Dimensions are for reference only and subject to change.

Safety

warning symbol

This safety symbol alerts you to risk of death or injury if the instructions are not followed. In all steps, death or injury may result if the machine is not de-energized, depressurized, cooled, and stopped. Death or injury may occur if the product is operated with a fluid type or at a pressure, temperature, or speed that do not meet its specifications. Death or injury may occur if heavy parts and pinch hazards are not handled properly. Follow your company’s safety procedures.

Step 1 - SEAL REPLACEMENT

Remove the cap screw securing the head (2). Remove the head.

NOTE: Seal replacement can be done on or off the roll.

STEP 2

Remove the cap screws securing the assembly plate and remove from the body.

STEP 3

Remove the two cap screws (13) securing the seal ring (5) to the assembly plate. Separate the seal ring from the assembly plate.

Step 4

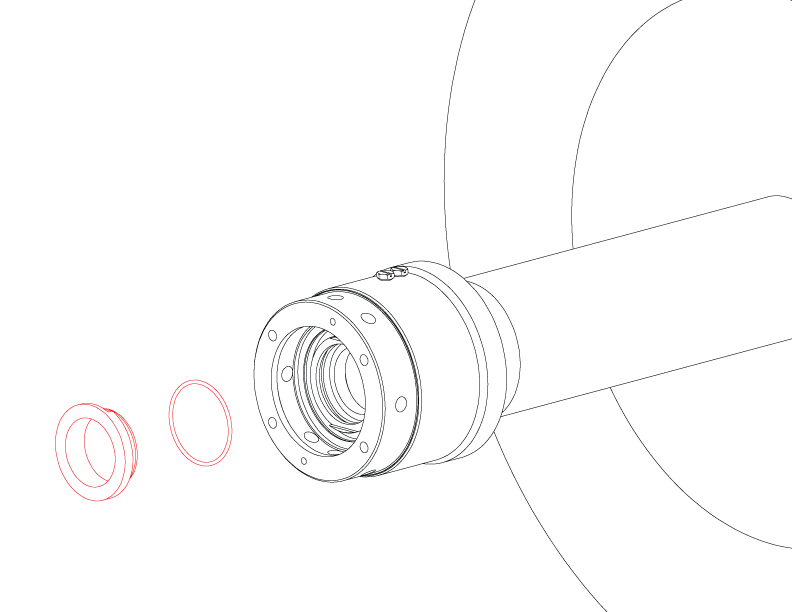
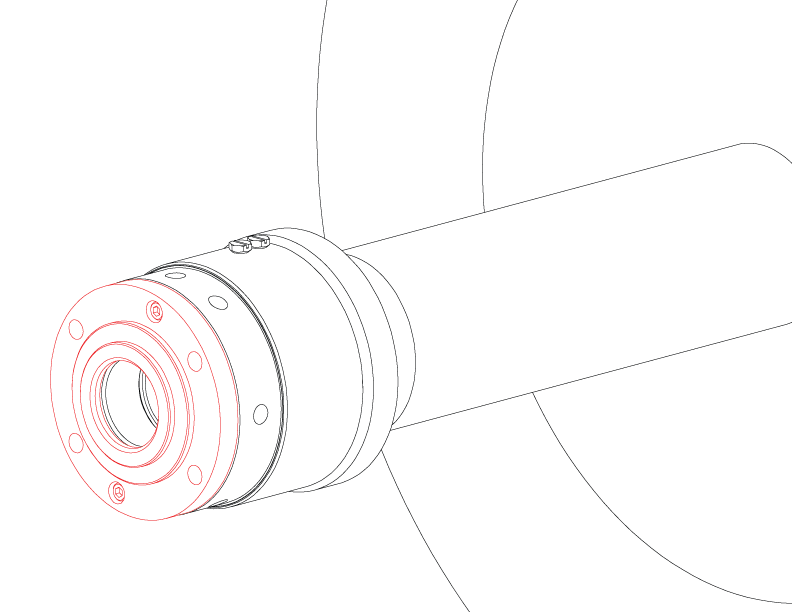
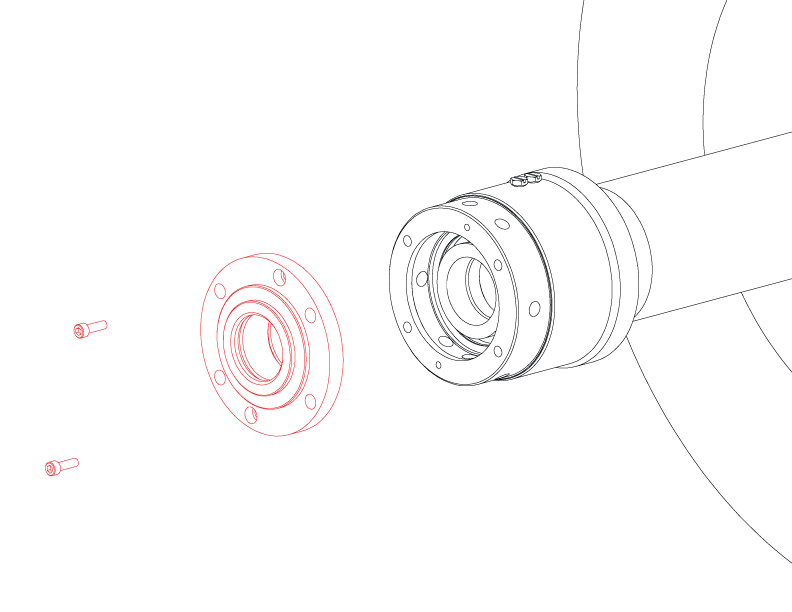
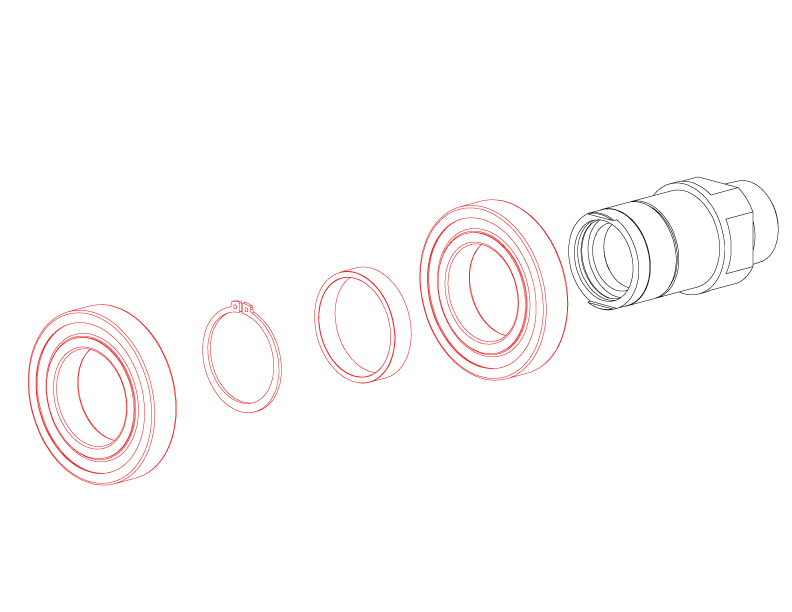
Remove the counter seat (6) and O-ring (12) from the nipple (4).

Step 5

Discard the seal ring, counter seat, gaskets, O-rings, and springs. Inspect and clean all gasket, O-ring, and sealing surfaces. Replace any damaged parts. Inspect the bearings. If bearing replacement is needed, follow the "Bearing Replacement" instructions below.

Step 6

Lubricate and install a new O-ring into the nipple. Install a new counter seat into the nipple by aligning the flats with the raised end of the nipple.
IMPORTANT: Do not scratch or damage the counter seat sealing surface.

Step 7

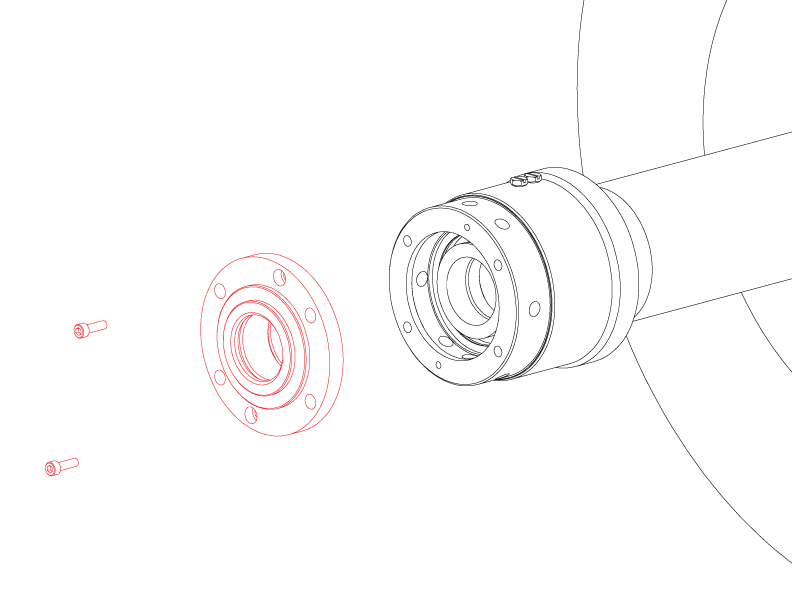
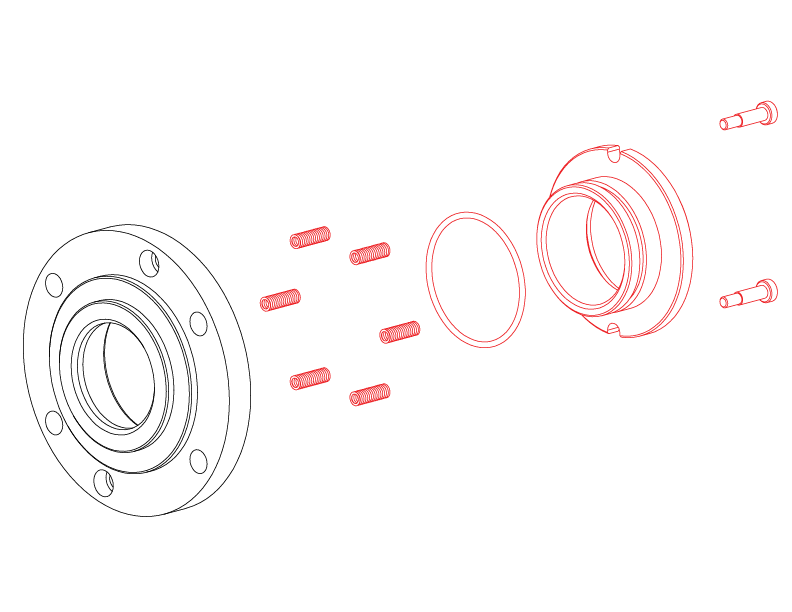
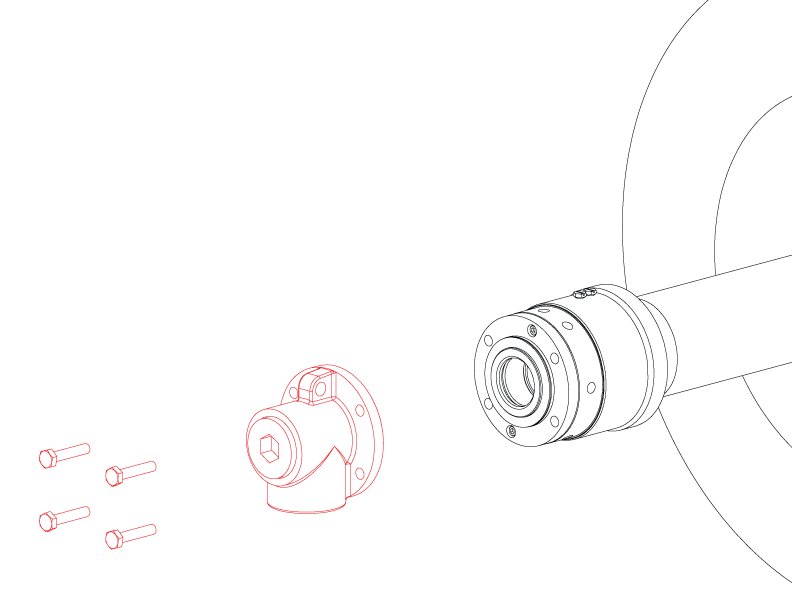
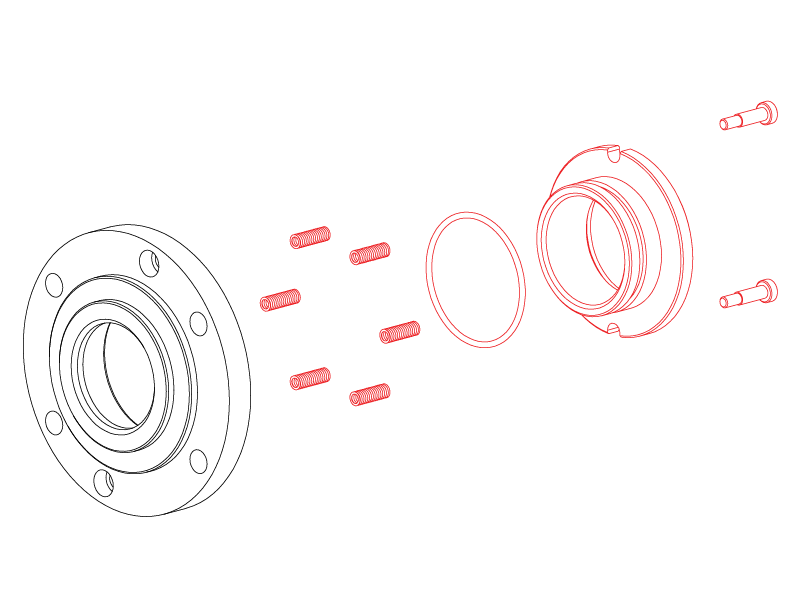
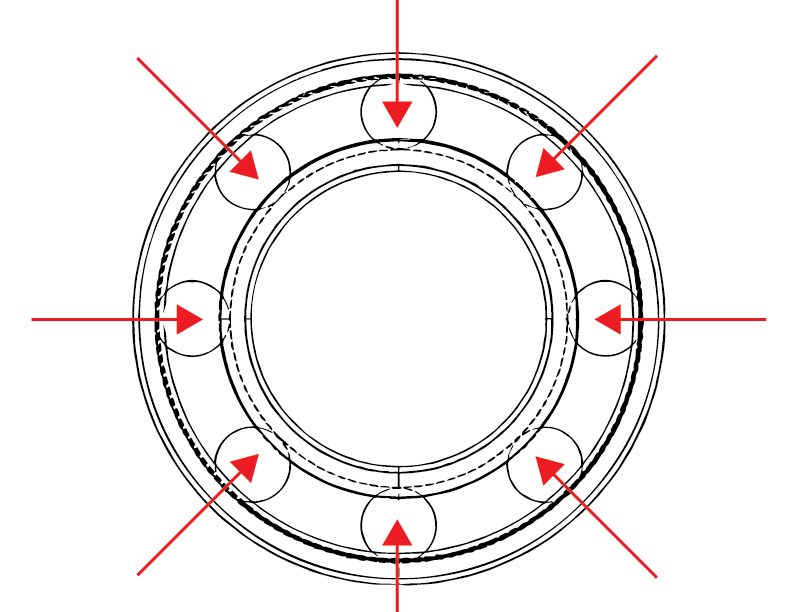
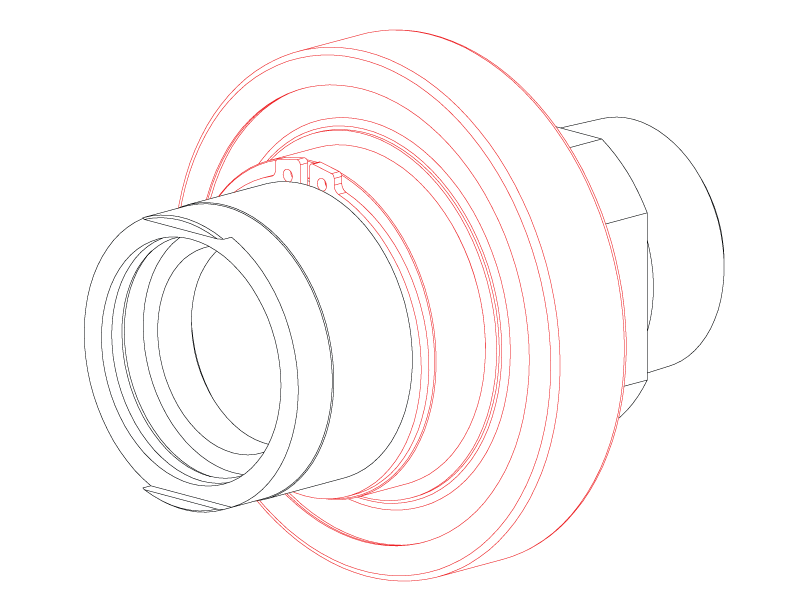
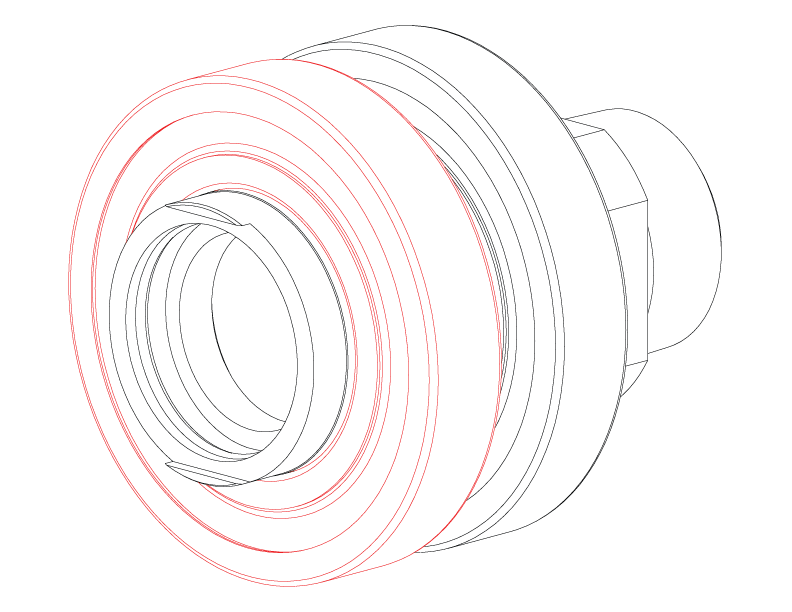
Lubricate and install a new O-ring into the seal ring. Insert the springs into the spring wells. Apply Loctite® 242 to the cap screws that secure the seal ring. Install the seal ring.

IMPORTANT: Do not scratch or damage the seal ring sealing surface.

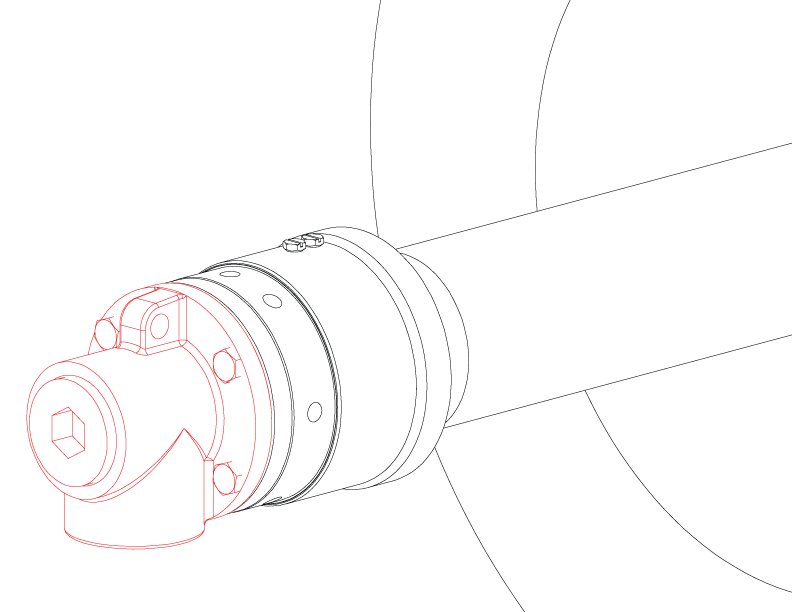
IMPORTANT: Ensure that the sealing surfaces are clean before proceeding. Wipe away any excess lubricant.
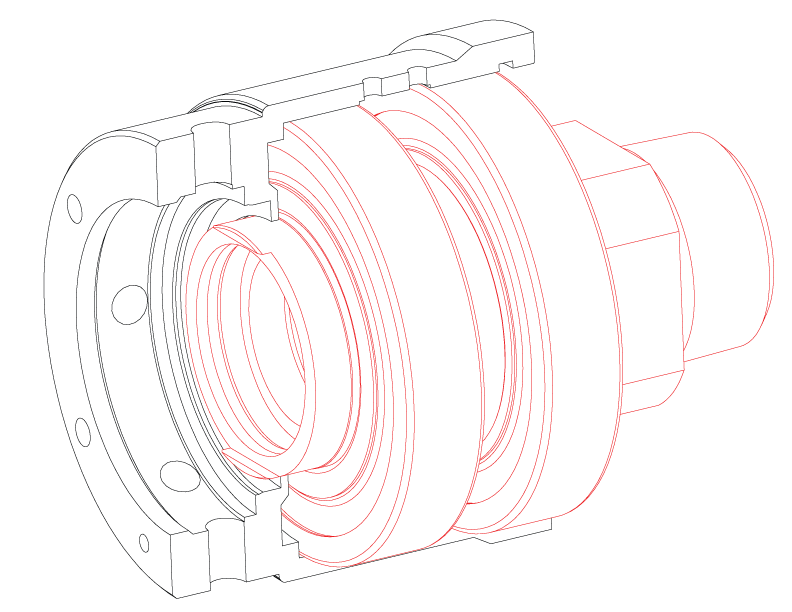
symbol

Spring force present.

Step 8

Install the assembly plate.

Step 9

Using a new gasket, install the head.

Step 10, BEARING REPLACEMENT

Complete steps 1 through 4 of seal ring replacement before proceeding. Remove the body from the roll. Remove the retaining ring (10) and save for reuse.

Step 11

The bearings are a slip fit both into the body and over the nipple. Slide the nipple and bearing out of the body.
NOTE: If the nipple and bearings do not slide out freely, light pressure may be applied. If the outward bearing is stuck in the body it can be dislodged by tapping it out with a rod through the threaded holes.

Step 12

If equipped, remove the lip seal (14) and clean the body. Press a new lip seal into the body.
IMPORTANT: Use a pipe or tubing to press the lip seal into place. Only apply pressure to the metal OD of the seal.

Step 13

Remove the outward bearing, retaining ring, bearing spacer, and inward bearing from the nipple. Save the retaining ring for reuse. Inspect and clean the nipple. Replace if damaged.

Step 14

Standard bearing kits are pre-greased. Grease will need to be applied to the -1, -2 and -3 versions. Fill the cavity between each ball with the appropriate grease.
IMPORTANT: Refer to the Kadant Johnson drawing for grease specifications.

Step 15

Slide a new bearing (3) onto the nipple until it rests against the shoulder. For bearings with one shield, the shield should be facing the shoulder of the nipple. Install the bearing spacer (11) followed by the retaining ring (9).
NOTE: If using a flanged nipple, the body retaining ring (10) should be placed over the end of the nipple before the bearings are installed.

Step 16

Install the second bearing against the retaining ring on the nipple. The shield should be facing away from the bearing spacer for bearings with one shield.
IMPORTANT: Check to make sure the one shield bearings are installed correctly (-1, -2, or -3 versions). The open side should be facing the bearing spacer.

Step 17

Insert the nipple/bearing assembly, with the raised edge side inward, into the body. Secure using the retaining ring (10).
IMPORTANT: If using the -1, -2 or -3 bearings, grease needs to be added using the grease fitting on the body. Refer to the Kadant Johnson drawing for specifications.

Step 18

Follow steps 6 - 9 of the above "Seal Replacement" instructions to finish the repairs. Install the union onto the roll.

R-2-3-INCH-RX

The Kadant Johnson Warranty
Kadant Johnson products are built to a high standard of quality. Performance is what you desire: that is what we provide. Kadant Johnson products are warranted against defects in materials and workmanship for a period of one year after the date of shipment. It is expressly understood and agreed that the limit of Kadant Johnson’s liability shall, at Kadant Johnson’s sole option, be the repair or resupply of a like quantity of non-defective product.

Kadant Johnson rotary joints and accessories could be subject to European Pressure Equipment Directive 2014/68/EU (PED). Modifications or changes to rotary joints and/or accessories are only permitted upon approval of Kadant Johnson. Only genuine Kadant parts and original accessories will ensure the safety of these assemblies. The use of other than original parts voids the warranty and will lead to forfeiture of the declaration of conformity and will invalidate any liability for damages cause thereby.