Read all of the instructions before proceeding.
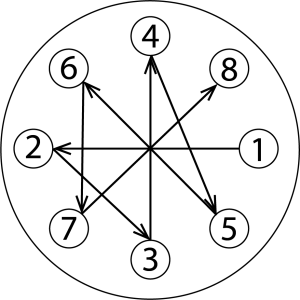
Refer to Kadant Johnson assembly drawing for part identification and to drawing A37640 for torque specifications. For easy identification, parts used in individual steps are often accompanied with their position in the assembly drawing [e.g. gasket (8B)]. Tighten all fasteners in a star pattern. Certified drawings are available upon request. Dimensions are for reference only and subject to change.

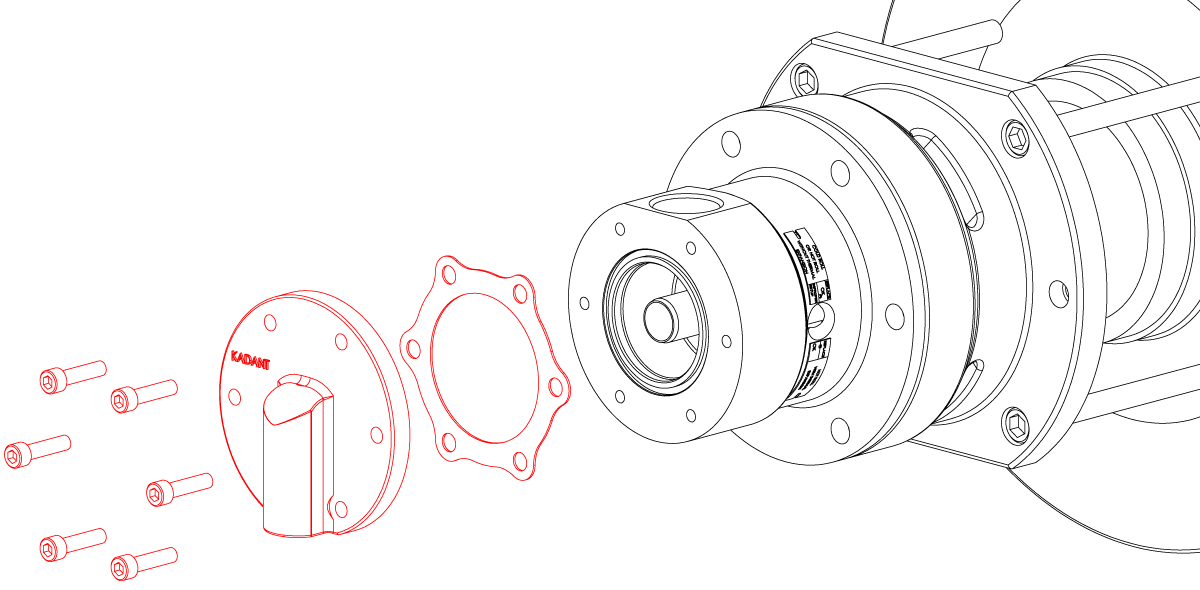
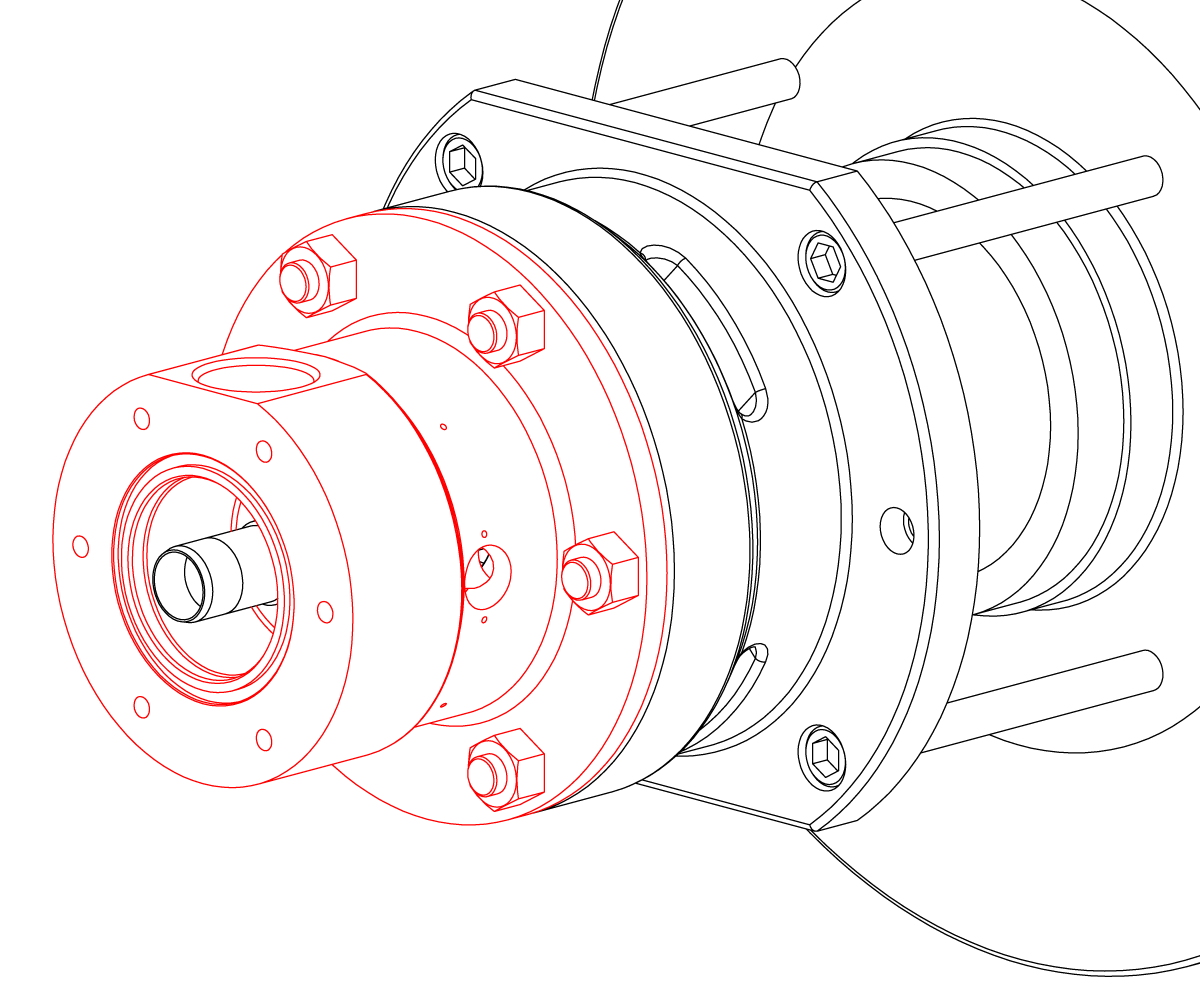
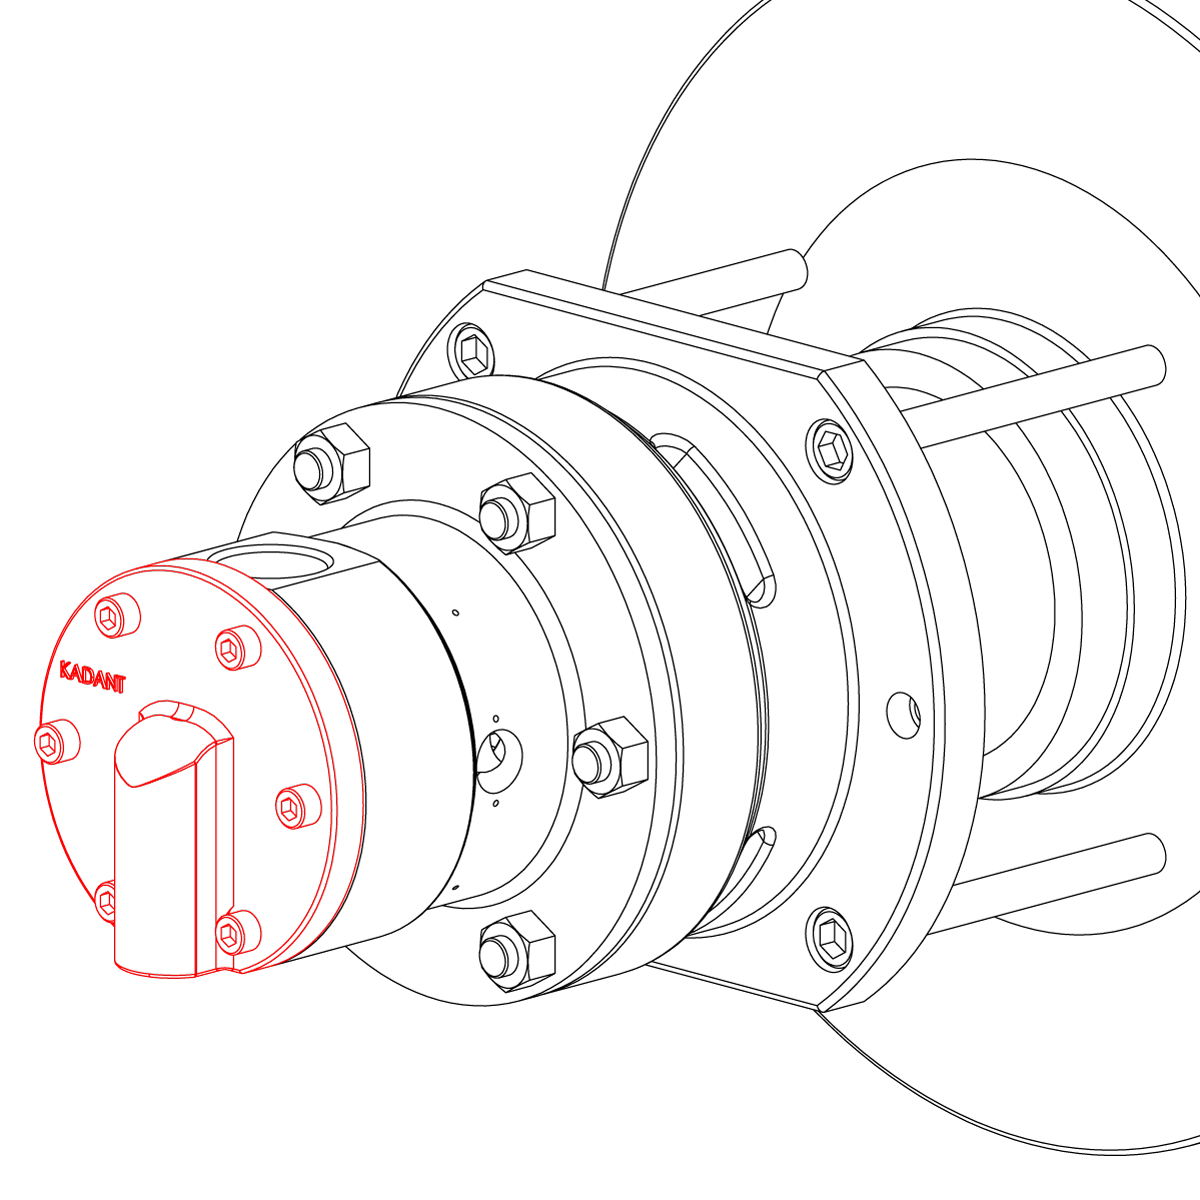
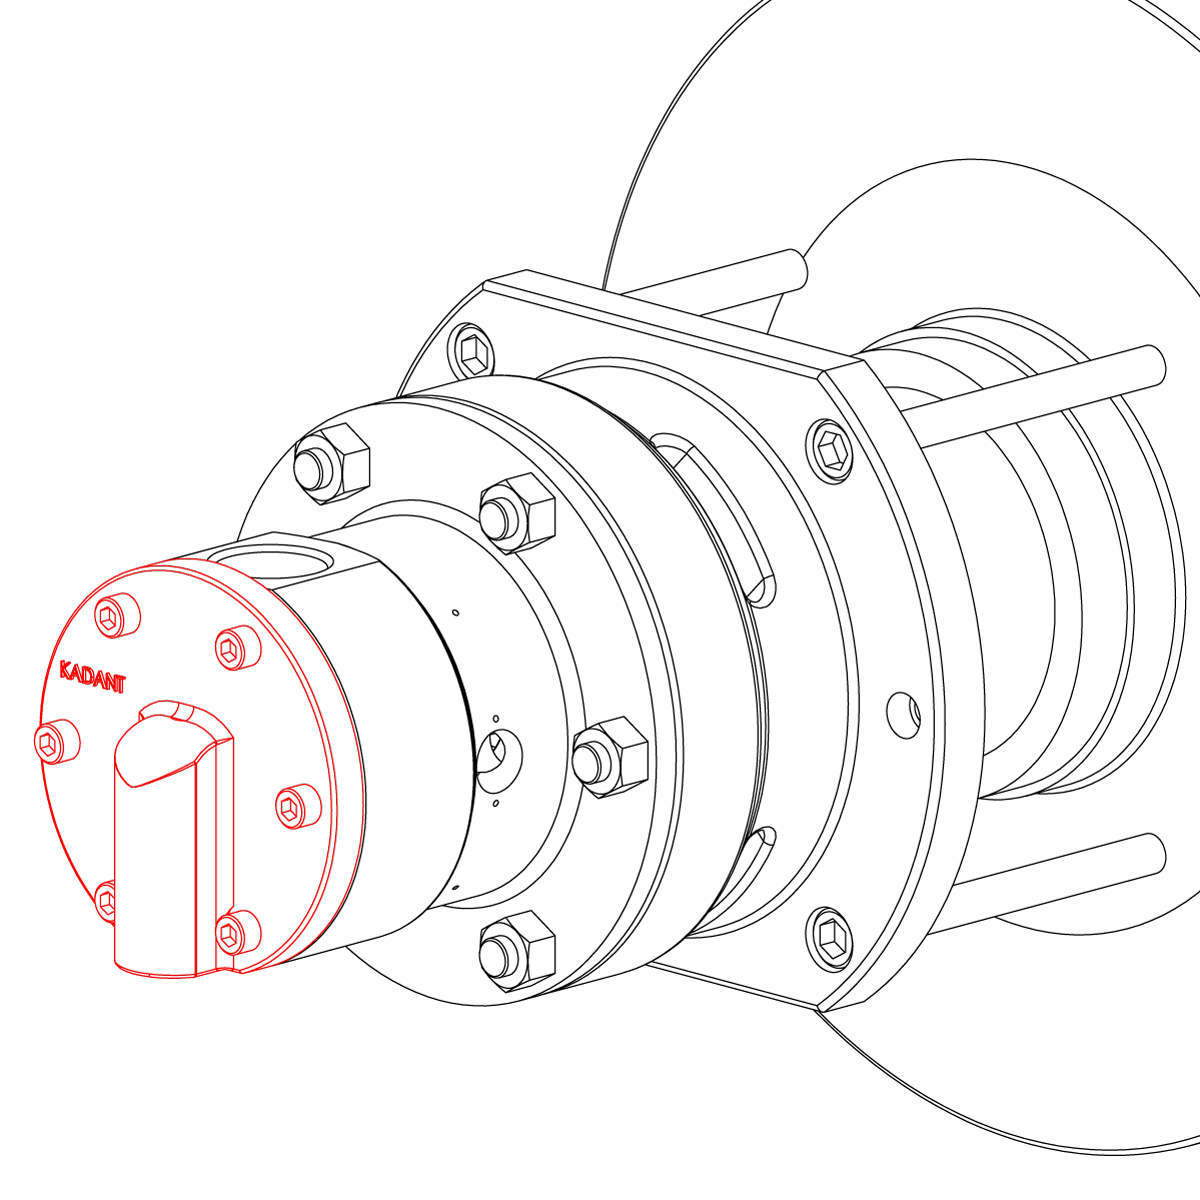
Disconnect the piping. Remove the head.

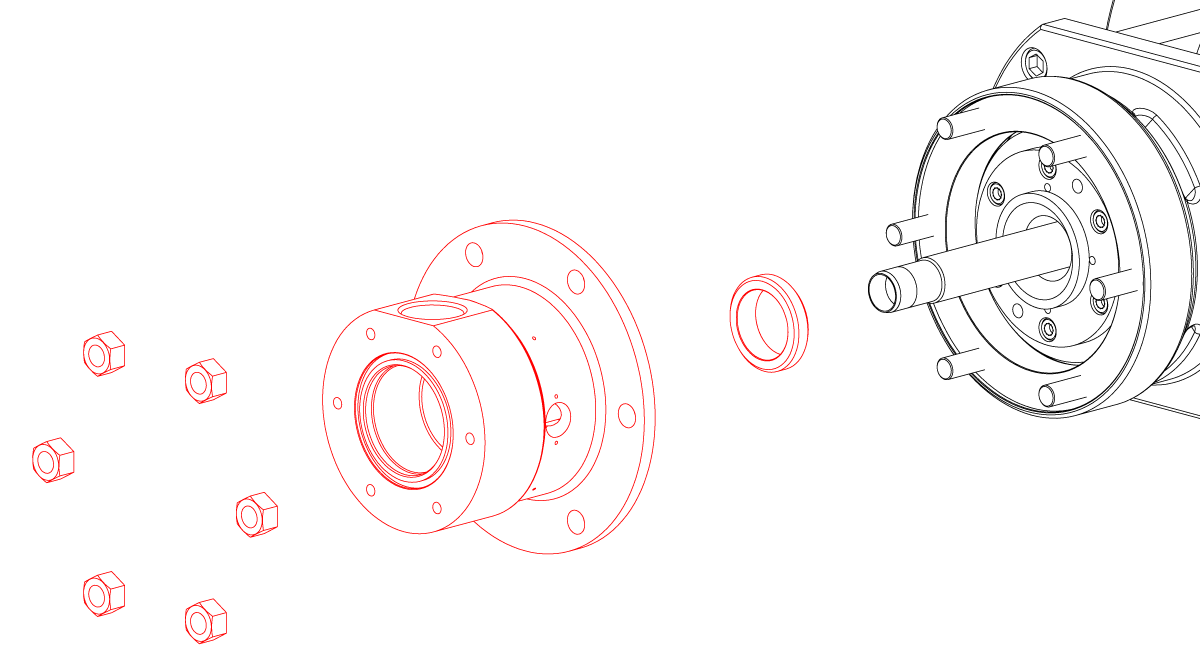
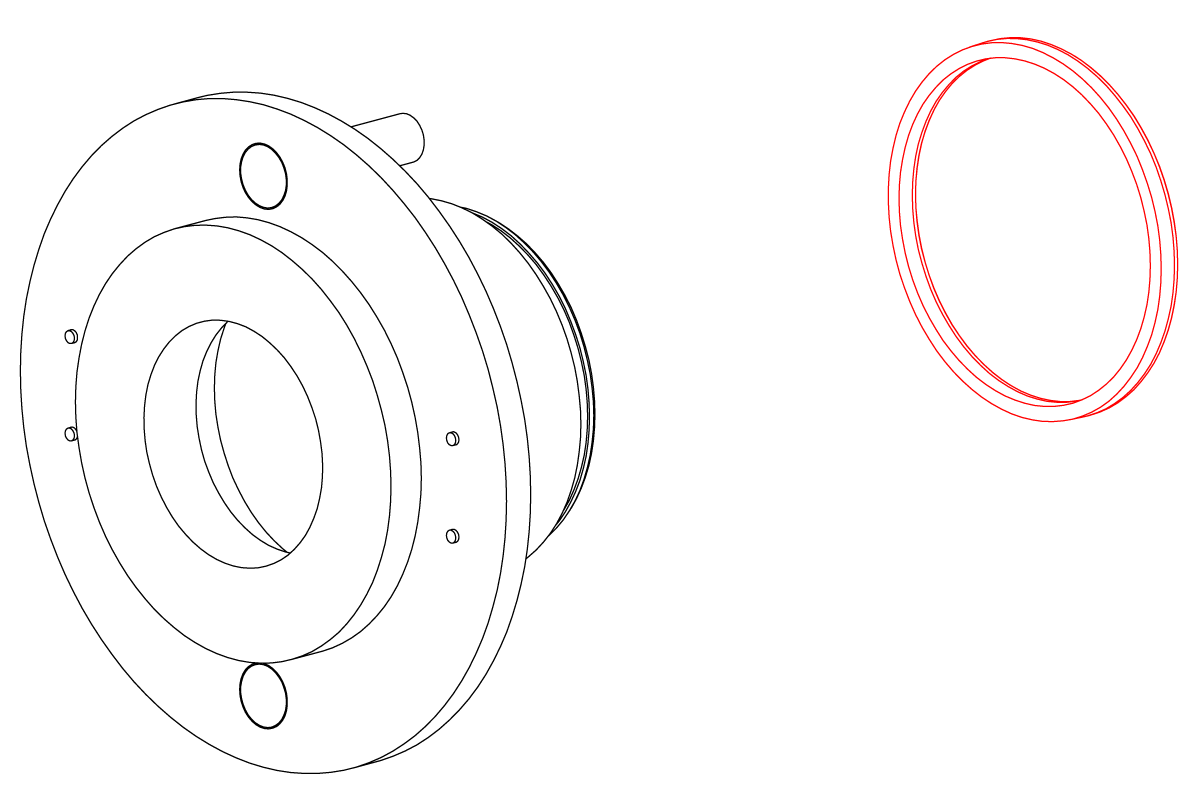
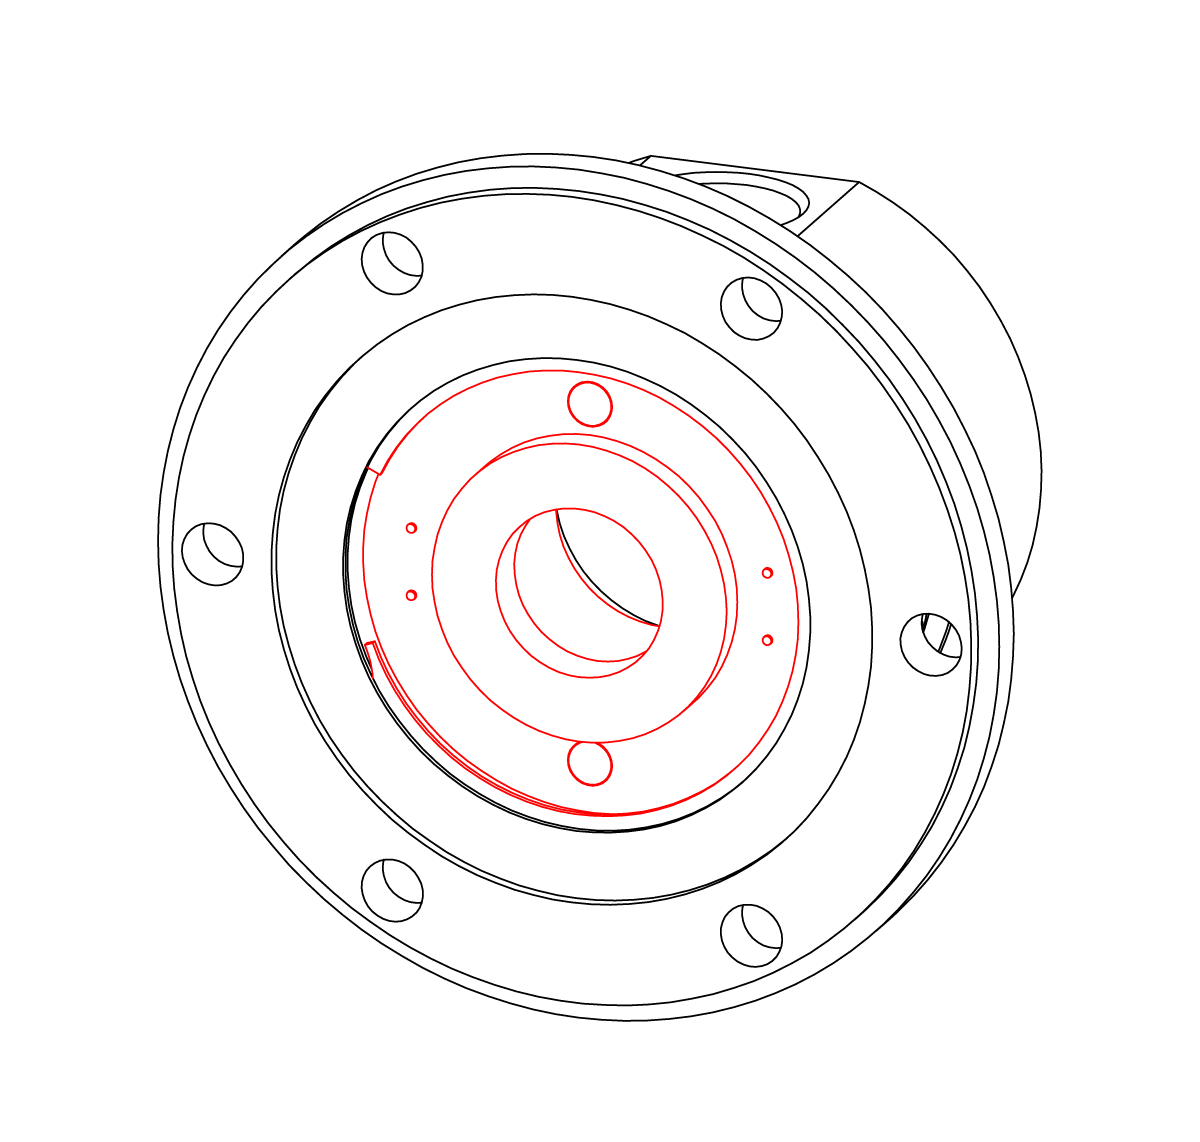
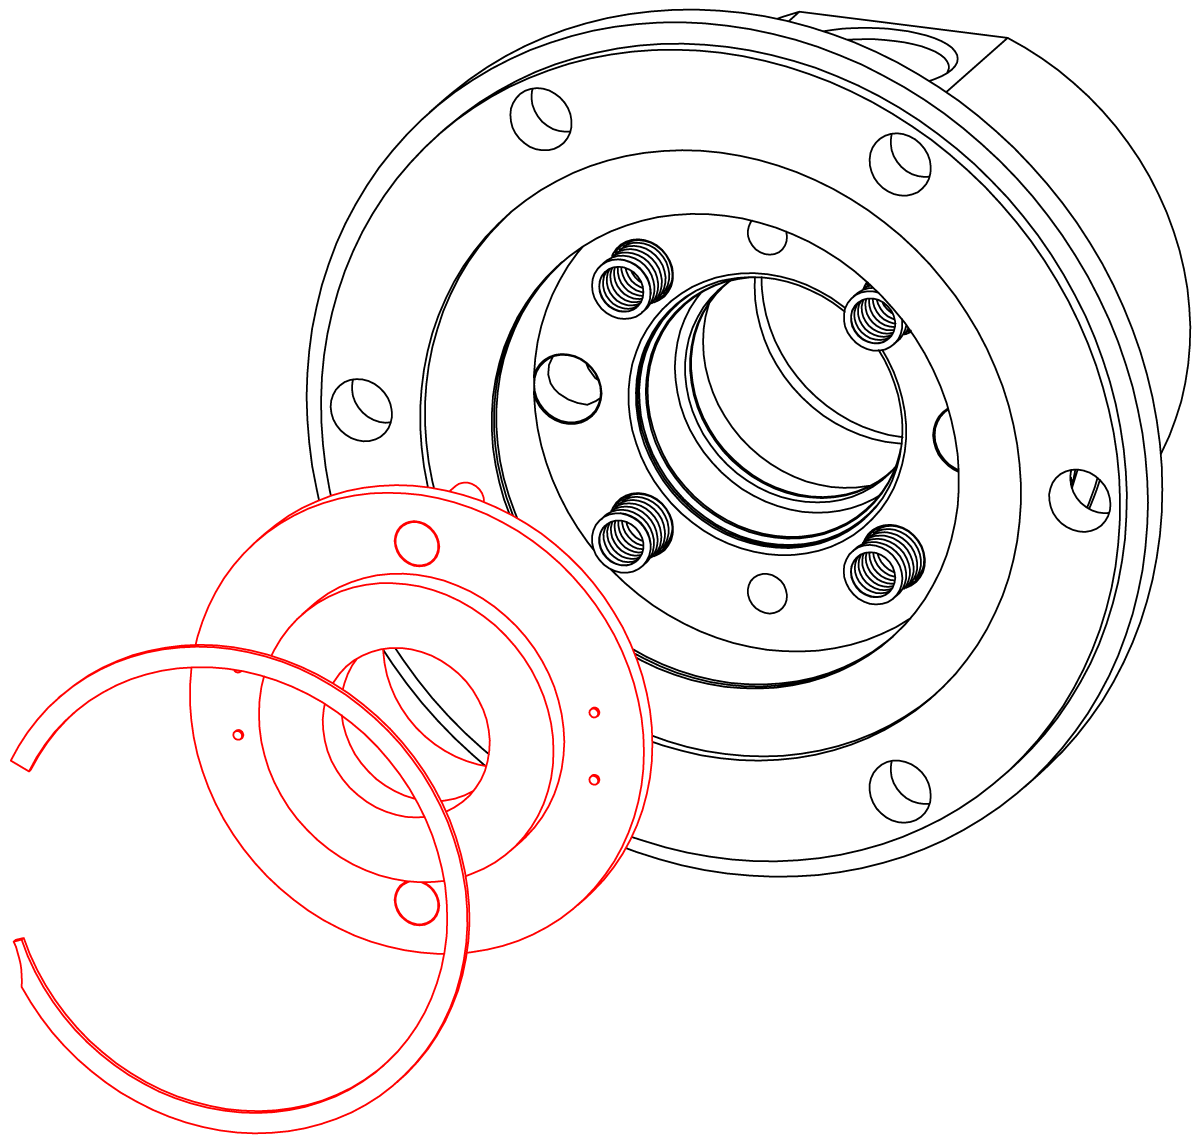
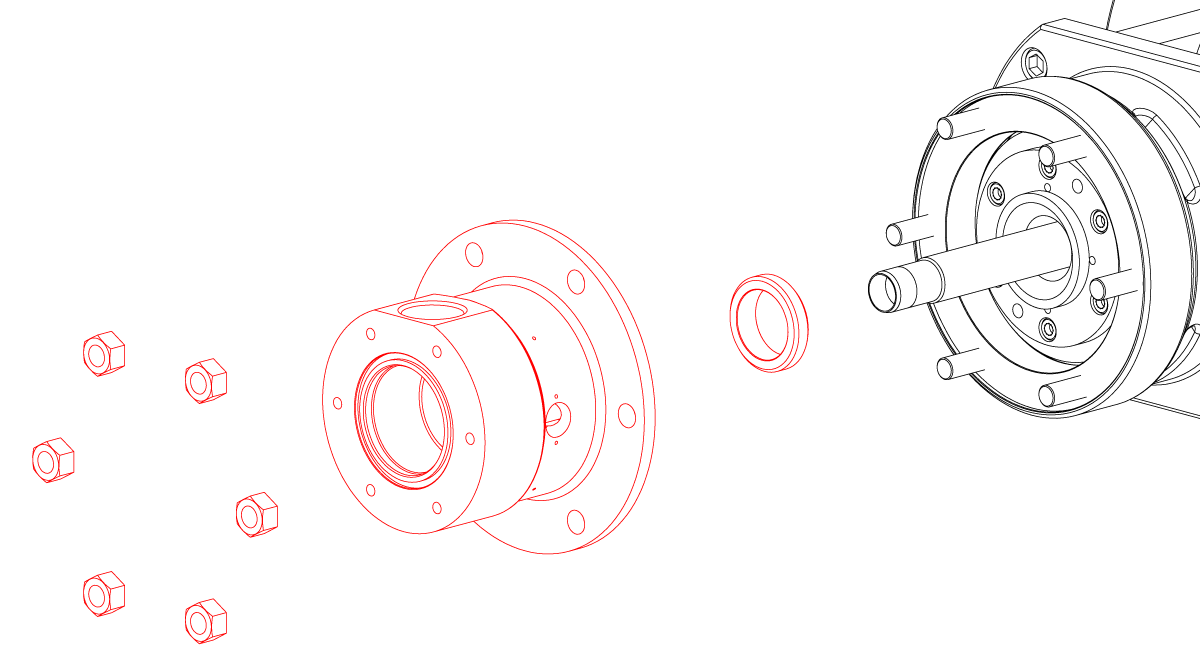
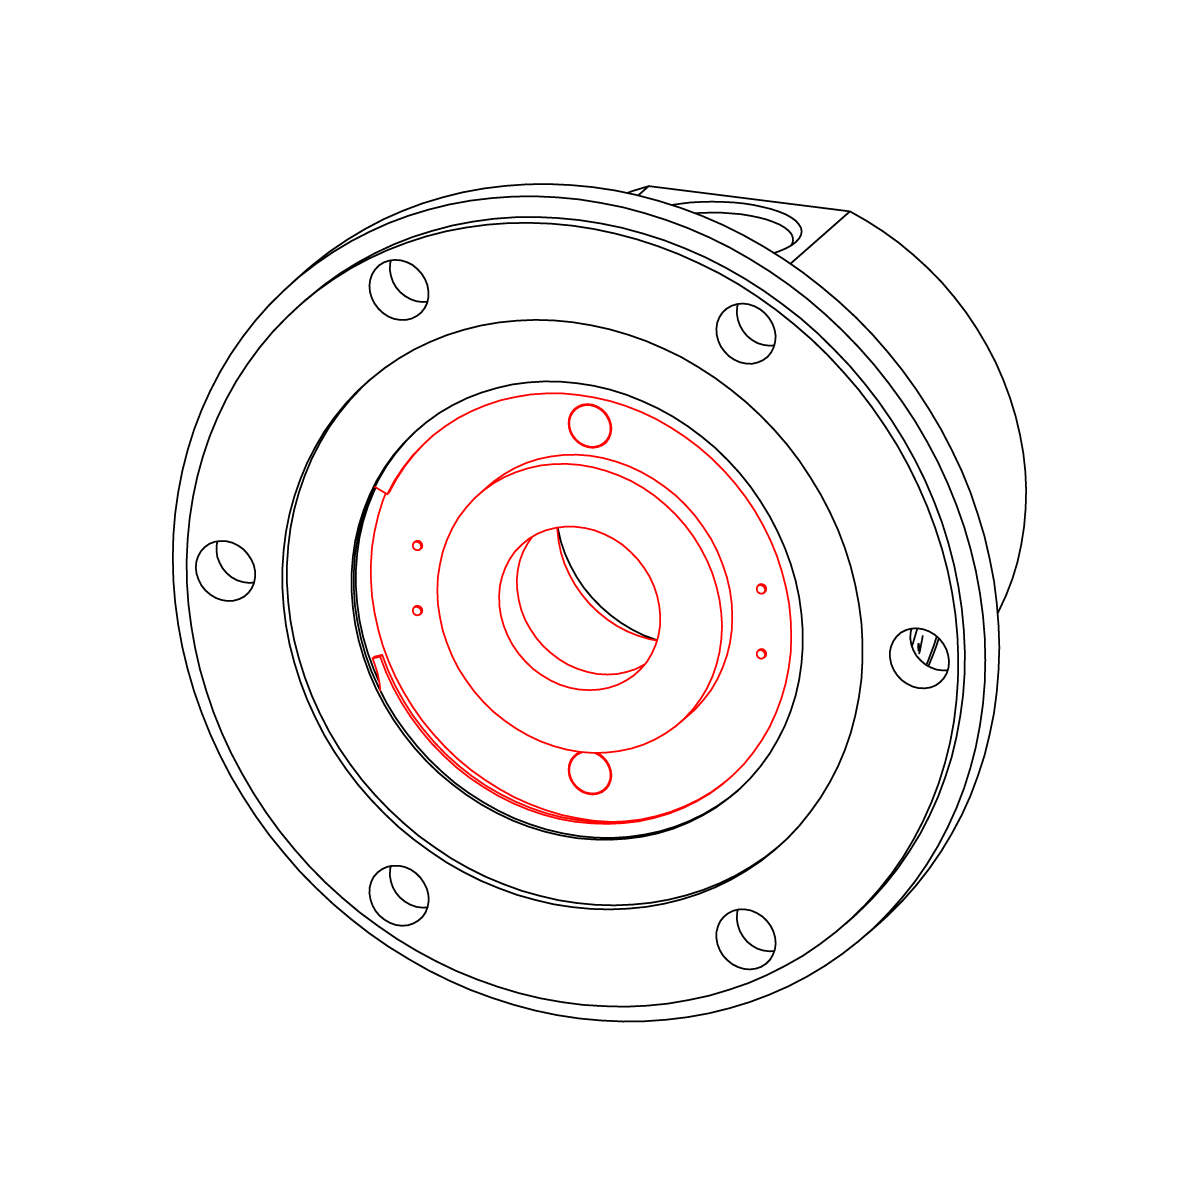
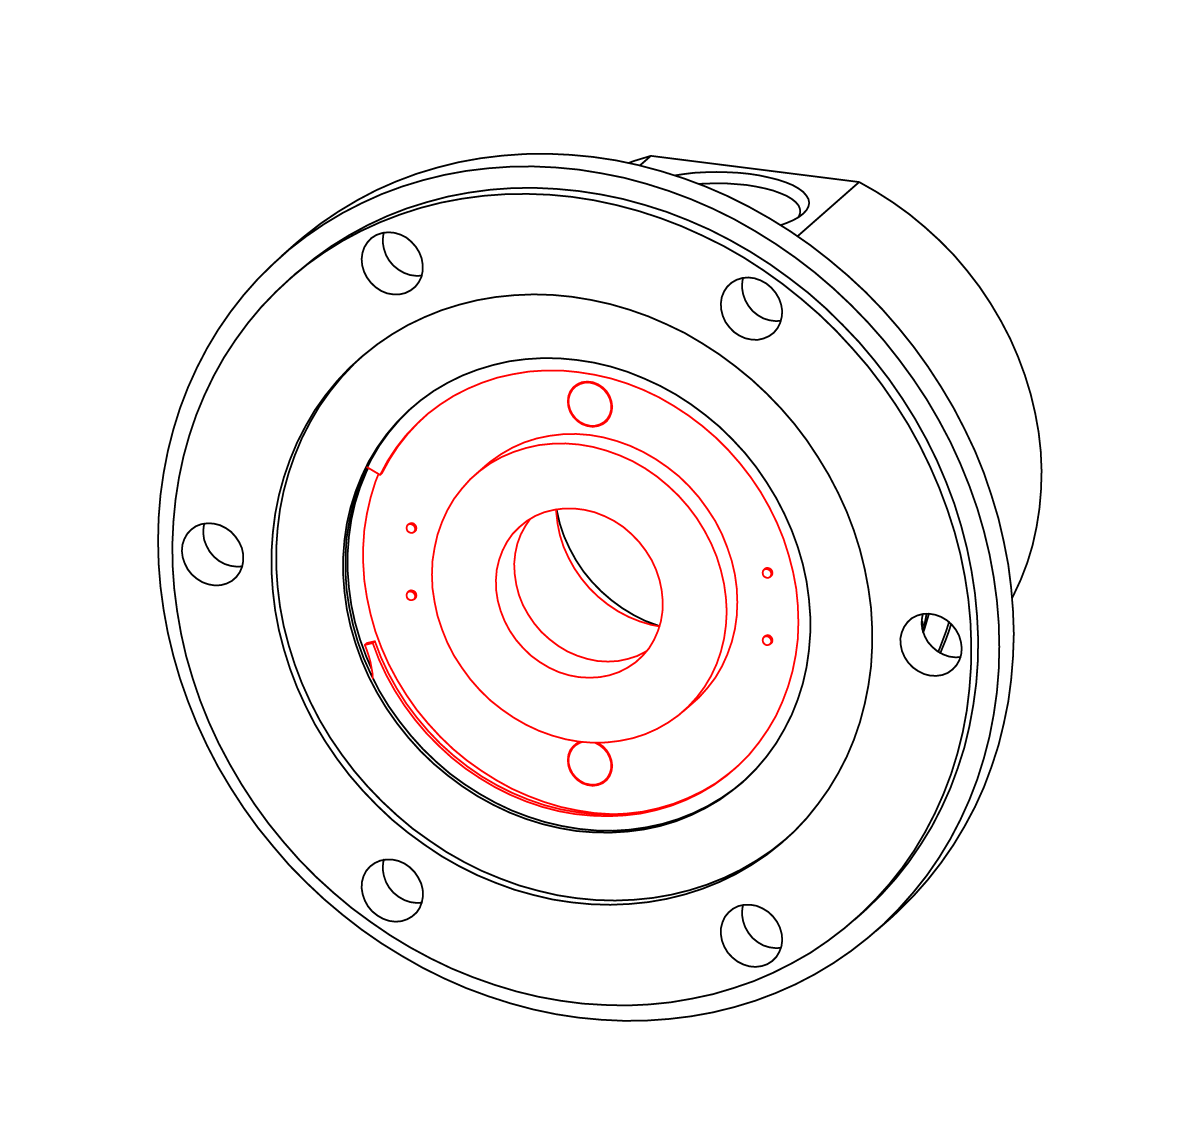
Remove the body and seal ring.
Inspect the wear plate. If it is damaged, replace using a new gasket and/or O-ring(s).
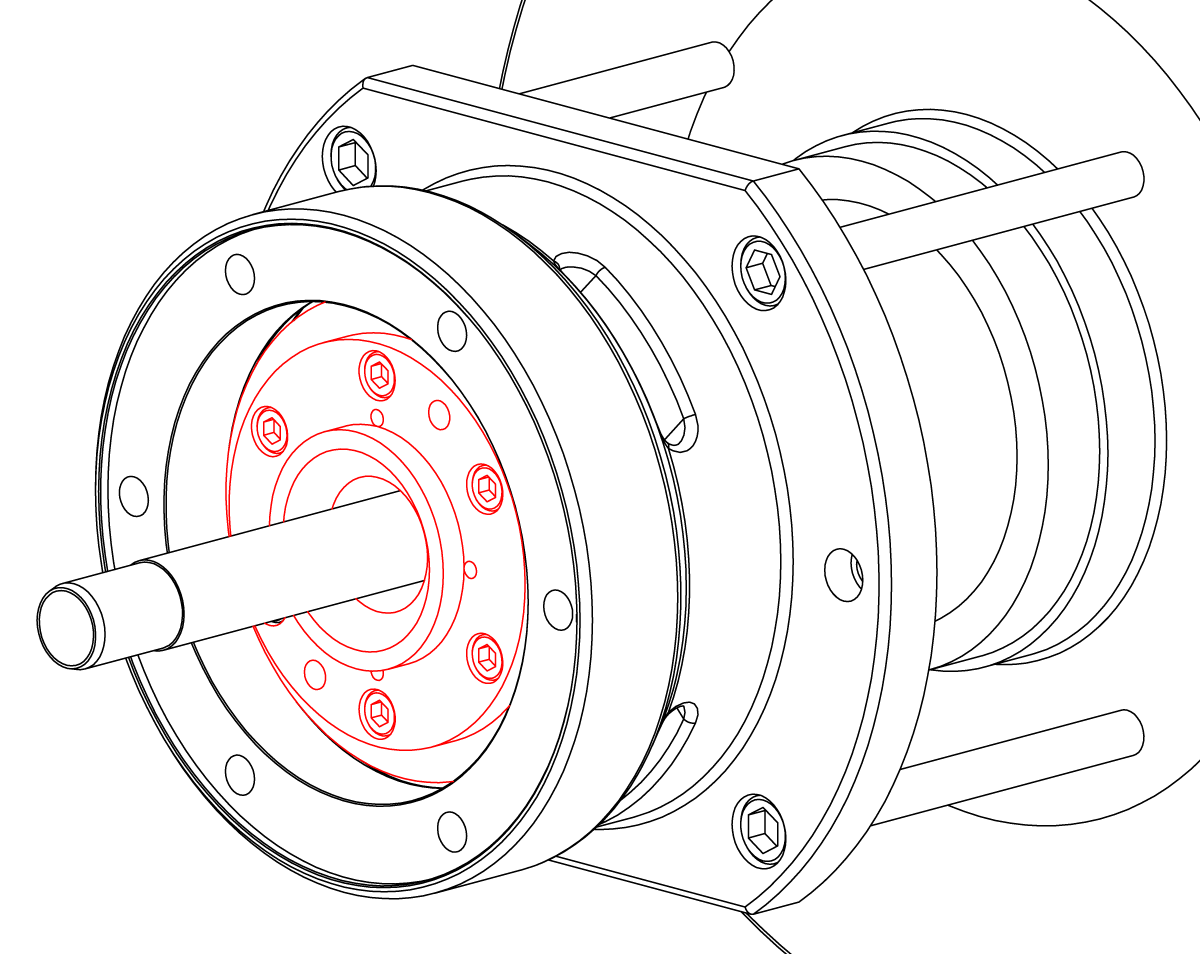
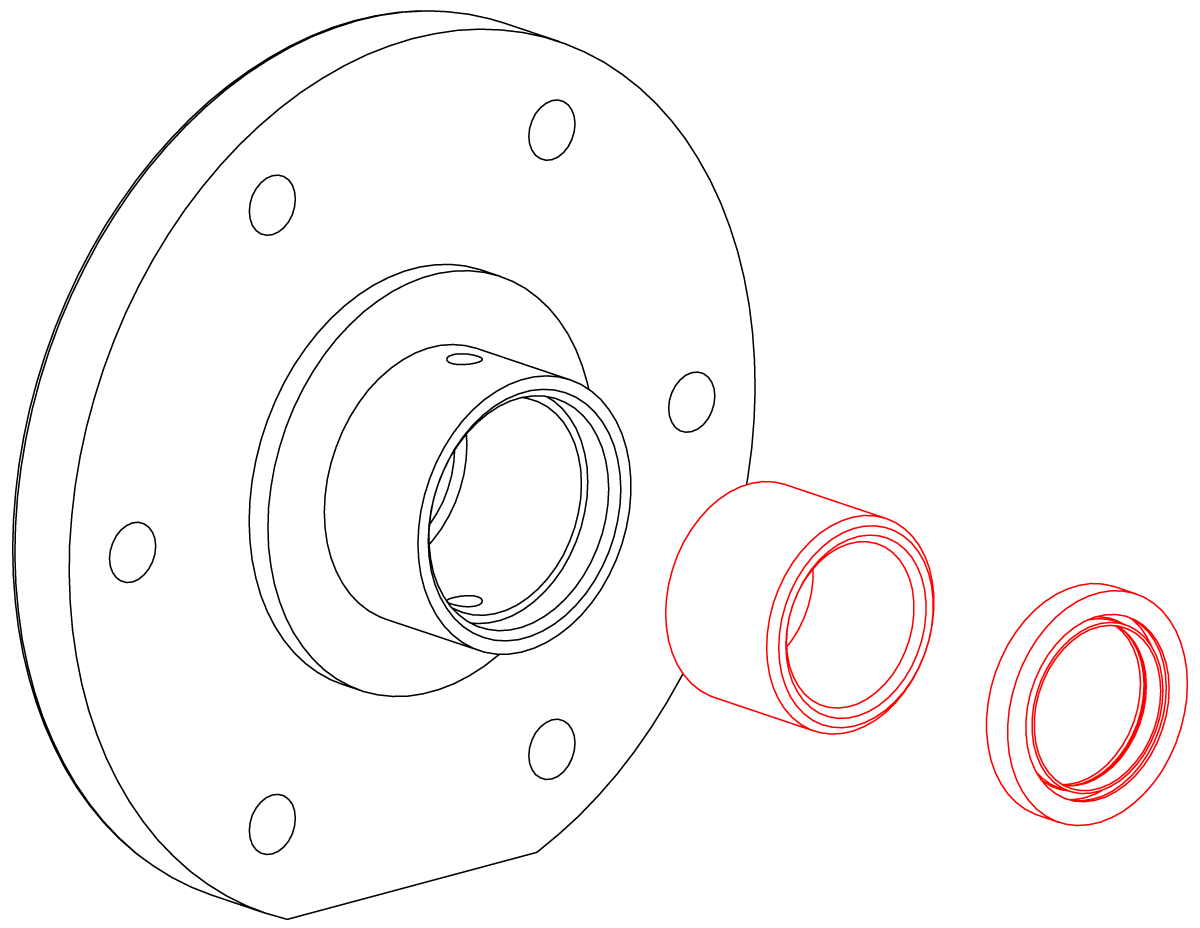
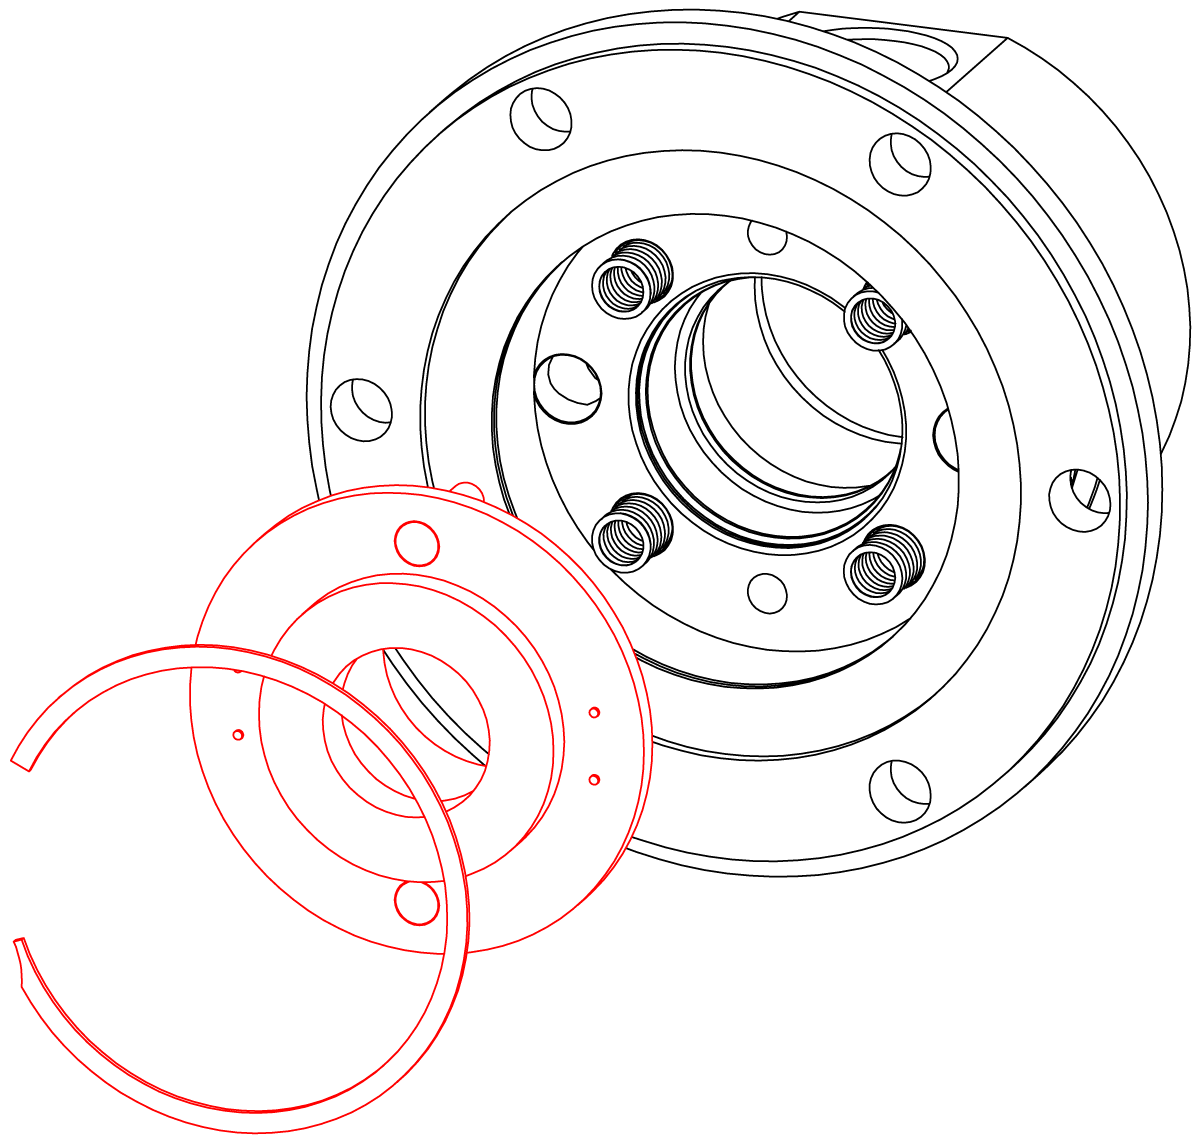
Place the body in a press and compress the nipple enough to remove the retaining ring. Release the press and separate the nipple from the body.
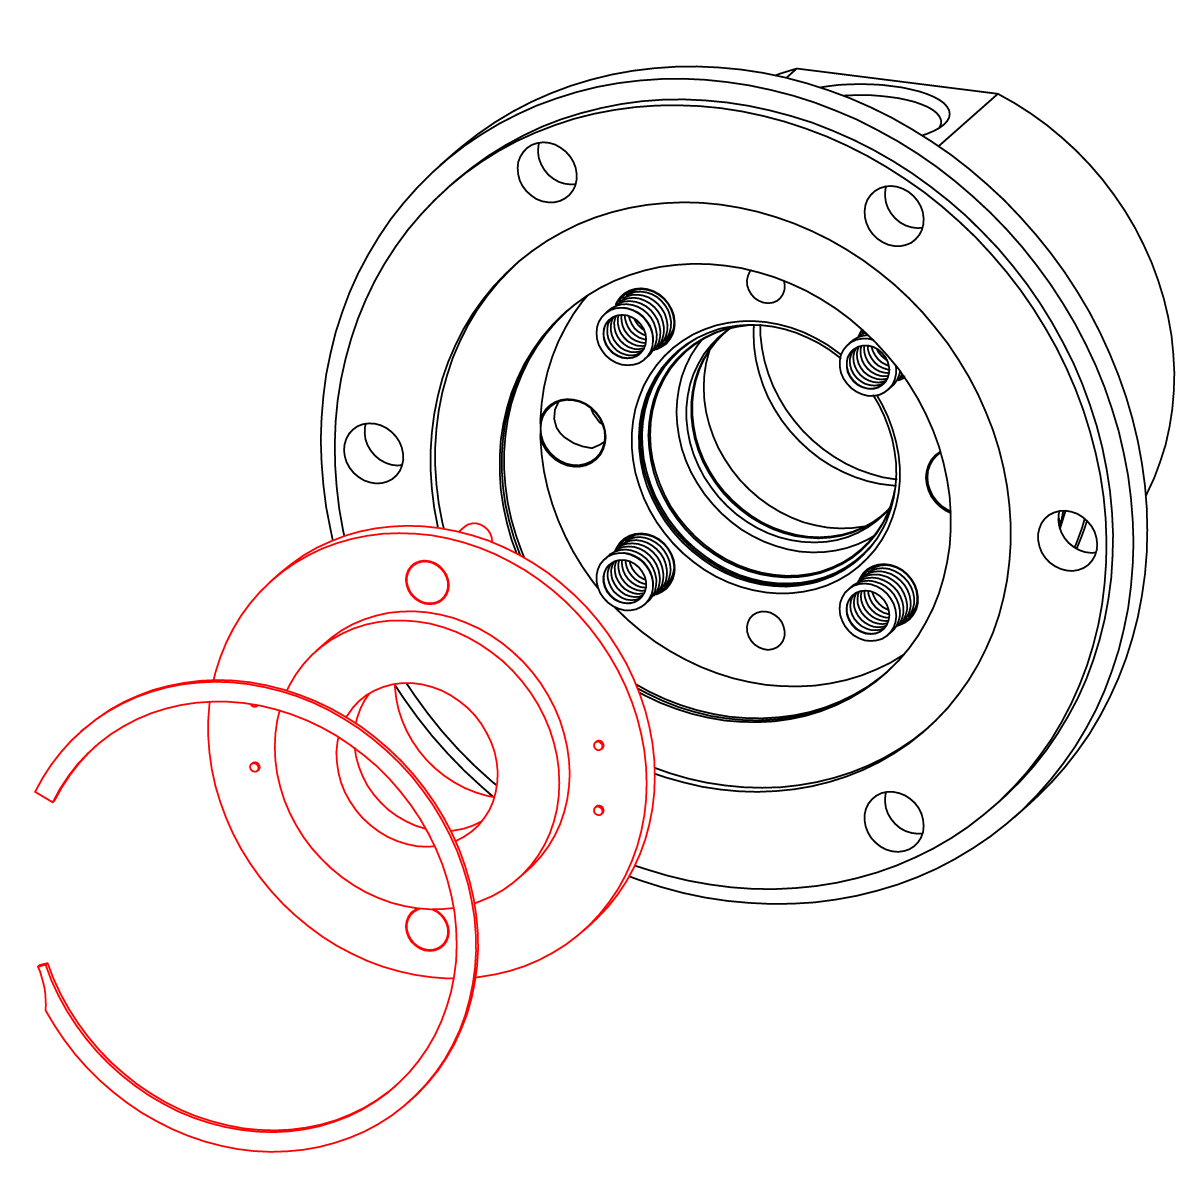
Remove the energized seal from the nipple. Clean and inspect the body, springs, and nipple for damage. Replace if damaged.
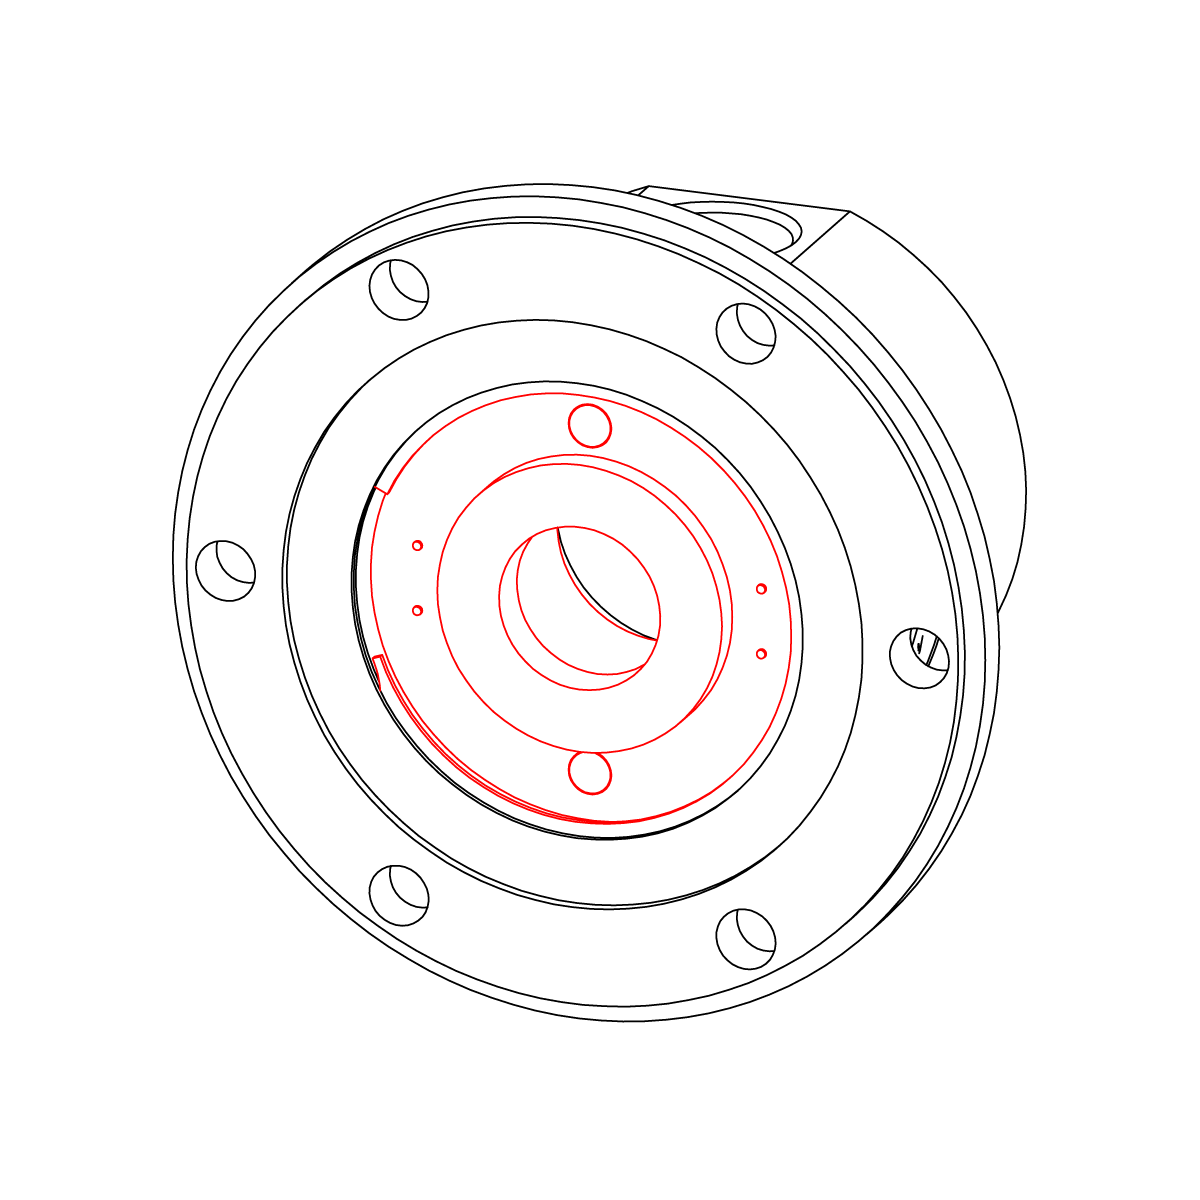
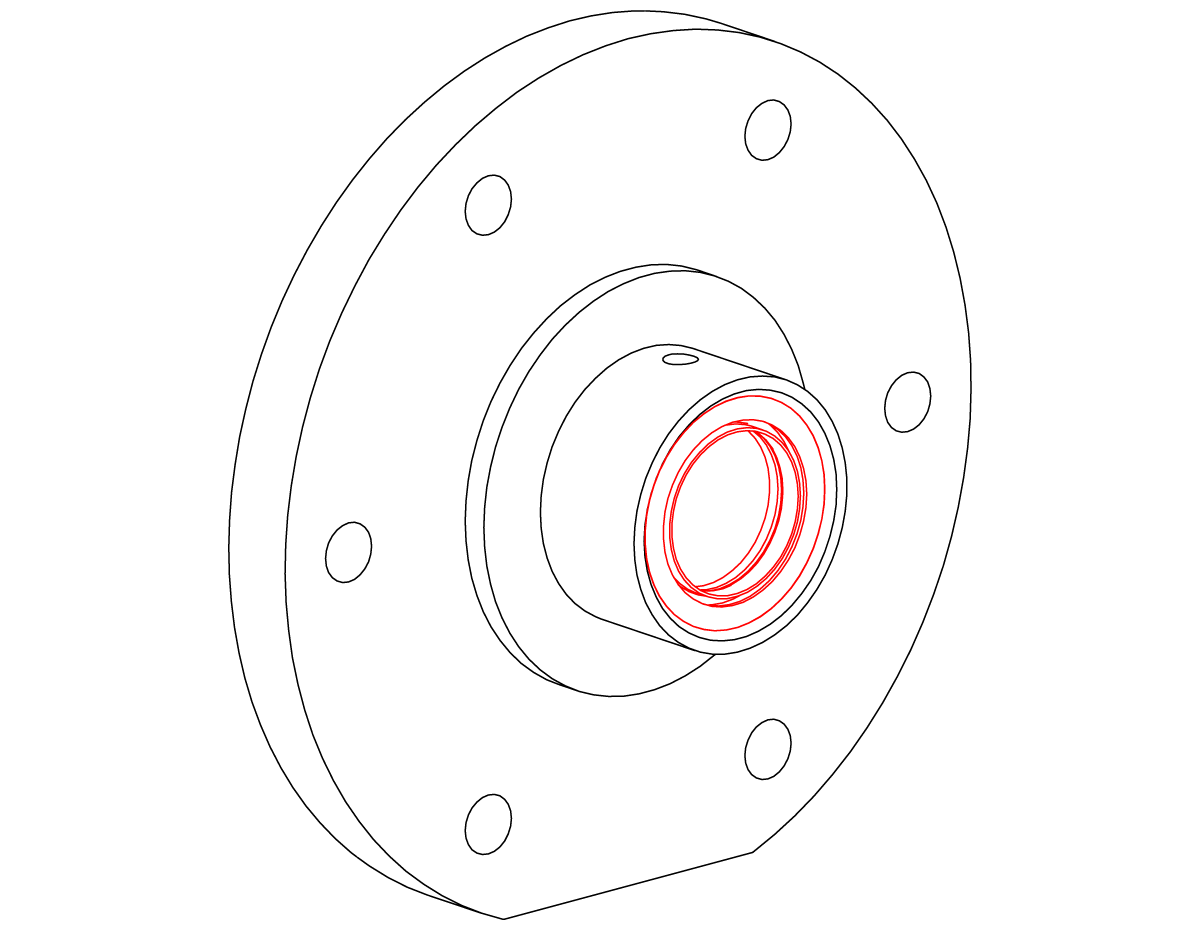
Install a new energized seal on the nipple. Place the body into the press and install the springs. Using silicone lubricant, lubricate the energized seal and the bore of the body. Press the nipple into the body aligning the pins with the appropriate holes in the body. Install the retaining ring and release the press.
Important: Install the energized seal with the cup or "U" shape facing away from the nipple.
Important: Ensure the that the lip of the energized seal has not folded over by viewing from the back side of the body. If damaged, replace with a new energized seal.
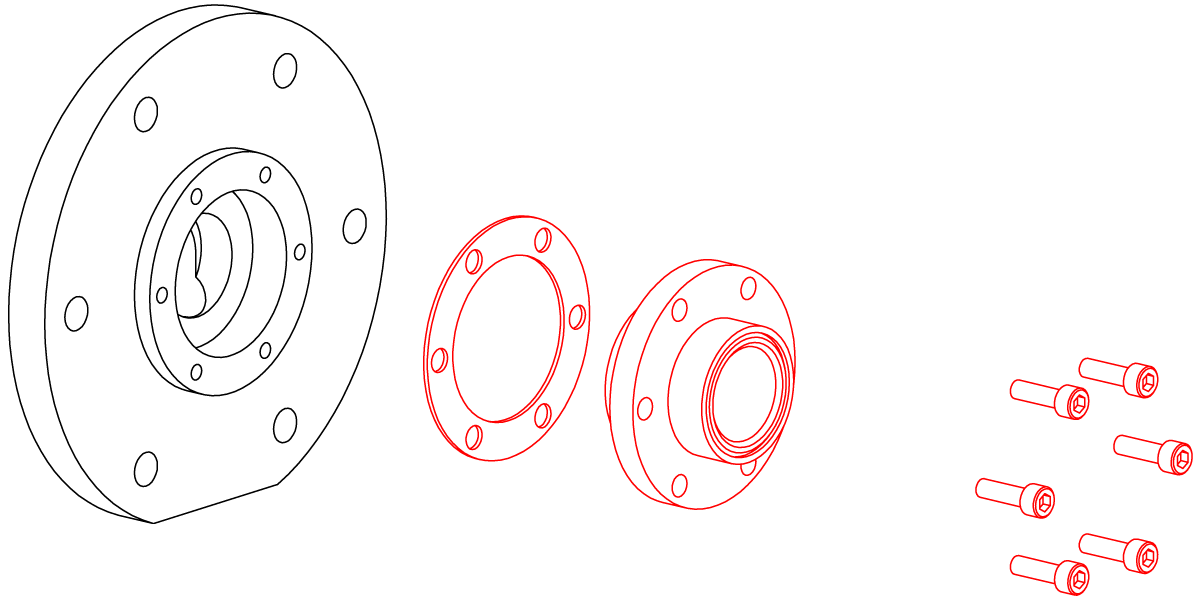
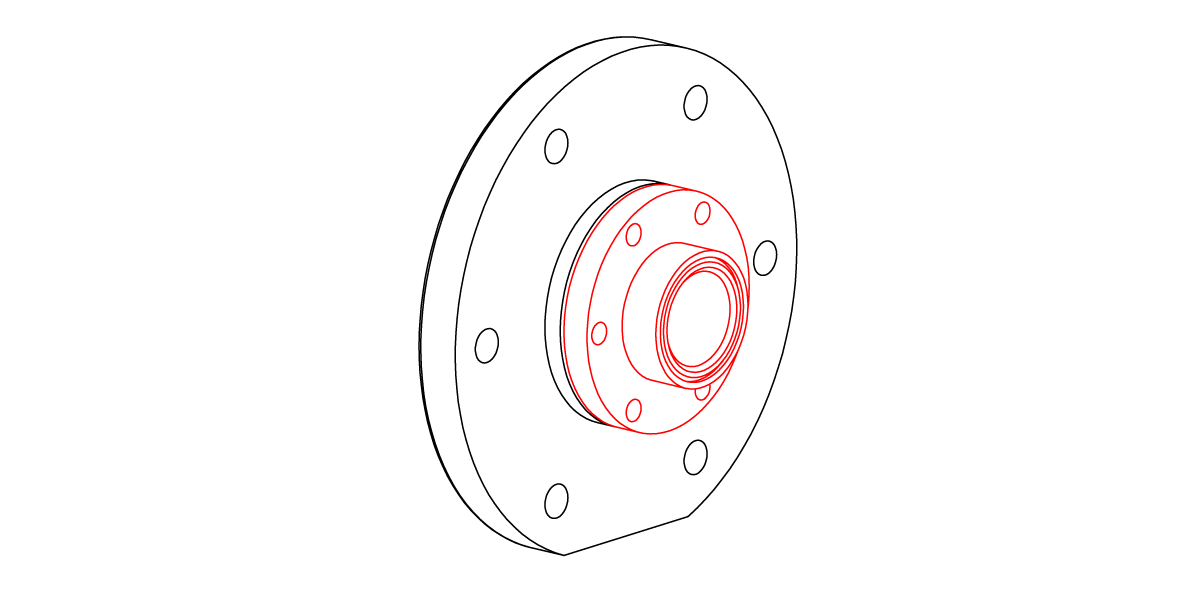
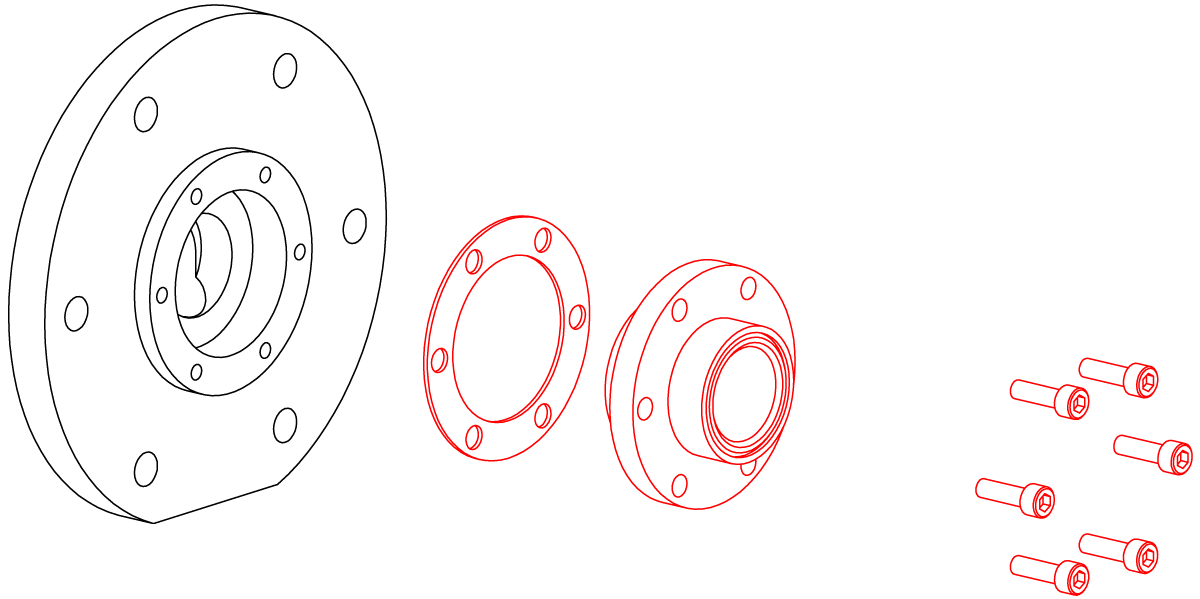
Remove the pipe adapter (5) from the head and clean the gasket surface. Install a new preassembled pipe adapter using a new gasket.
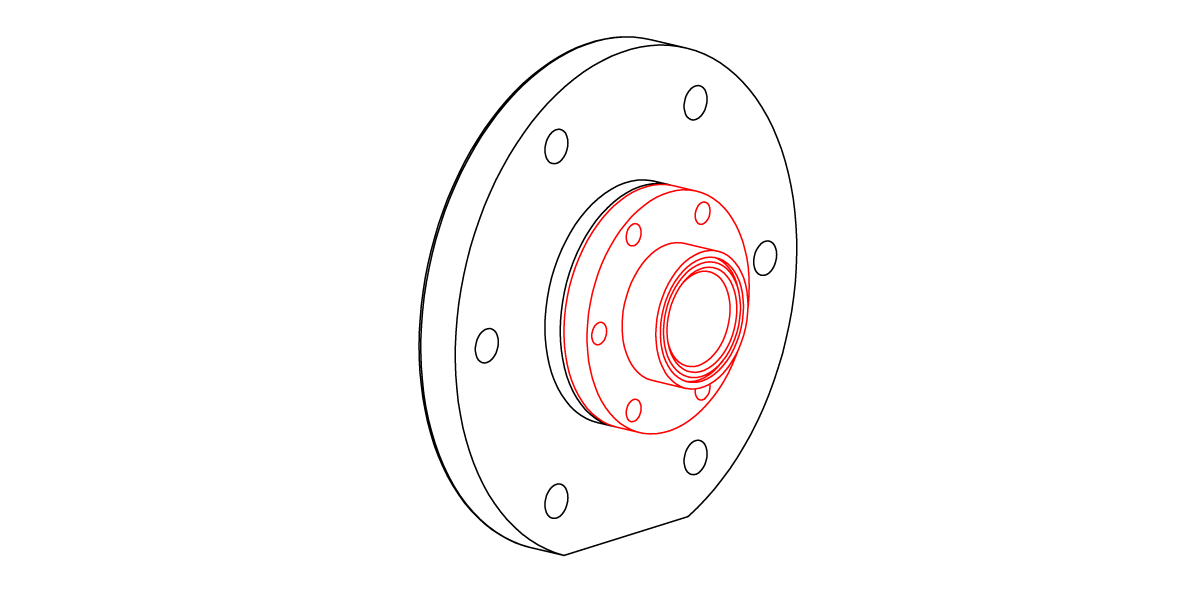
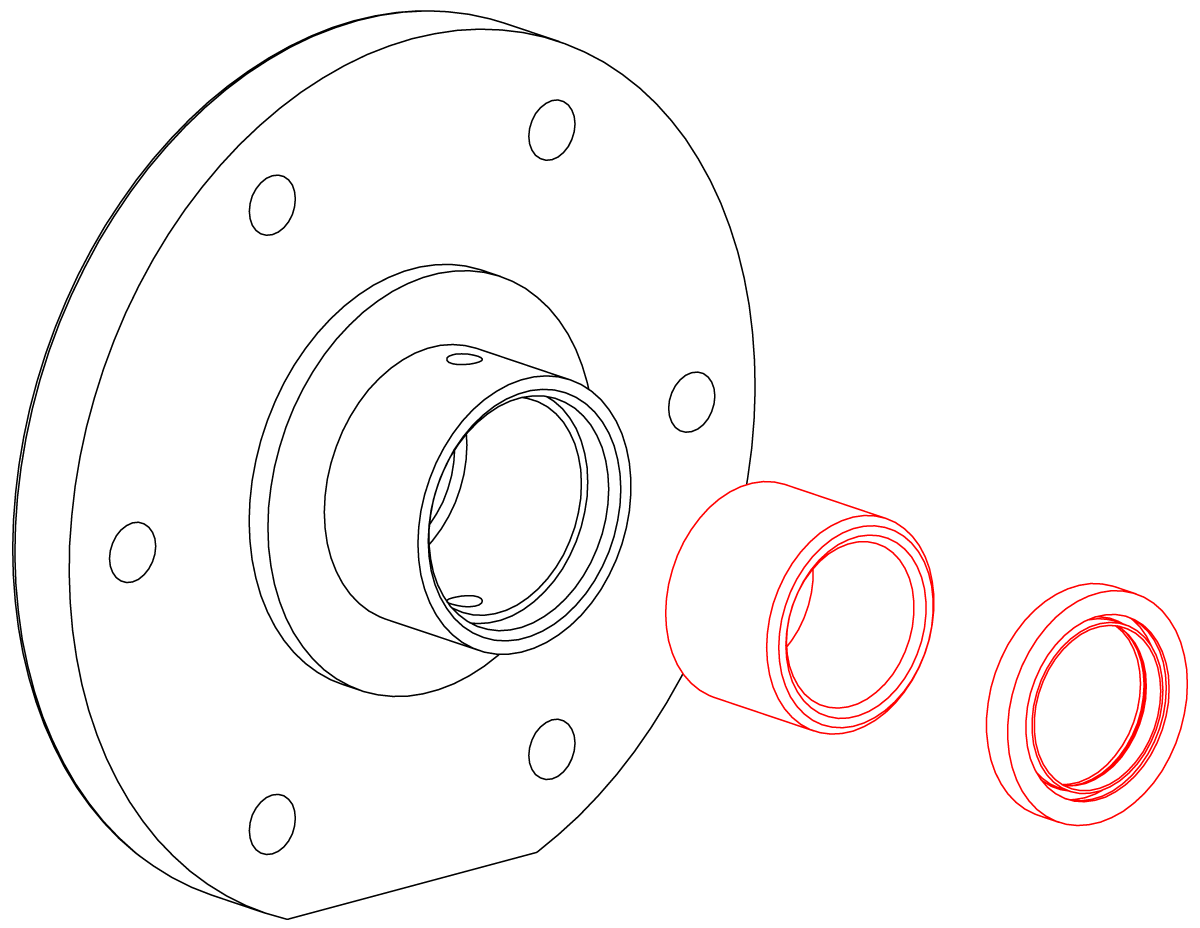
Remove the lip seal (13) and bushing (9) from the head. Heat the head using a torch in and around the area where the bushing will be inserted. Once the area has reached approximately 400 °F (205 °C), press the new bushing into place. Press the lip seal into place with the Teflon seal facing away from the head.
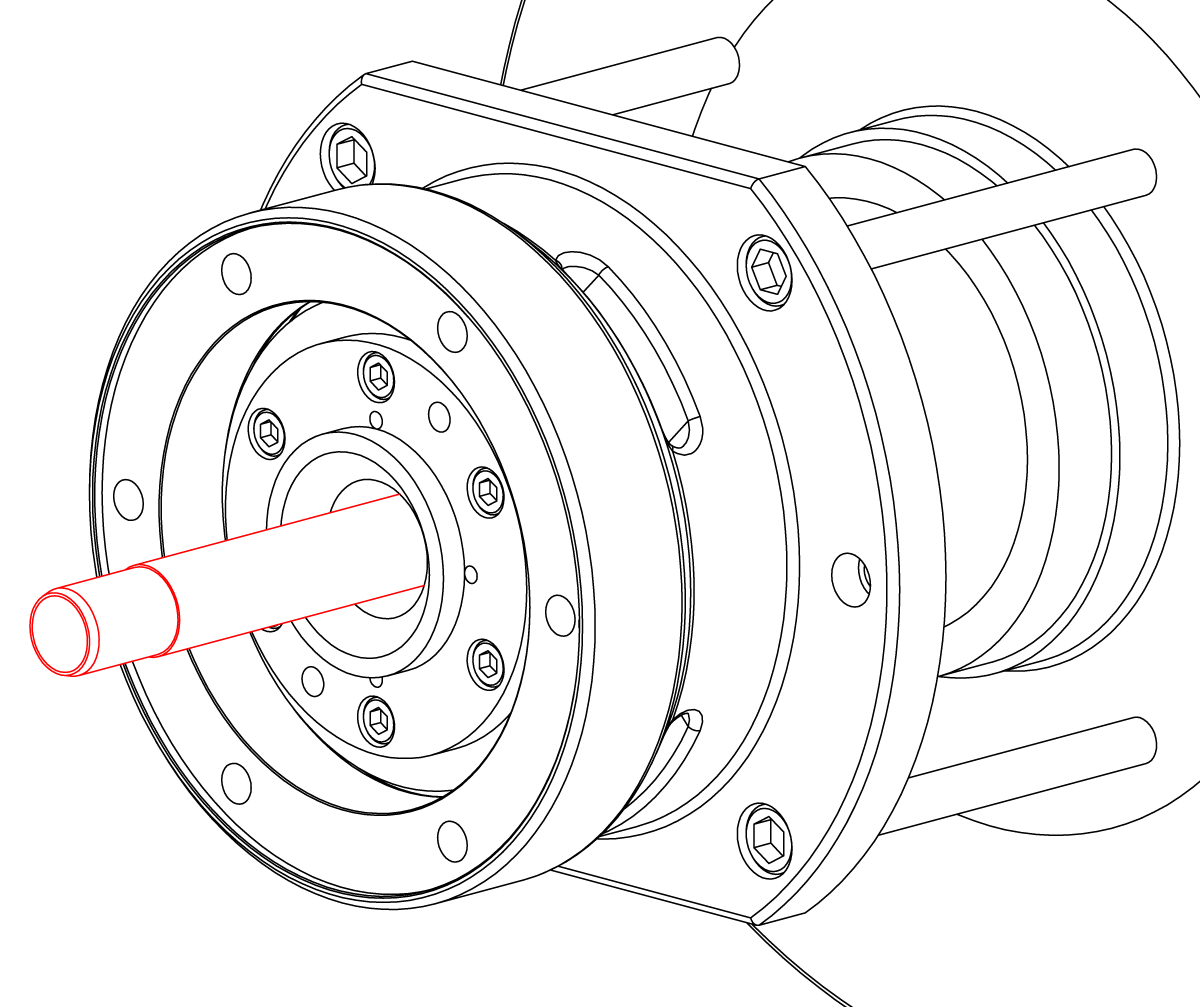
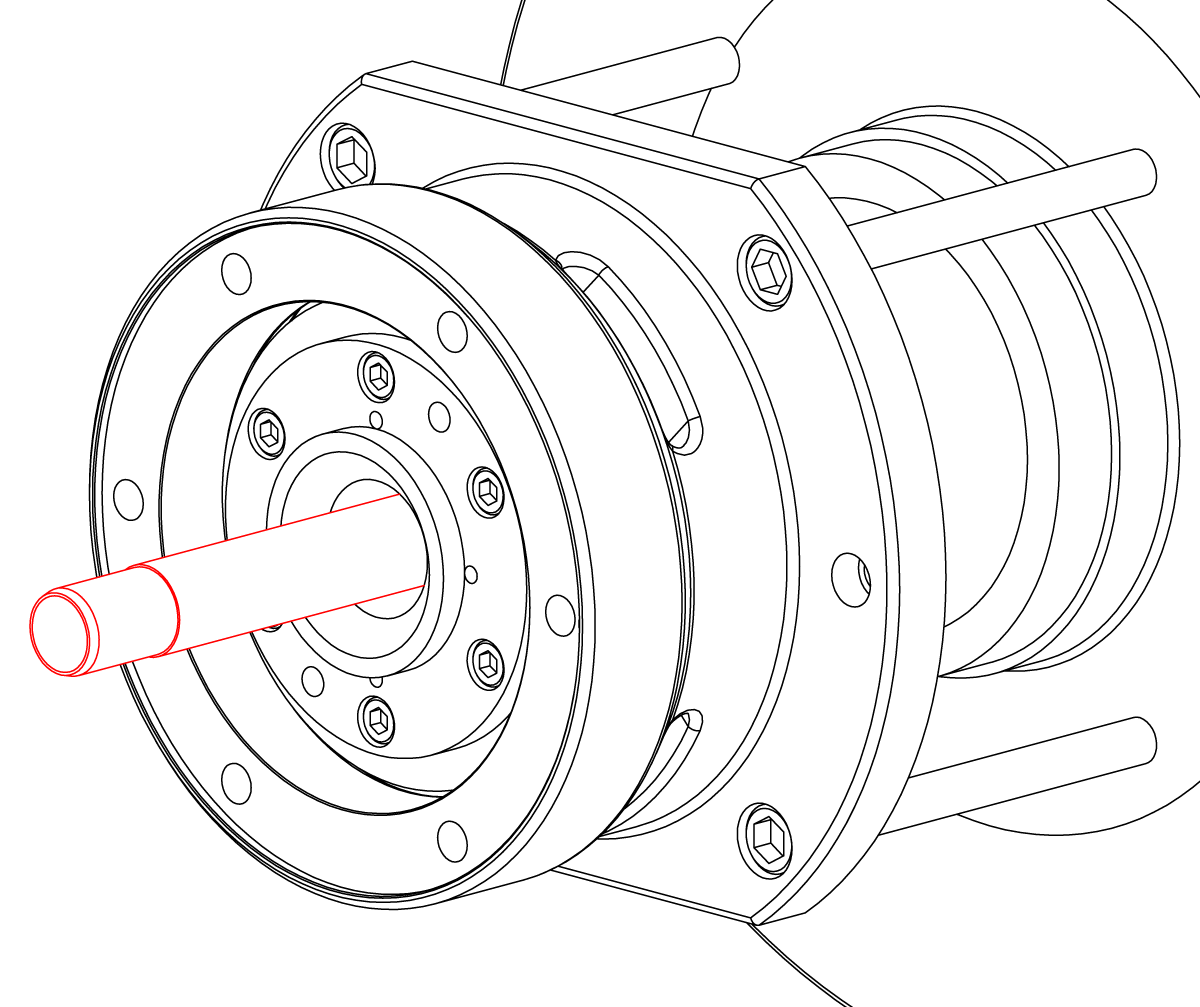
If the horizontal pipe was removed, insert it into the journal according to the machine manufacturer's instructions.
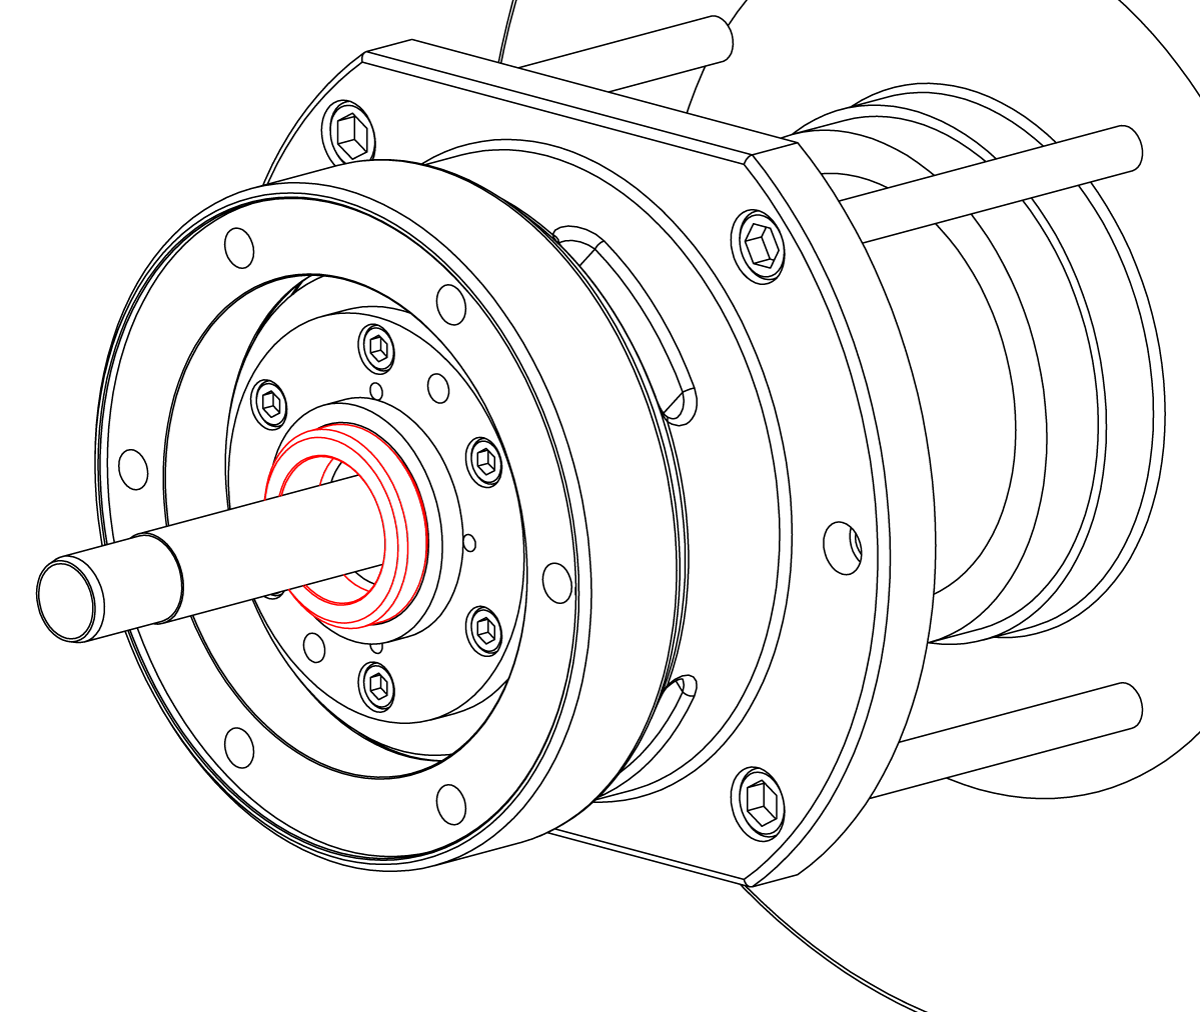
Place three equally spaced drops of seal ring installation fluid on the conical side of the seal ring. Install the seal ring.
Important: Make sure the seal ring is centered and does not fall off the wear plate.
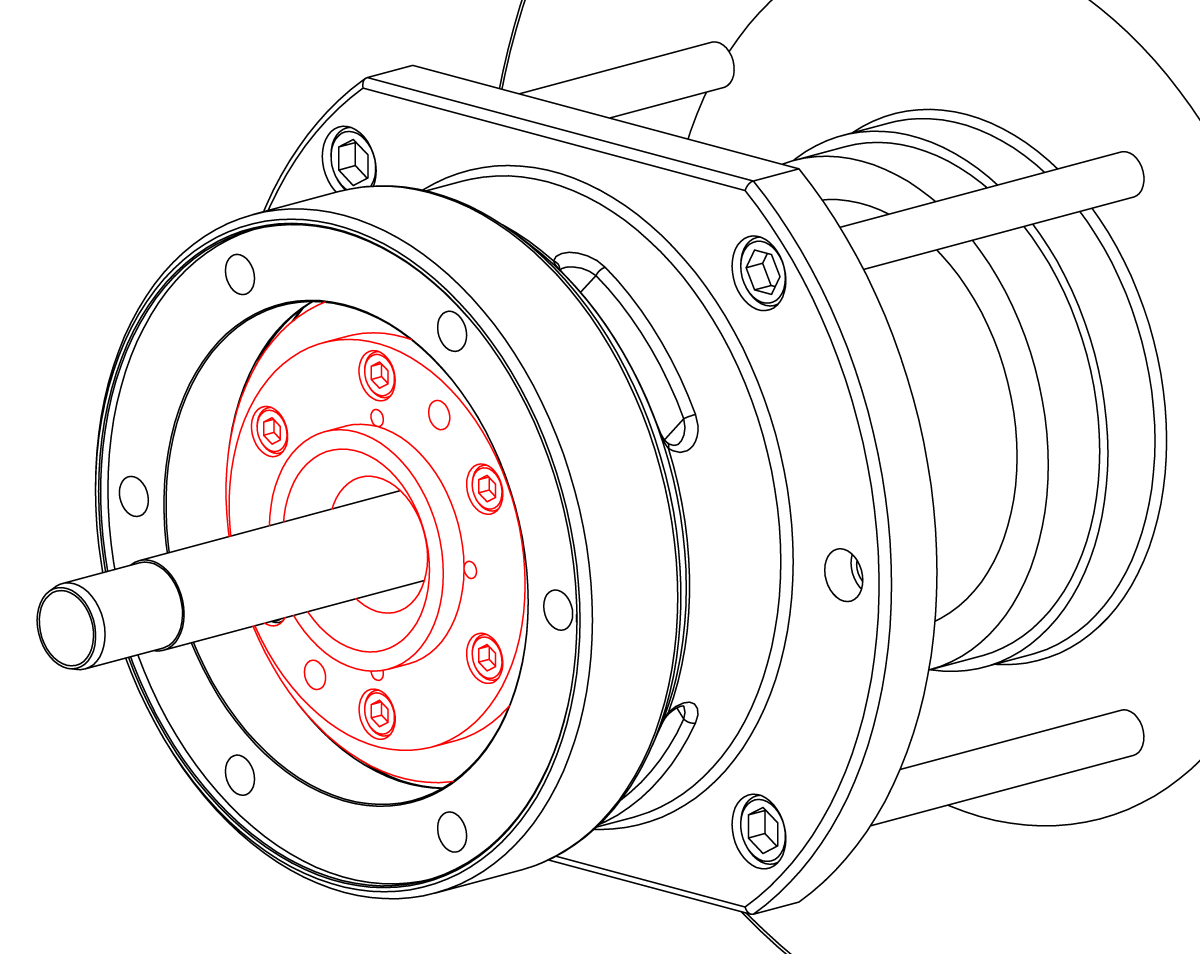
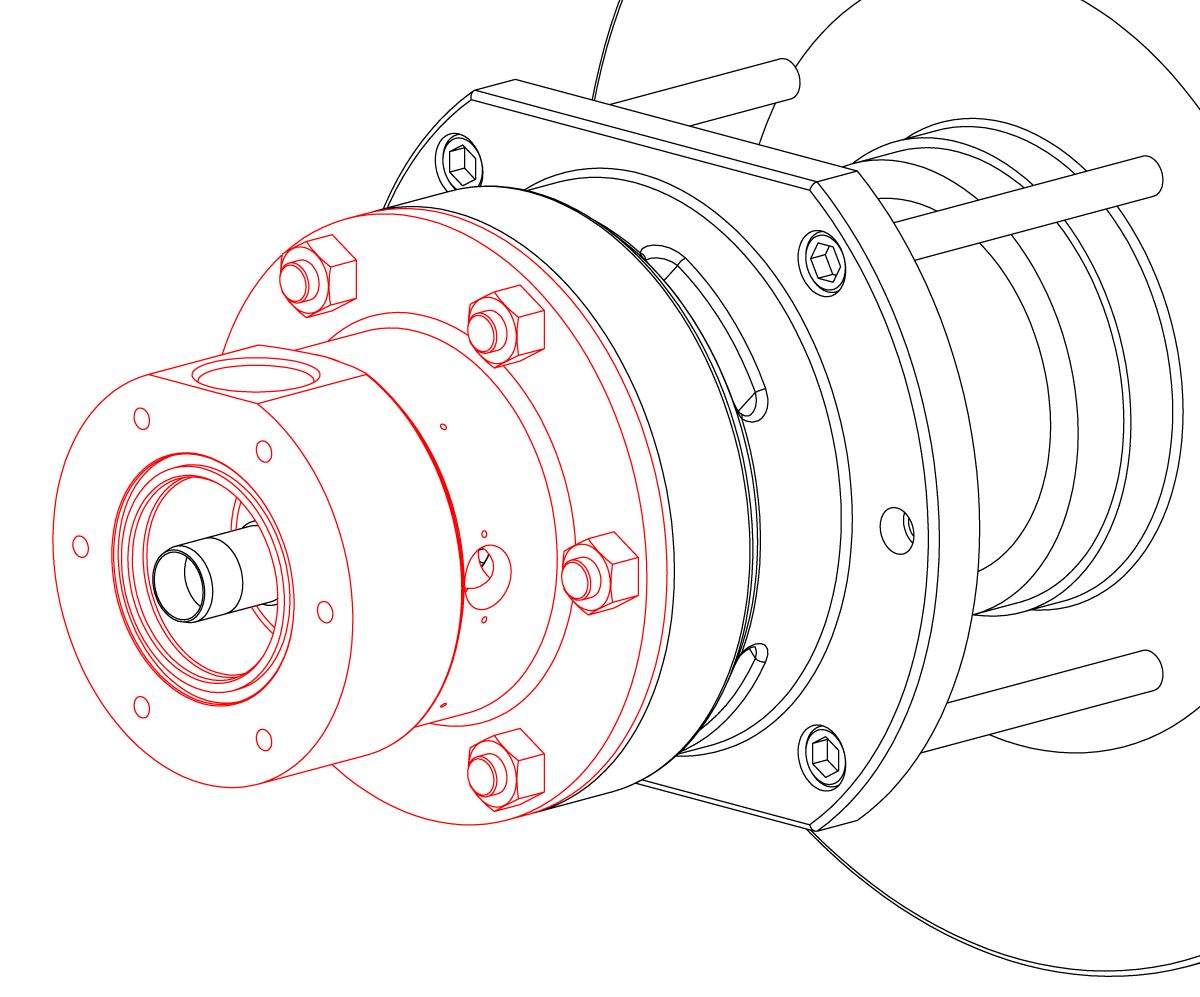
Install the body assembly to the bracket and secure with the provided fasteners (1A).
Important: Check the seal ring wear/set-up dimension indicator to ensure proper set-up.
In order to make installing the head easier, stretch the lip on the lip seal by using a smooth handled tool. Lubricate the seal and install the head using a new gasket.
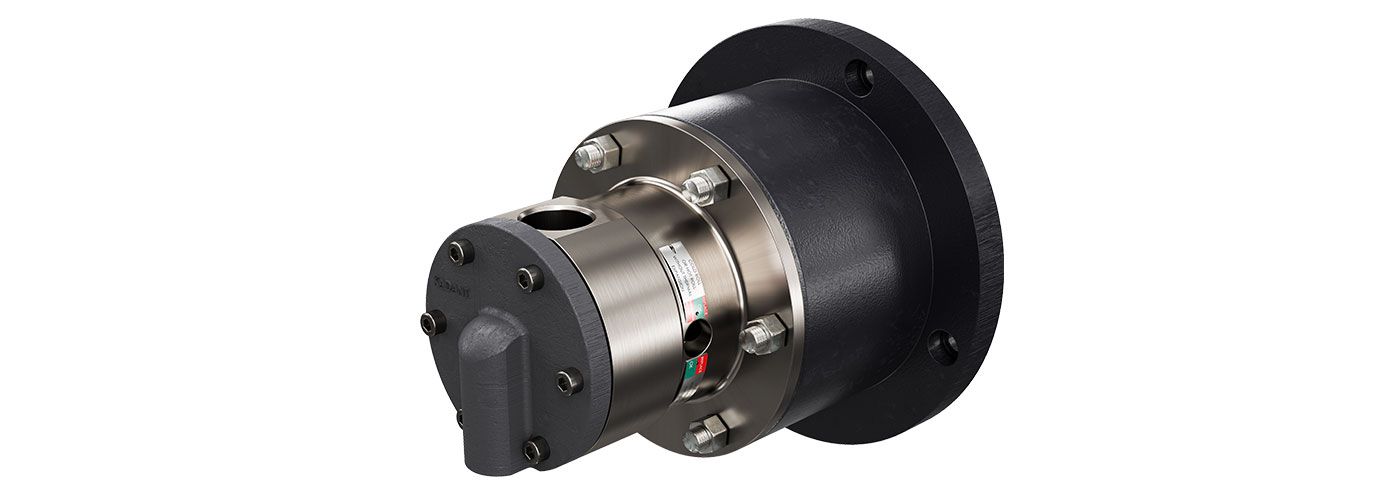
R-9500CorrPro-12mm-Rotating-1

