
Read all of the instructions before proceeding.
Refer to Kadant Johnson assembly drawing for part identification and to drawing A37640 for torque specifications. For easy identification, parts used in individual steps are often accompanied with their position in the assembly drawing [e.g. gasket (8B)]. Tighten all fasteners in a star pattern. Certified drawings are available upon request. Dimensions are for reference only and subject to change.


Remove the existing rotary joint, syphon, and support rods from the roll.
Important: If reusing the journal flange, clean and inspect the bore where the nipple is inserted. If damaged, replace with a new flange.

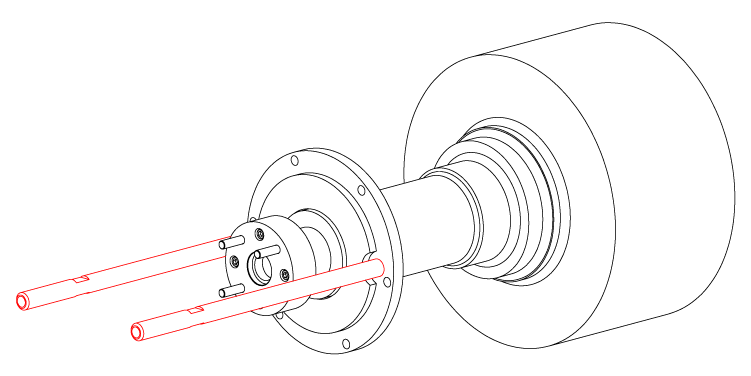
Install the new support rods.
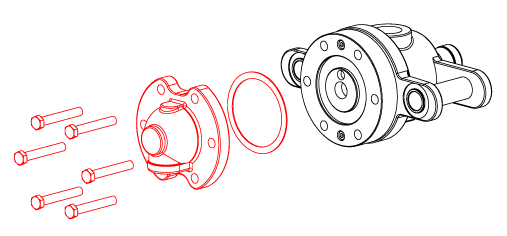
Remove the head, and gasket (8), from the rotary joint.
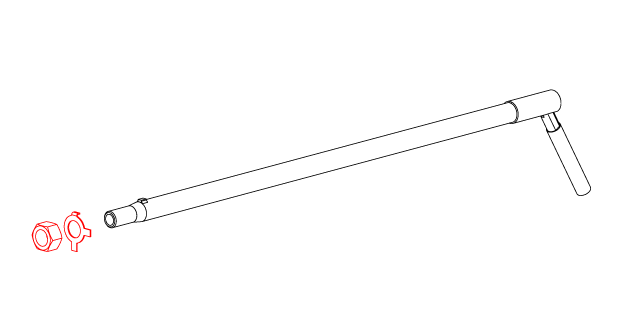
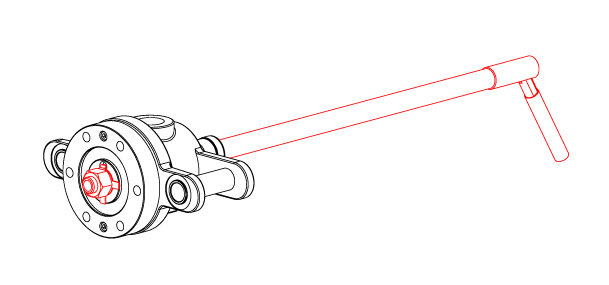
Remove the retention nut and multi-tab washer from the horizontal pipe. Apply anti-seize compound to the threads and tapered portion of the horizontal pipe.
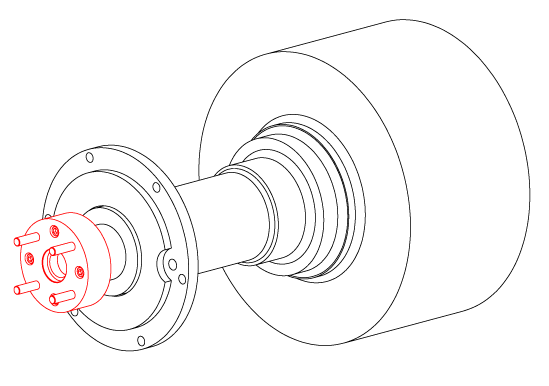
Carefully pass the horizontal pipe through the nipple until the key on the horizontal pipe is engaged with the keyway in the retention plate (31). Install the multi-tab washer and the retention nut on the horizontal pipe. Do not fully tighten the nut.
Note: The retention plate allows for multiple syphon locations. Refer to the assembly drawing for the correct location.
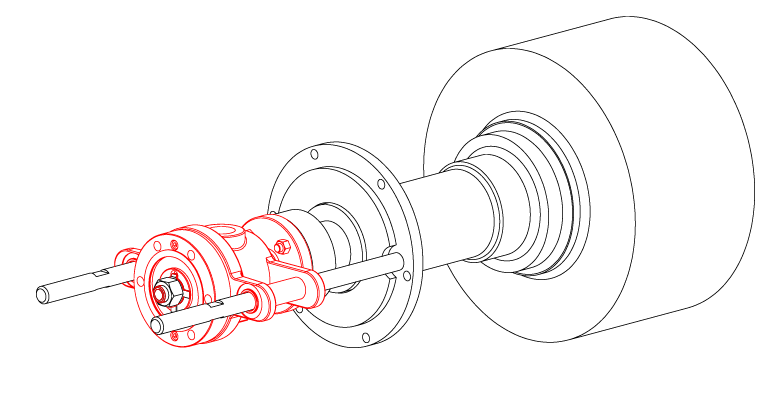
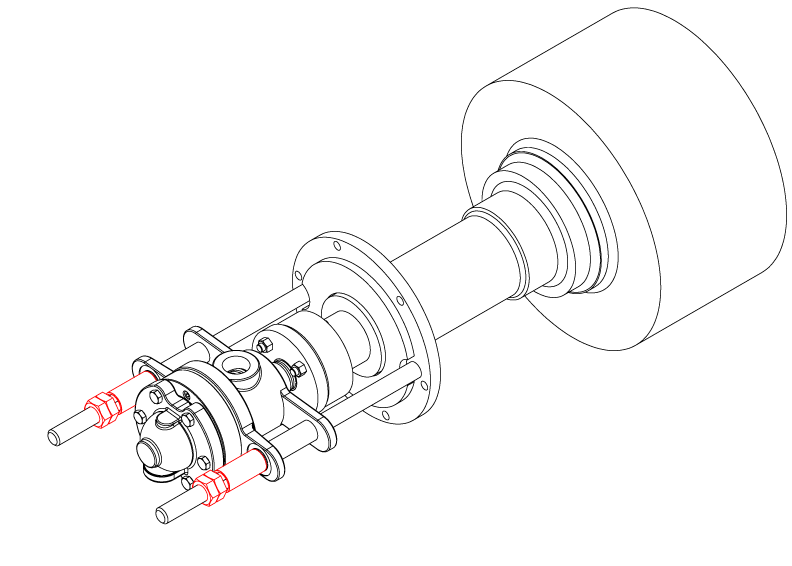
Slide the nipple flange over the rotary joint nipple with the taper facing out. Place the split wedges into the recess of the nipple. Slide the nipple flange over the wedges.

Place metal gasket (8Q) into the journal flange. Lift the rotary joint up and slide onto the support rods and into the journal flange. Secure to studs with nuts. An even gap of 1/8" to 3/16" (3 to 5 mm) should remain in between the journal flange and nipple flange. The syphon vertical leg will fall downward locking into place.
Tighten the retention nut to 75 ft-lbs. Bend the multi-tab lock washer over the retention nut.
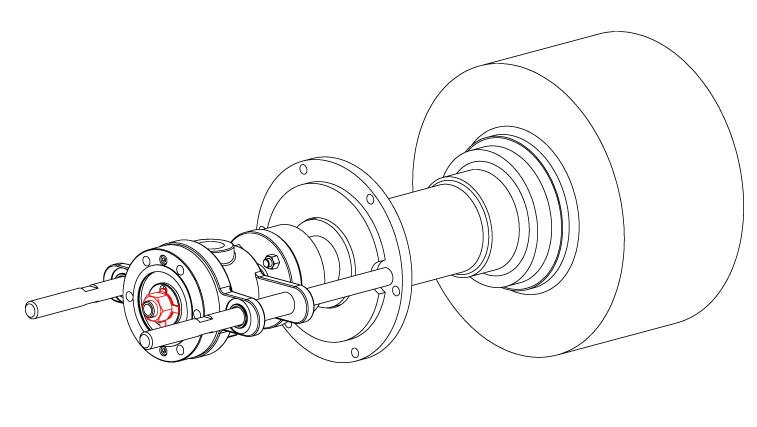
Install the gasket (8) and head.
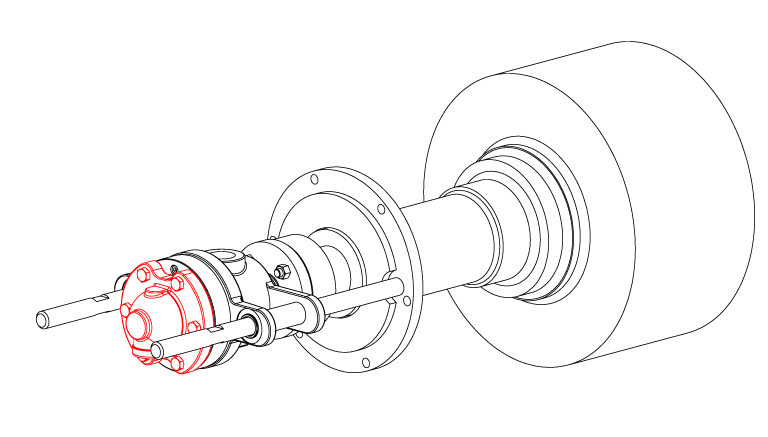
For installations using a retaining plate, install a nut on each rod to the dimension on the assembly drawing. Install the retaining plate. Install the remaining lock washers and nuts to secure the retaining plate in place. Verify the set-up dimension on the assembly drawing.
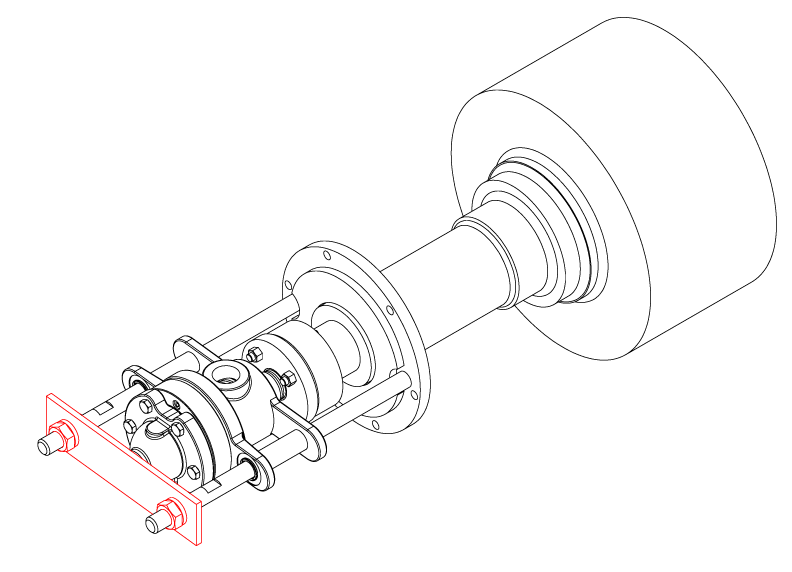
For installations using spacers, install a spacer on each rod. Install a nut on each rod to the specified set-up dimension on the assembly drawing. Install the lock washers and remaining nuts and lock into place.
IS-2550LJX-1

