Read all of the instructions before proceeding.
Refer to Kadant Johnson assembly drawing for part identification and to drawing A37640 for torque specifications. For easy identification, parts used in individual steps are often accompanied with their position in the assembly drawing [e.g. gasket (8B)]. Tighten all fasteners in a star pattern. Certified drawings are available upon request. Dimensions are for reference only and subject to change.


Check that the adjustment screw (2D) is tight, this will prevent making syphon adjustments later. Disconnect the piping.

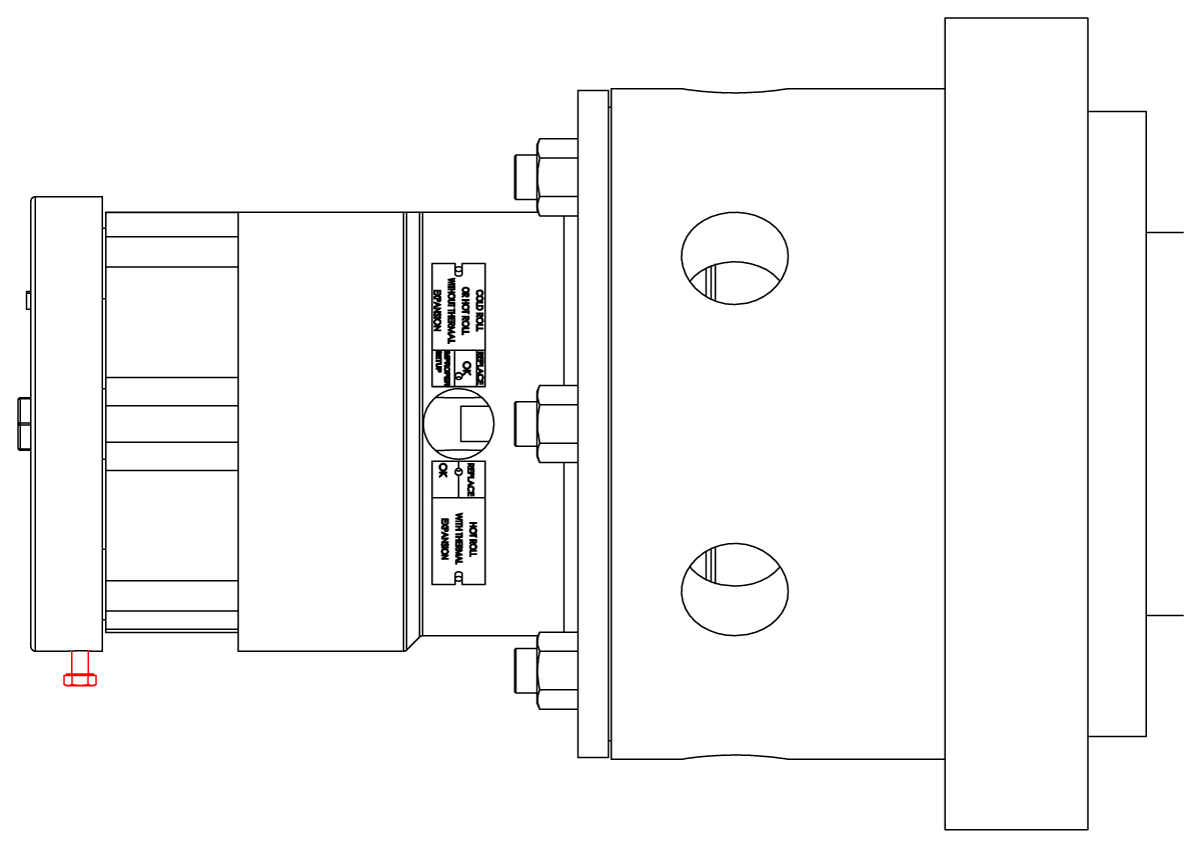
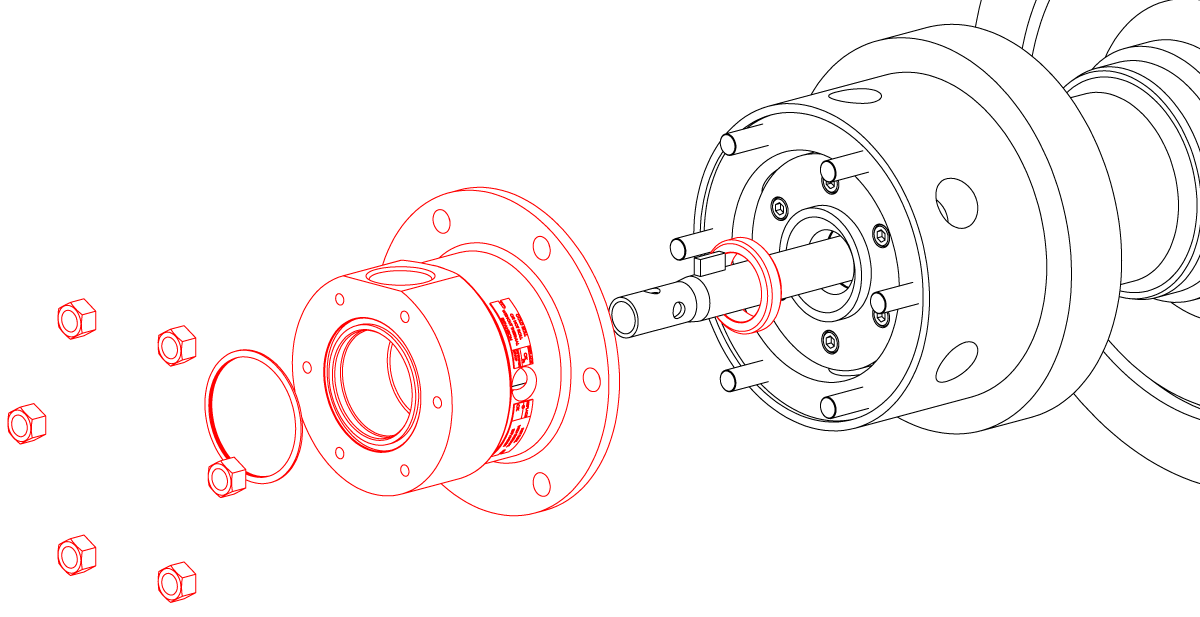
Unthread the support tube nut approximately two turns. Place a block of wood over the nut and strike it with a hammer. This will break the tapered seal inside the rotary joint.
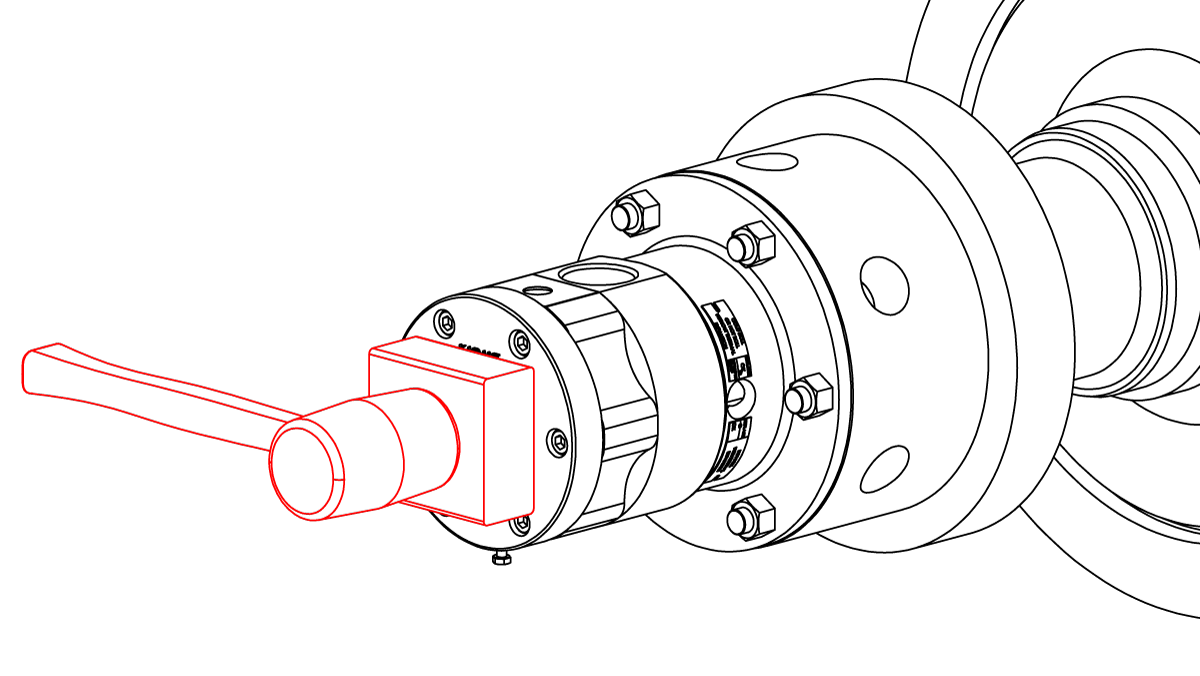
Remove the retaining ring.
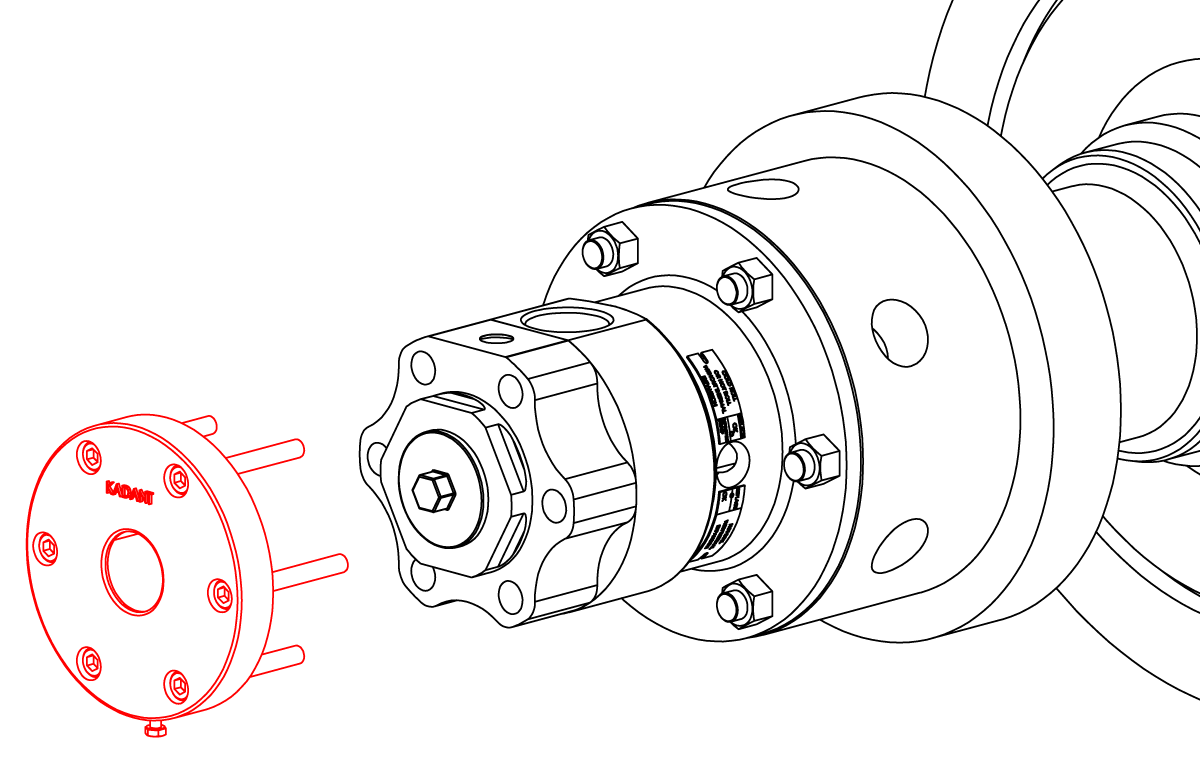
Unthread the support tube nut and set aside. Remove the cup seal from the head and discard. Remove the head.
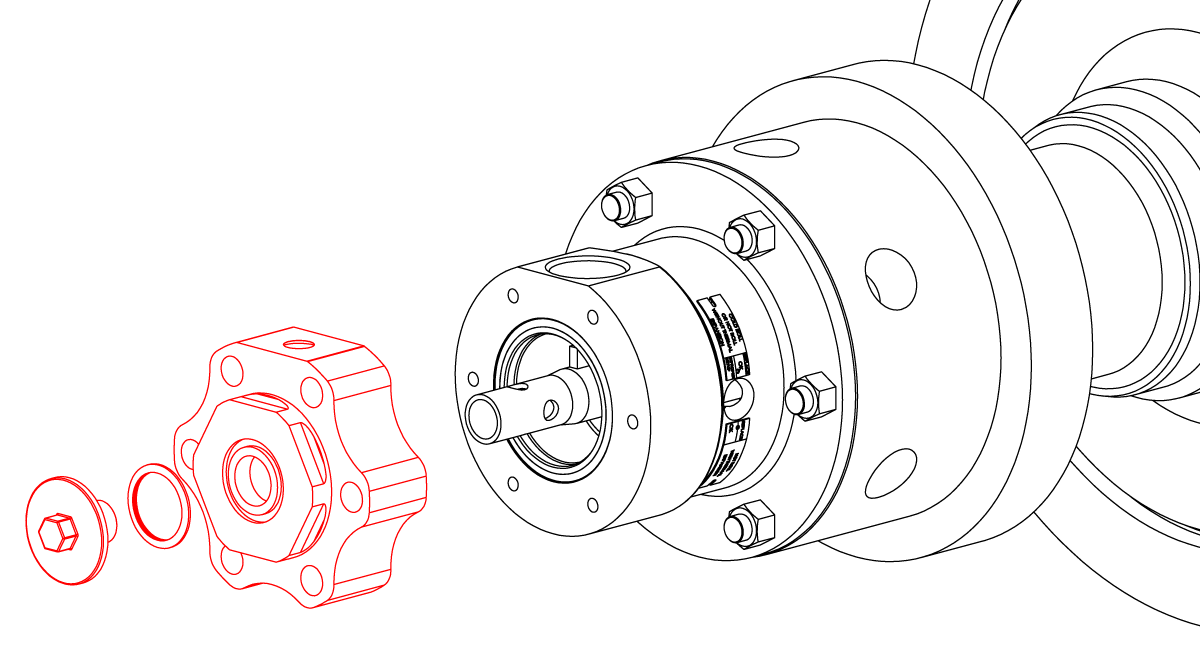
Remove the cup seal on the end of the body and discard. Remove the body and seal ring.
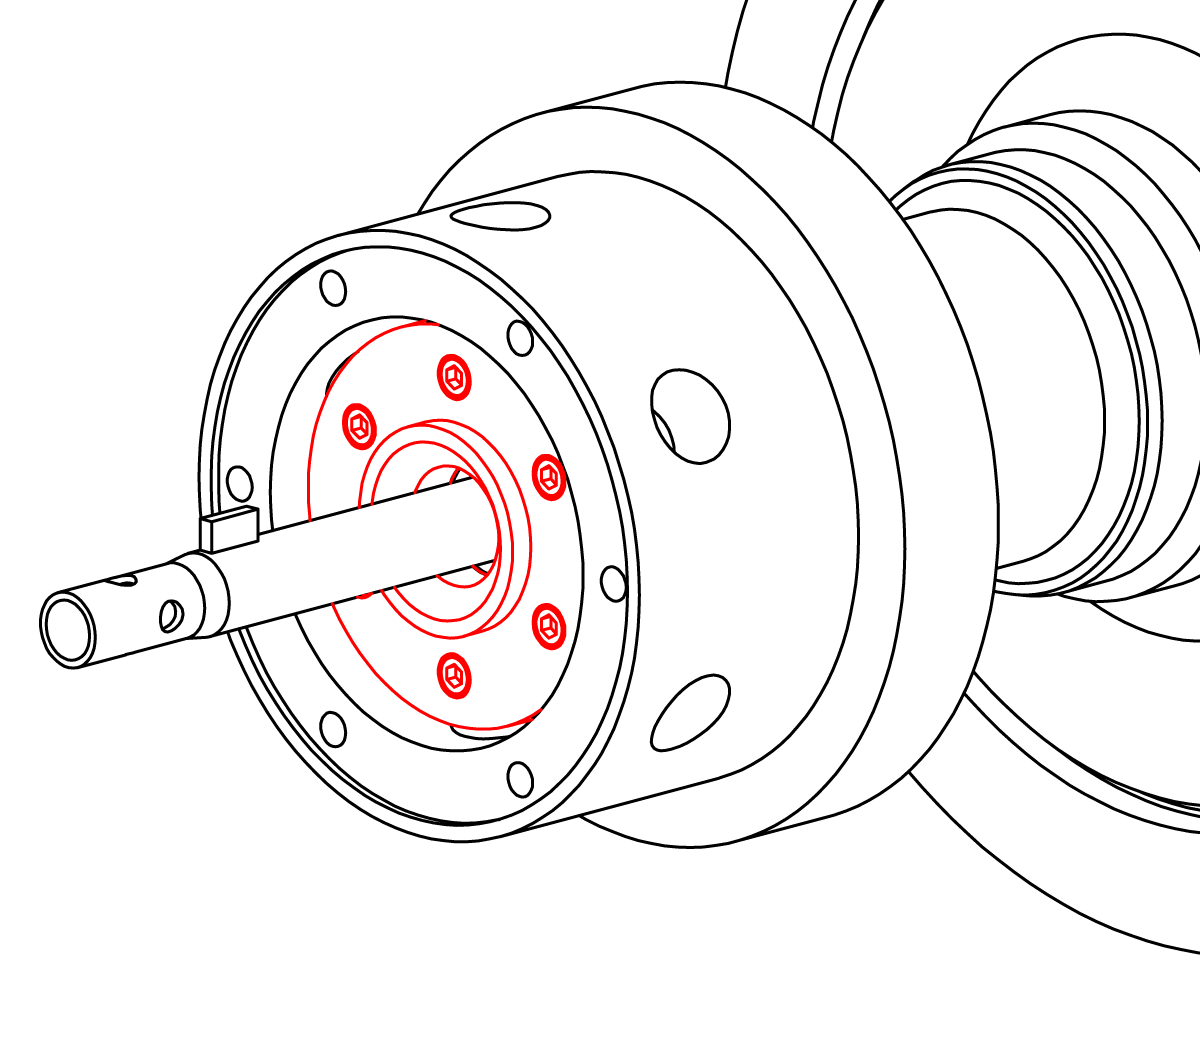
Inspect the wear plate. If it is damaged, replace using a new gasket and/or O-ring(s).
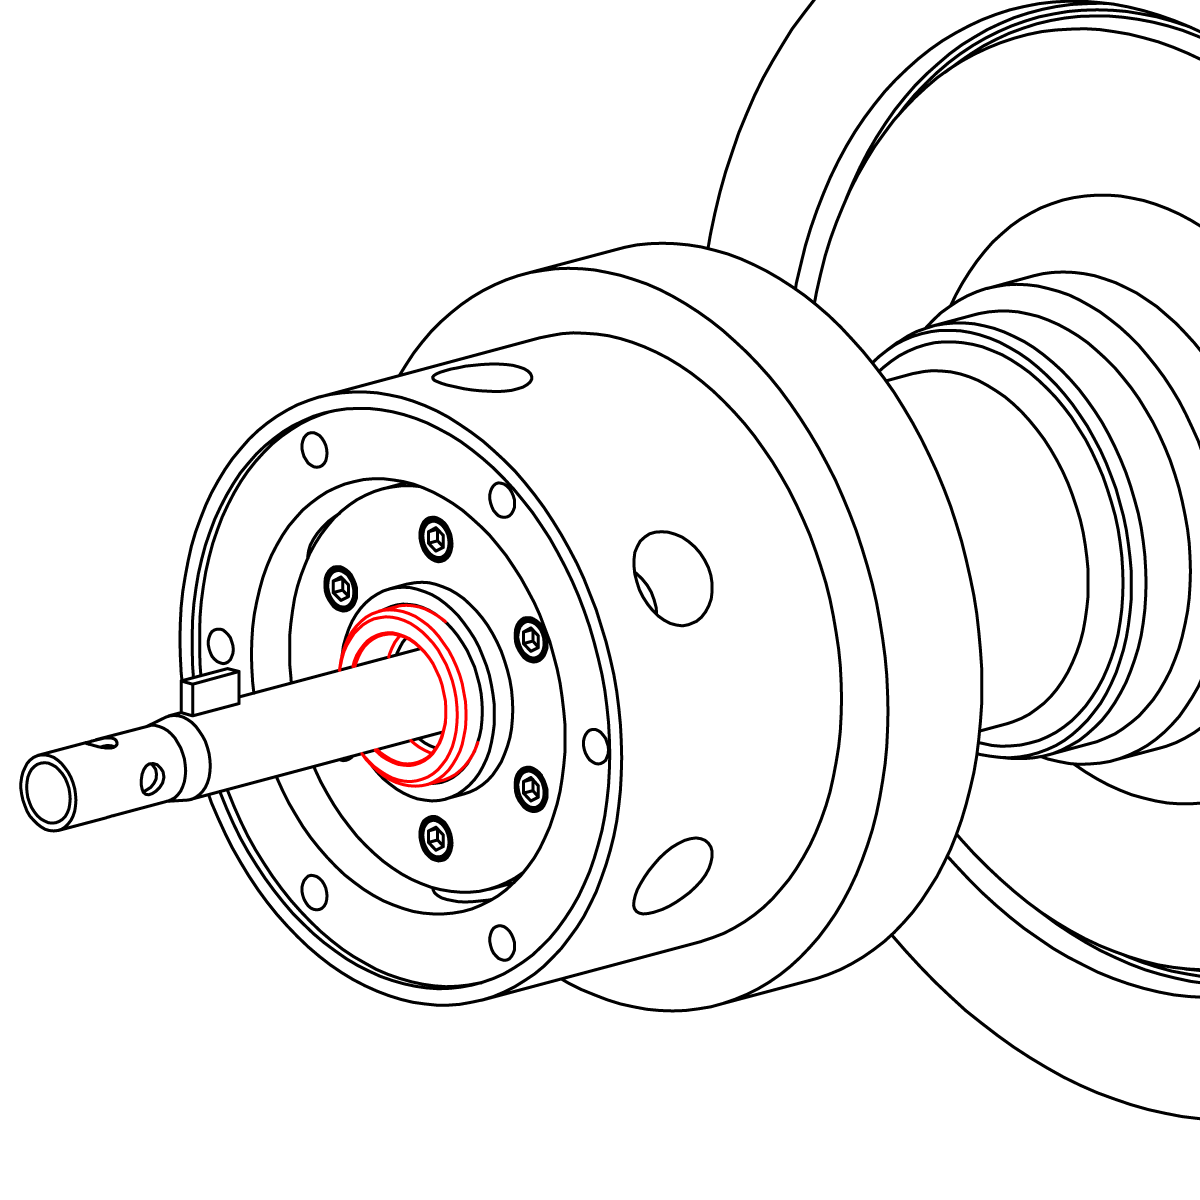
Place three equally spaced drops of seal ring installation fluid on the conical side of the seal ring. Install the seal ring.
Important: Make sure the seal ring is centered and does not fall off the wear plate.
Install the upgrade cartridge assembly to the bracket and secure with the provided fasteners (1A).
IMPORTANT: Check the seal ring wear/set-up dimension indicator to ensure proper set-up.
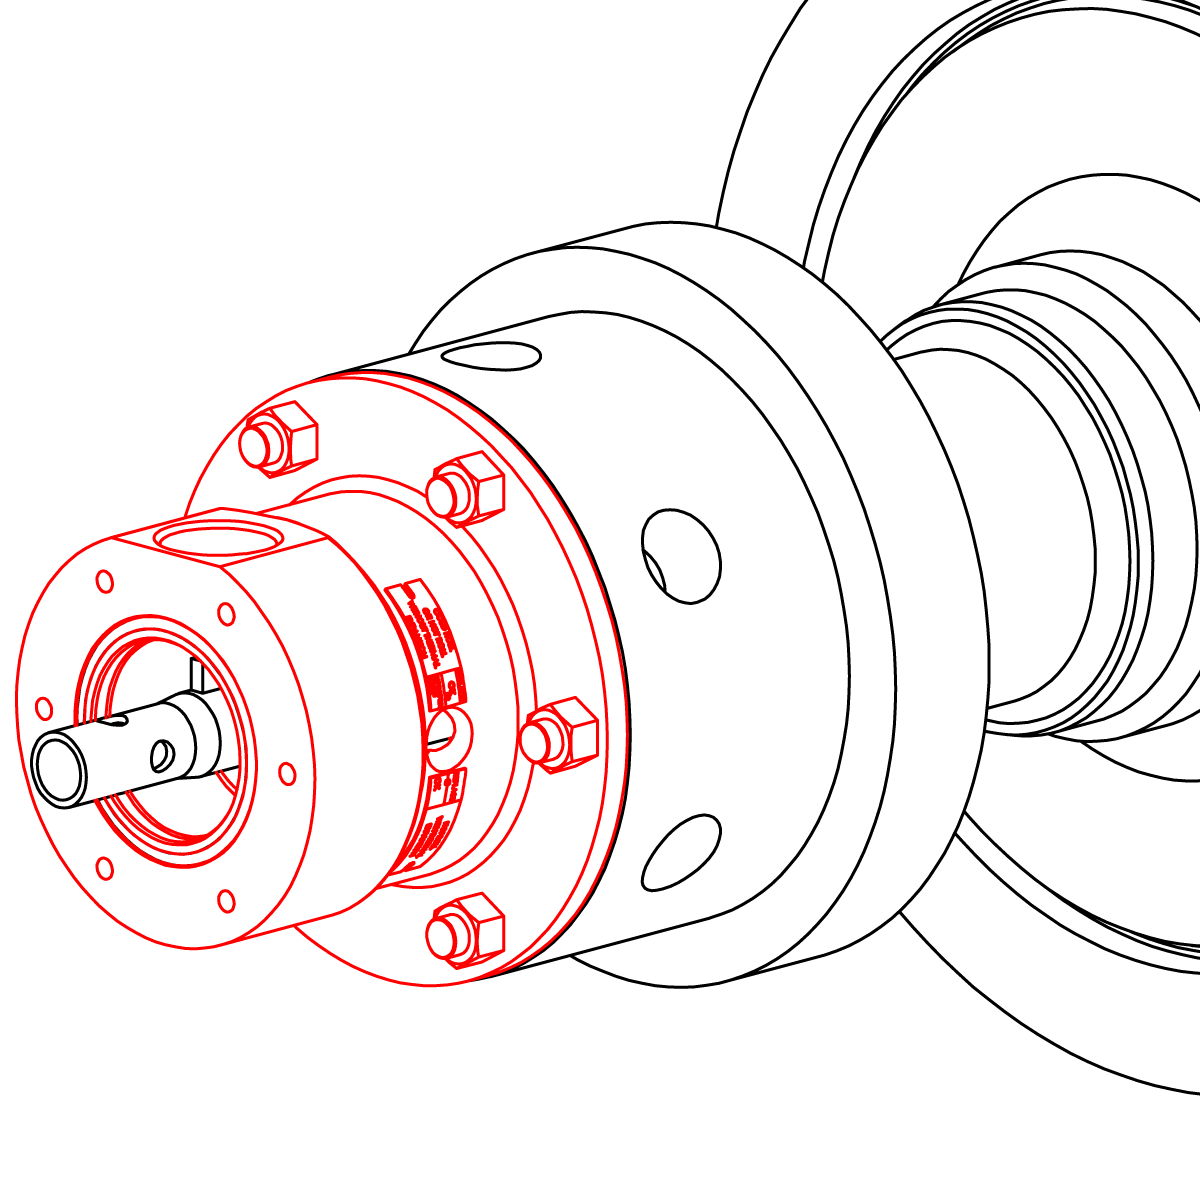
Apply anti-seize to the threads and tapered portion of the horizontal tube. Lubricate and install a cup seal (12 and 2E) in the body and head.
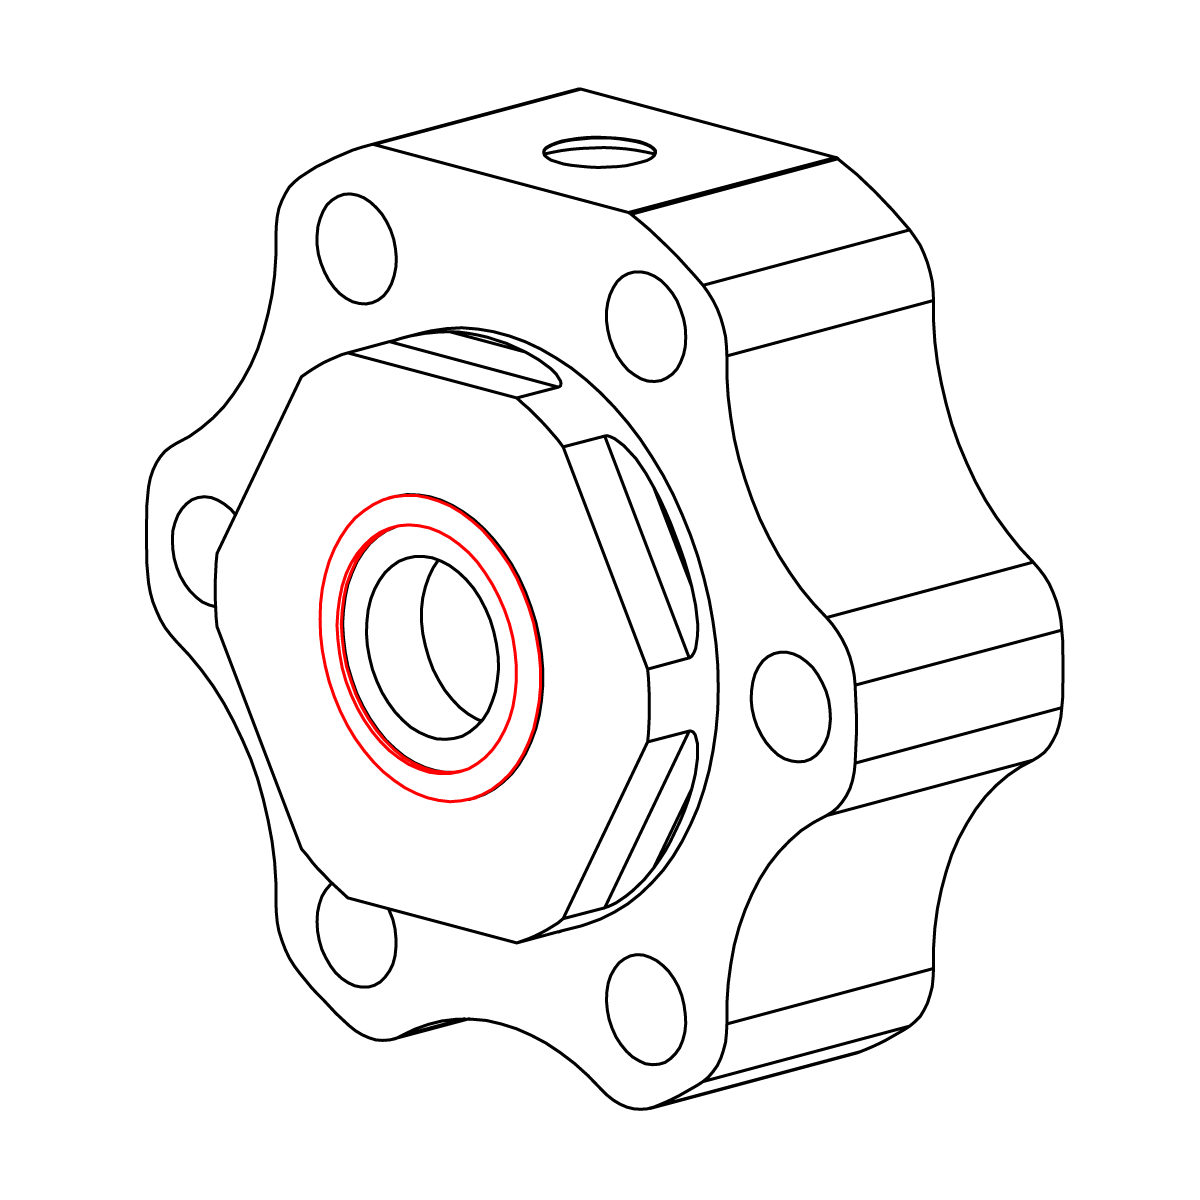
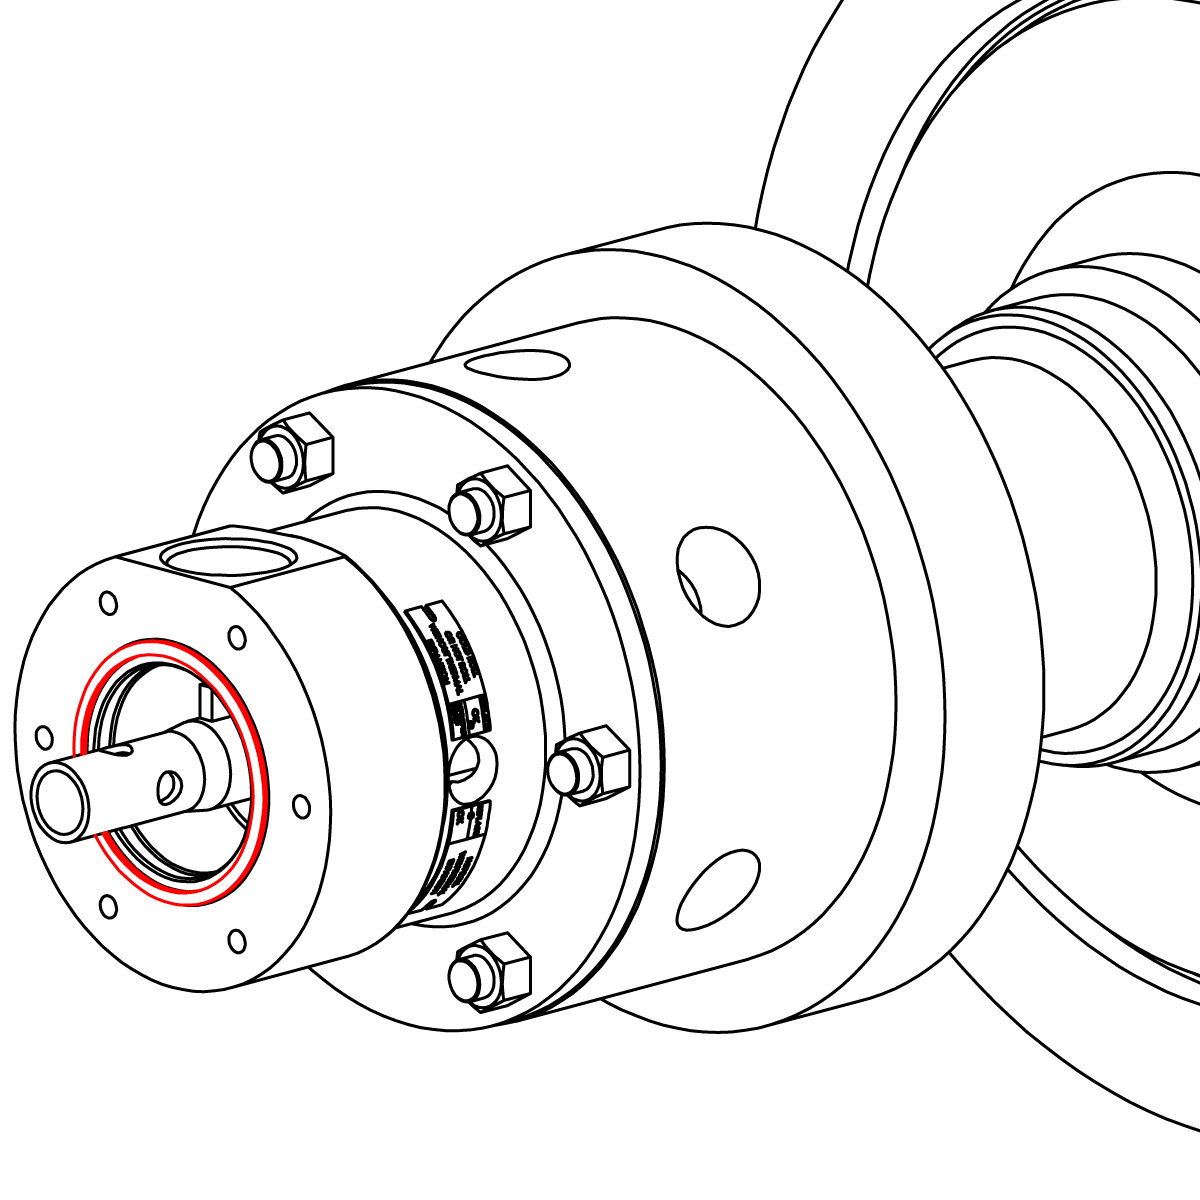
Position the head on the horizontal tube. Finger tighten the nut on the horizontal tube.
Important: Make sure that the key on the horizontal pipe is engaged with a keyway on the head.
Note: Orient the outlet connection in the desired position.
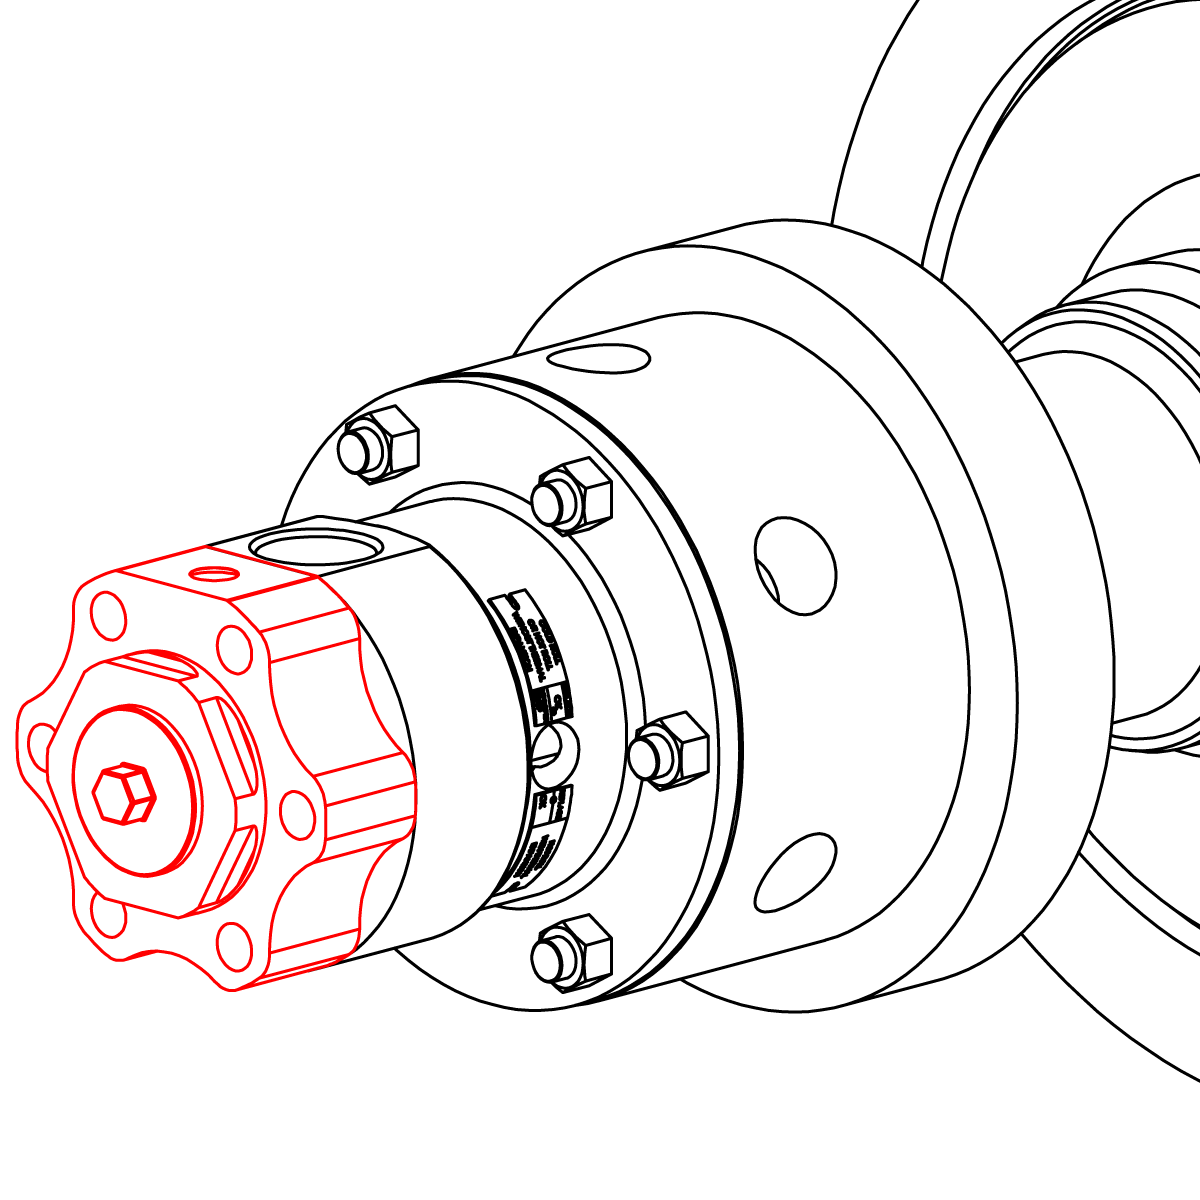
Insert the cap screws (2A) into the retaining ring. Slide the spring washers (2B) over the cap screws with the convex side facing the retaining ring.
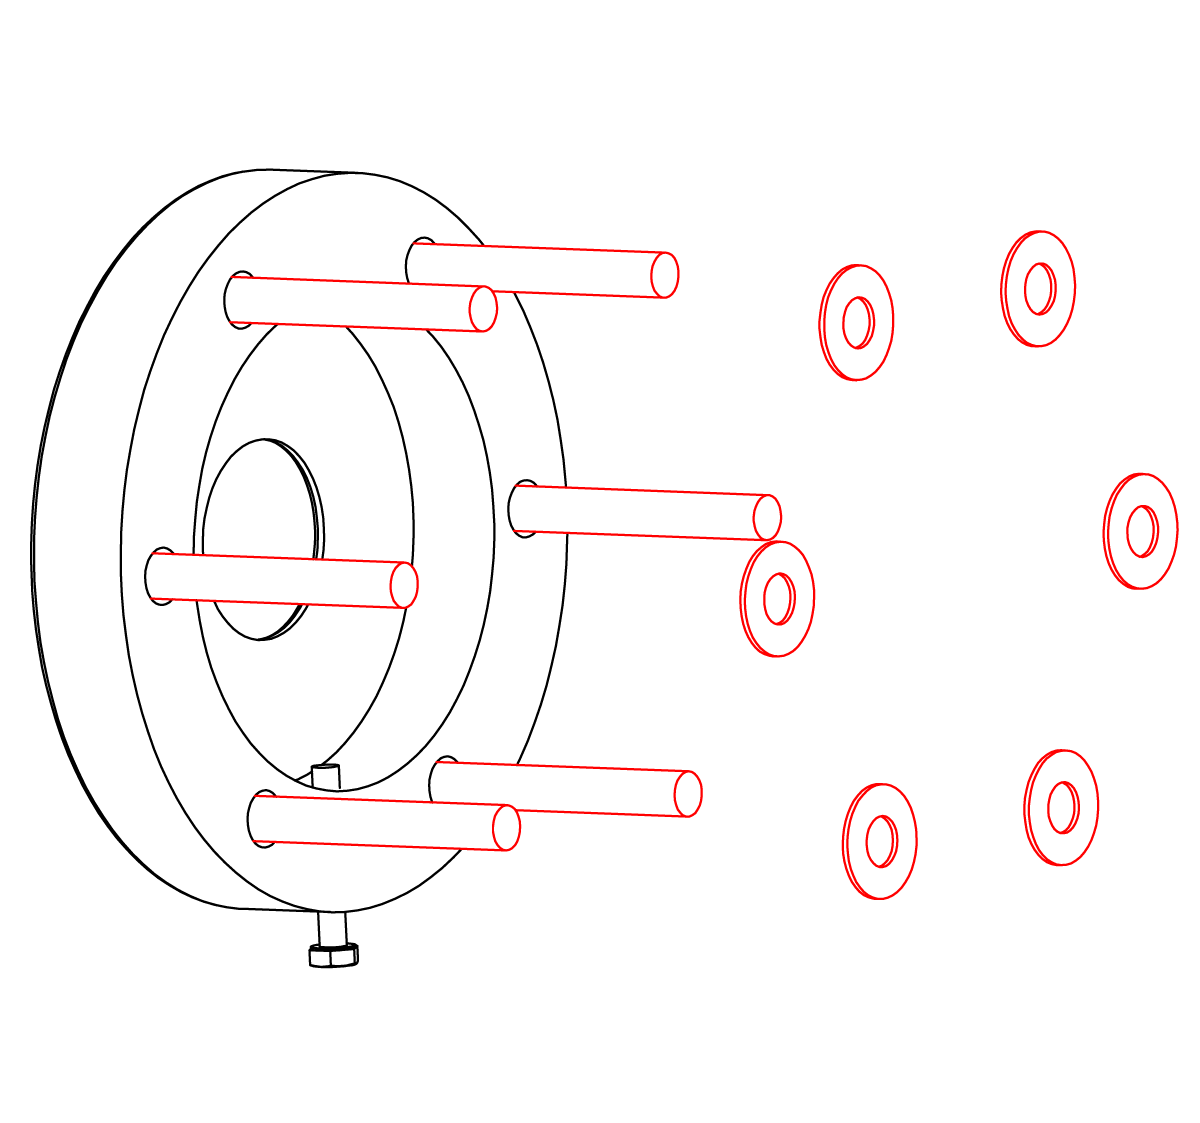
Install the retaining ring into the head. Fasten retaining ring and head to the body with cap screws. Torque 30 to 42 ft-lbs (41 to 57 Nm).
Important: Install the retaining ring and head so that they are centered on the body.
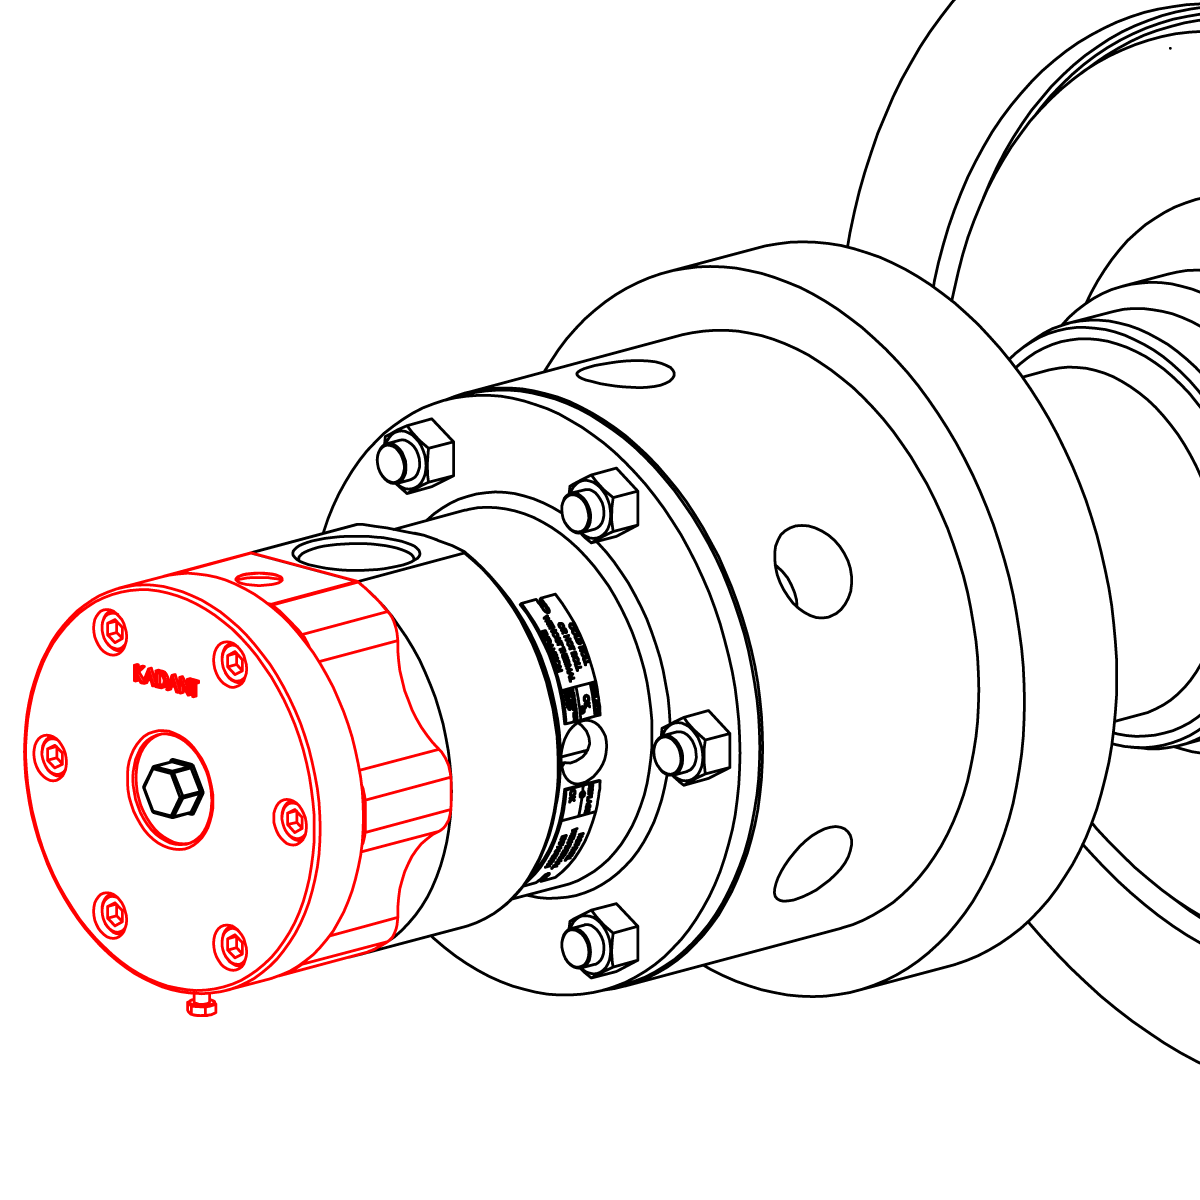
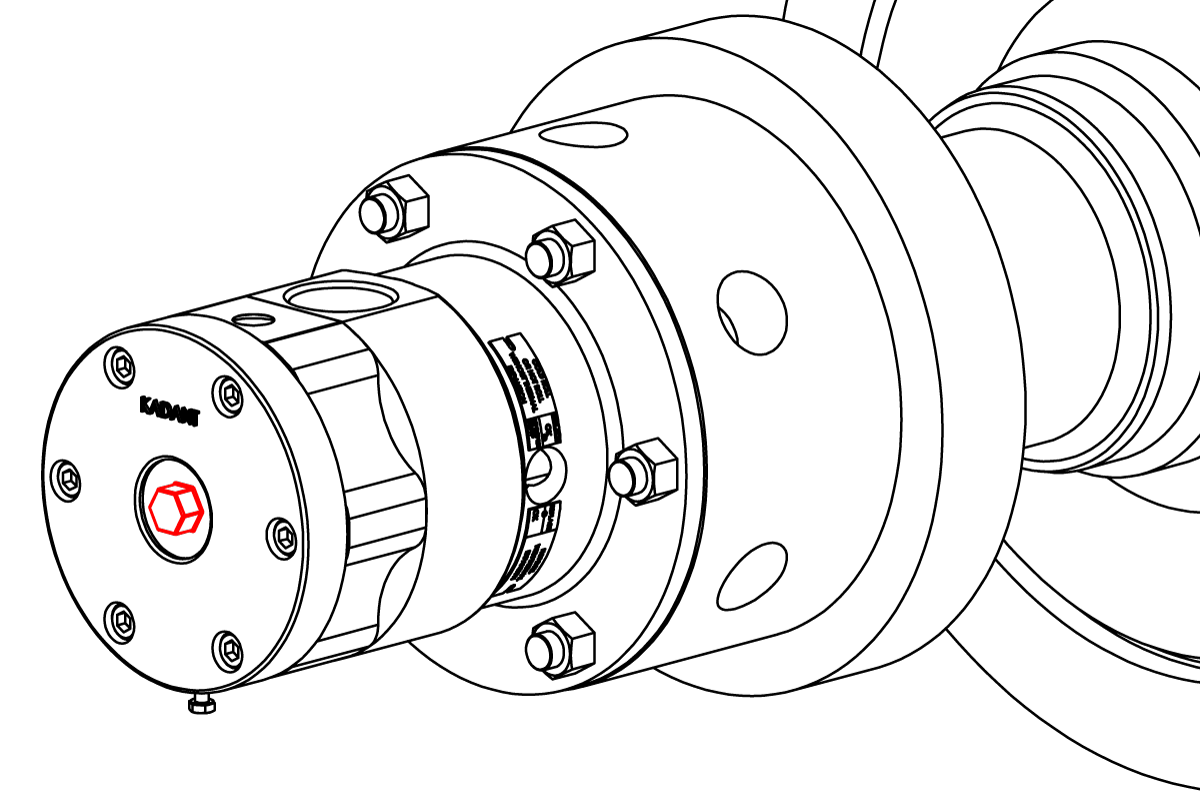
Torque the horizontal tube nut to 175 to 200 ft-lbs. (237 to 271 Nm).

9500CorrPro-12mm-Stationary-UPGRADE